
You can trust VideoGamer. Our team of gaming experts spend hours testing and reviewing the latest games, to ensure you're reading the most comprehensive guide possible. Rest assured, all imagery and advice is unique and original. Check out how we test and review games here
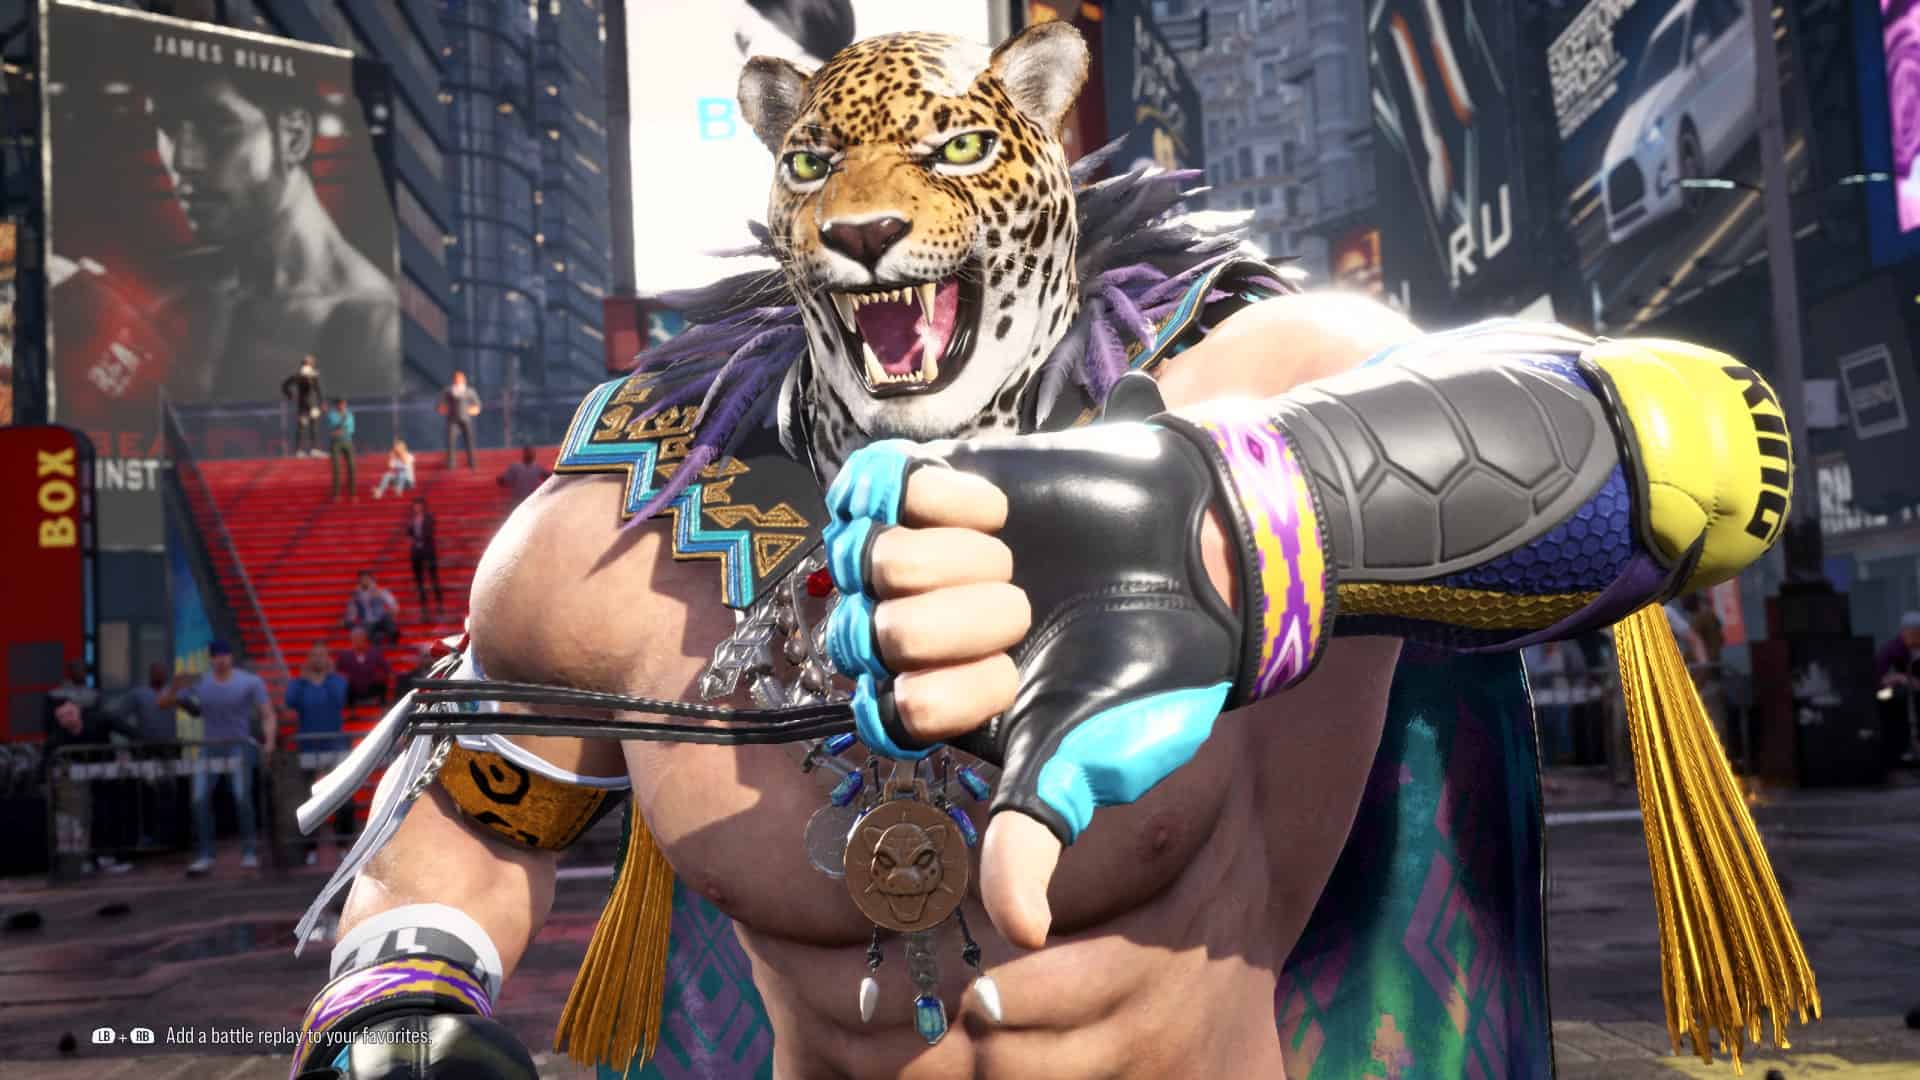
The franchise’s most iconic grappler, Tekken 8 King is already one of the strongest characters in the game, thanks to how powerful throws are in Tekken 8. So if you’re looking to give him a try, we’ve put together his move list and some beginner combos for you to get started with.
If you haven’t yet, be sure to have a read of our Tekken 8 review to see what we made of the game. And if you’re wanting to know which Tekken 8 DLC characters are set to join the game, we have a guide to tell you what you need to know. With that, let’s get into our Tekken 8 King guide.
King overview
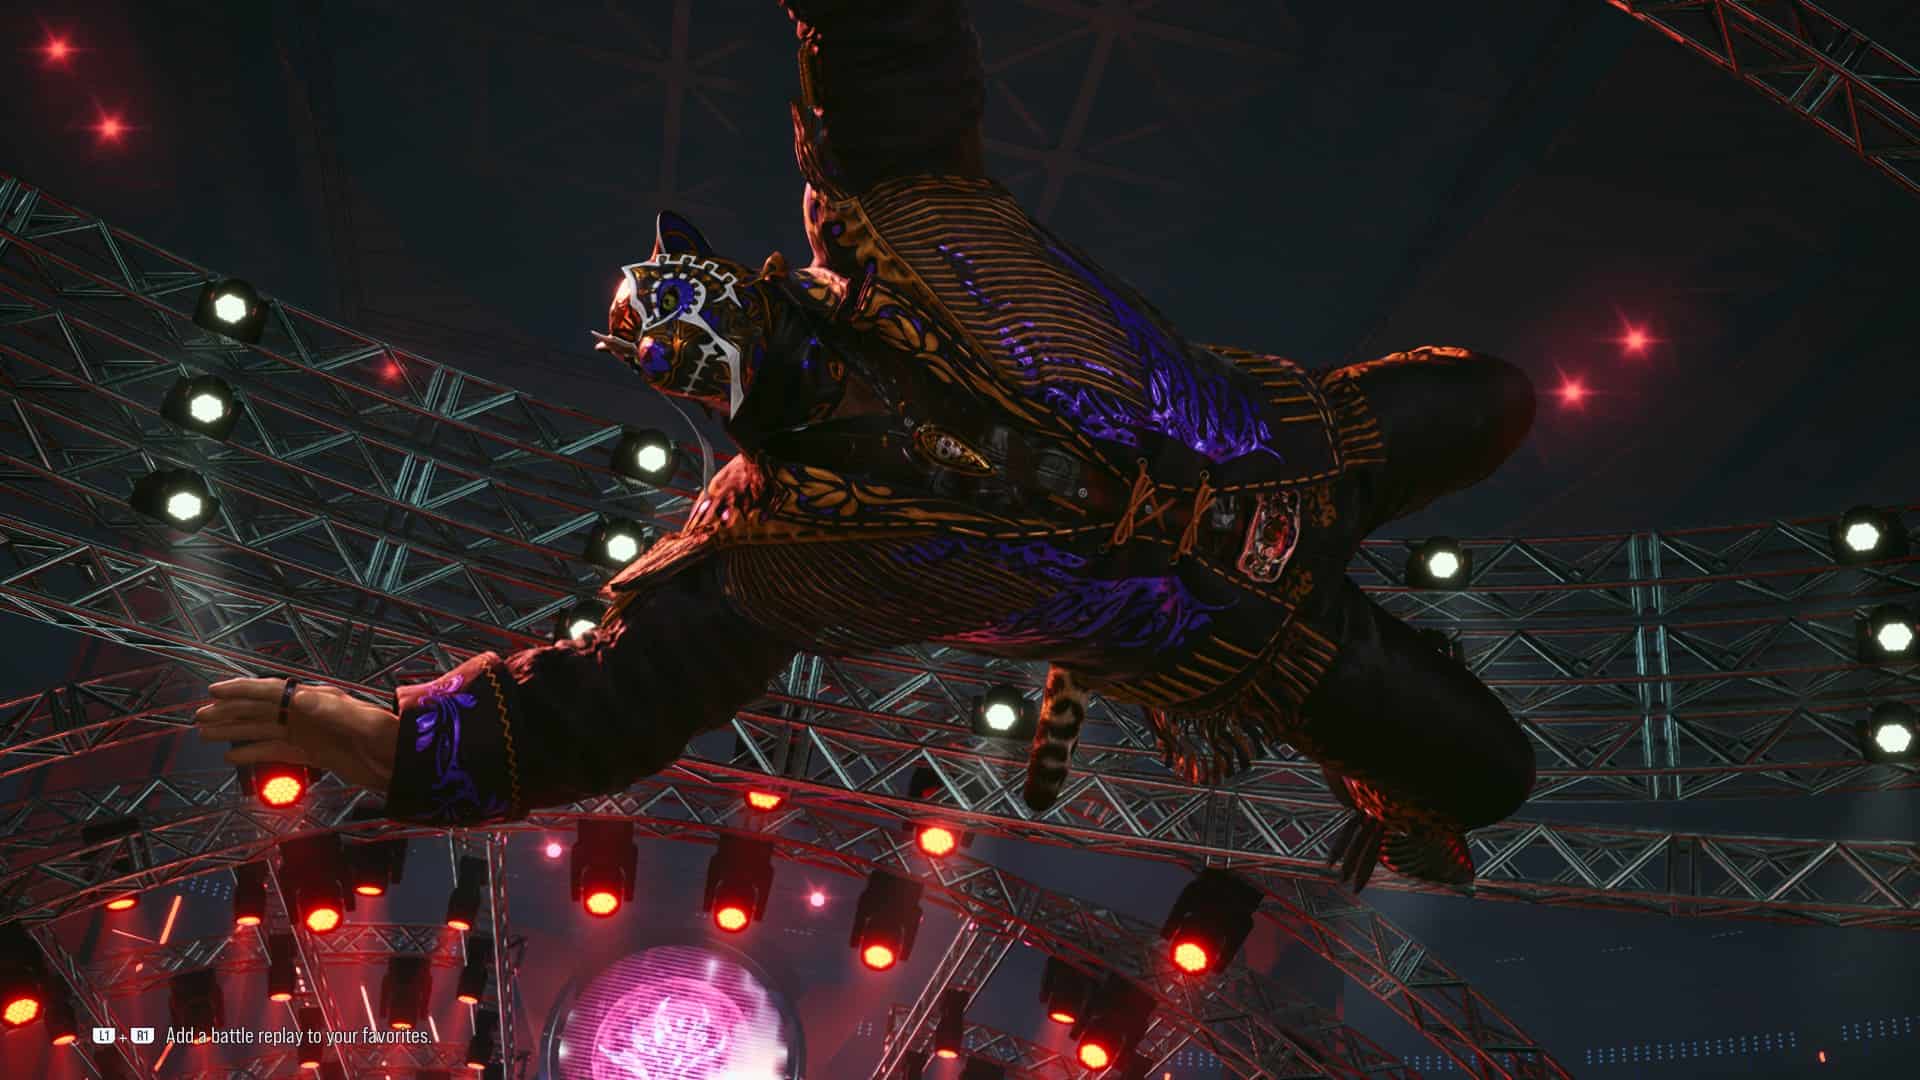
King is the resident grappler of the Tekken franchise, and that’s what sets him apart from the rest of the roster. With literally dozens of throws, as well as command and chain throws in his arsenal, mastering his throw game is key to learning him. That doesn’t just mean knowing the inputs, but knowing how to set up his throws so you can consistently land them.
Alex’s Advice
King received a massive buff post-launch. He can now cancel his Jaguar Sprint, giving him plus frames, the chance to bait a whiff, and access to new moves including a powerful new throw – use it wisely!
But you can’t only rely on your throws. A good opponent will be able to break them, so you’ll need to learn how to use his pokes, frame traps, and combo game too. Despite his speciality being throws, King is a surprisingly well-rounded fighter, and has plenty else to offer too.
Tekken notation
Before you can start learning moves and combos, it’s important to know Tekken notation. This helps quickly explain specific inputs in one or two characters instead of having to write out the full thing every time. Our move list and combos use the notation below, so make sure to refer back to it to know exactly what to do.
| Notation | Action |
| 1 | Left Punch (Square / X) |
| 2 | Right Punch (Triangle / Y) |
| 3 | Left Kick (Cross / A) |
| 4 | Right Kick (Circle / B) |
| N | Neutral (Pressing nothing) |
| f | Forward |
| b | Back |
| u | Up |
| d | Down |
| d/f, d/b, u/f, u/b | Down Forward, Down Back, Up Forward, Up Back |
| qcf / qcb | Quarter Circle Forward / Quarter Circle Back |
| SS / SSR / SSL | Sidestep / Sidestep Right / Sidestep Left |
| FC | Fully Crouched |
| WS | While Standing / While Rising |
| WR | While Running |
| () | Rapidly press one after the other |
Tekken 8 King move list
Thanks to his extensive throw game, King has the longest move list in the game with a whopping 197 moves. Thankfully, many of these are just different ways to do the same throws, so it’s not as bad as it might first seem. Here is King’s move list for Tekken 8:
Heat System
- All moves will deal chip damage on block
- A Heat Dash can be used when a Heat Engager hits or is blocked (after activation, Heat will end)
- Heat Smash, a move that causes critical damage, can be activated (after activation, Heat will end)
- Allows the use of a powered up version of Jaguar Sprint
- Partially restores remaining Heat time with certain throws
Heat Moves
- Heat Burst: (When Heat activation available) 2+3
- Elbow Impact: f2, 1
- Shoulder Tackle: f2+3
- Muscle Armor > Emerald Elbow: d/b1+2, 2
- Rapid King Onslaught: (During Jaguar Sprint) 1+3 (or 2+4)
- Freedom Face Buster: (Approach crouching opponent) d1+4
- Ultimo Jaguar: (During Heat) 2+3
Rage Moves
- Anger Of The Beast: (During Rage) d/f1+2
Normal Moves
- Palm Strike: 1, 2
- Palm Strike > Head Jammer: 1, 2, 2+4
- Palm Strike > V Driver: 1, 2, d2+4
- Palm Strike Uppercut: 1, 2, 1
- Palm Strike Uppercut > Suplex: 1, 2, 1, 2+4
- Palm Strike Uppercut > V Driver: 1, 2, 1, d2+4
- Right Jab > Uppercut: 2, 1
- Heat Spinner: 1+2, 1
- Brutal Sting: 1+2, 3
- Jaguar Step: 3+4
- Elbow Impact: f2, 1
- Jaguar Smash Combo: f2, d1, 2
- Front Kick: f3
- Front Kick > DDT: f3, (during front hit on ground) 1+2
- Rolling Sobat: f4
- Shadow Lariat: f1+2
- Jaguar Sprint: f3+4
- Body Check: f1+4
- Shoulder Tackle: f2+3
- Elbow Sting: d/f1, 2
- Double Hook Disaster: d/f2, 1
- Lasso Kick: d/f3, (on hit or block) 4
- Mincer: d/f4, 3, 4
- Mincer Low: d/f4, 3, d4
- Frankensteiner: d/f3+4
- Jab > Uppercut: d1, 2
- Stomp: d3
- Atlas’ Hammer: d1+2
- Stagger Kicks: d3+4, 4, 4
- Stagger Kicks Flurry: d3+4, 4, 4, 4 (Counter Hit)
- Quick Hook > Heel Kick: b1, 4
- Stagger Kick Spinning Uppercut: (During Stagger Kicks) 2
- Corporate Elbow: d2+3
- Brain Chop: d/b2
- Crouching Low Kick: d/b3
- Low Drop Kick: d/b4
- Muscle Armor > Emerald Elbow: d/b1+2, 2
- Muscle Armor > Jaguar Sprint: d/b1+2, 3+4
- Quick Hook > Uppercut: b1, 2
- Chupacabra > Spinning Back Elbow: b2, 1
- Chupacabra > Olympia Slam: b2, 4
- Chupacabra > Head Butt: b2, 1+2
- Toll Kick: b3
- Guillotine Drop: b3, (during front hit on ground) 1+2
- Disgraceful Kick: b4
- Reverse Jaguar Step: b3+4
- Capital Punishment: u1+2
- Burning Knuckle: u1+2 (hold)
- Water Parting Chop: u/f1
- High Elbow Drop: u/f2
- Falling Heel Kick: u/f3
- Jumping Knee Lift: u/f4
- Sole Crusher: u/f3+4
- Delayed Rising Toe Kick: u/f, N, 4
- Stomach Smash: f, f, N, 2
- Jaguar Hammer: f, f, N, 2 (Counter Hit)
- Lay Off: f, f1
- Jaguar Hook: f, f1
- Beast Elbow: f, f2
- Konvict Kick: f, f4
- Konvict Kick > DDT: f, f4 (Counter Hit)
- Exploder: f, f3+4
- Diving Body Press: f, f2+3
- Strong Knee: WR3
- Running Exploder: WR3+4
- 10 Hit Combo 1: 1, 2, 1, 1, 2, 4, 4, 4, 1, 3
- 10 Hit Combo 2: 1, 2, 1, 1, 3, 3, 4, 3, 2, 1+2
Special Move
- Ki Charge: 1+2+3+4
During Beast Step
- Beast Step: f, N, d, d/f
- Knee Lift: f, N, d, d/f4
- Black Bomb: f, N, d, d/f1+2
Moves While Crouching
- Round Trip Chop: WS2, 2
- Toe Smash: WS4
- Snap Uppercut: WS1+2
- Leg Breaker: d/f1
- Body Blow: d/f2
Moves during Sidestep
- Victory Palm: (During sidestep) 1
- Deadly Boomerang: (During sidestep) 3+4
Moves While Down
- Whirling Spring Kick: (By opponent’s feet) while down and facing up b3+4
Moves While Facing Backward
- Blind Kick: (Back facing opponent) 3
- Blind Kick > Neck Breaker: (Back facing opponent: 3, (during close range hit on ground) 1+2
- Atomic Blaster: (Back facing opponent) 1+2
- Moonsault Body Press: (Back facing opponent) 1+4
Moves during Jaguar Step
- Jaguar Step: 3+4
- Jaguar Step > Hook: (During Jaguar Step) 1
- Jaguar Step > Hammer: (During Jaguar Step) 2
- Jaguar Step > Sobat: (During Jaguar Step) 3
- Jaguar Step > Sobat & Press: (During Jaguar Step) 3, 2+3
- Jaguar Step > High Kick: (During Jaguar Step) 4
- Jaguar Step > Mid Kick: (During Jaguar Step) d/f4
Moves during Jaguar Sprint
- Jaguar Sprint: f3+4
- Running Elbow Smash: (During Jaguar Sprint) 1
- Jaguar Axe: (During Jaguar Sprint) 2
- Sprint K.: (During Jaguar Sprint) 3
- Dashing Low Drop Kick: (During Jaguar Sprint) 4
- Rapid King Onslaught: (During Jaguar Sprint) 1+3 (or 2+4)
- Diving Body Press: (During Jaguar Sprint) 2+3
Throws
- Winding Nut: (Approach opponent) 1+3
- Winding Nut: (Approach opponent) f1+3
- Suplex: (Approach opponent) 2+4
- Suplex: (Approach opponent) f2+4
- Argentina Backbreaker: (Approach opponent from left side) 1+3 (or 2+4)
- Knee Crusher: (Approach opponent from right side) 1+3 (or 2+4)
- Half Boston Crab: (Approach opponent from behind) 1+3 (or f1+3)
- Cobra Twist: (Approach opponent from behind) 2+4 (or f2+4)
- Stretch Buster: (Approach opponent from behind) b, f2+4
- Knee Bash: (Approach opponent) d/f2+3
- Figure Four Leg Lock: (Approach opponent) d/b2+3
- Throw Away: (Approach opponent) b1+2
- Throw Away > Back Swing: (Approach opponent) b1+2, 1+2
- Executioner Drop: (Approach opponent) u/f1+2
- Tombstone Pile Driver: (Approach opponent) d/b, N, f2+4
- Tomahawk: (Approach opponent) WR2+4
- Pile Driver: (Approach opponent) qcf1
- Double Arm Face Buster: (During Pile Driver) 1+2, 1+2
- Boston Crab: (During Pile Driver) 1+2, 3, 4, 1+2
- Muscle Buster: (Approach opponent) qcb1+2
- Giant Swing: (Approach opponent) f, hcf1
- Tijuana Twister: (Approach opponent) f, hcf2
- Clothesline Press: FC d/b, d, d/b1+2
- Ultimate Tackle: FC 1+2
- Ultimate Punch: (During takedown) 2, 1, 2, 1
- Armbar: (During takedown) 1+2
- Arm Twist: (During Armbar) 1+2
- Leg Cross Hold: (During takedown) 3+4
- Stretch Combo: (During Leg Cross Hold) 2+4 (Perfect)
- Iron Lariat: (Approaching crouching opponent) d1+3
- V Driver: (Approaching crouching opponent) d2+4
- Freedom Face Buster: (Approaching crouching opponent) d1+4
- Swing Away: (Opponent down and facing up) by opponent’s feet d/b1+3 (or d/b2+4)
- Head Bomber: (Opponent down and facing up) by opponent’s feet FC d/b1+3
- Figure Four Leg Lock: (Opponent down and facing up) by opponent’s feet FC d/b2+4
- Shoulder Cracker: (Opponent down and facing up) by opponent’s head d/b1+3 (or d/b2+4)
- Turn Over: (Opponent down and facing up) by opponent’s side d/b1+3 (or d/b2+4)
- Half Boston Crab: (Opponent down and facing down) by opponent’s feet d/b1+3 (or d/b2+4)
- Wing Tearer: (Opponent down and facing down) by opponent’s head d/b1+3 (or d/b2+4)
- Camel Clutch: (Opponent down and facing down) from the left d/b1+3 (or d/b2+4)
- Bow & Arrow Stretch Hold: (Opponent down and facing down) from the right d/b1+3 (or d/b2+4)
- Mid-Air Leg Cross Hold: (Approach airborne opponent) 1+3 (or f1+3)
- Spine Cracker: (Approach airborne opponent) 2+4 (or f2+4)
- Double Heel Hold: (Approach airborne opponent) d1+3 (or d2+4)
- Flapjack: (Approach airborne opponent during Double Heel Hold) 1+2, 1+2
- Giant Swing: (Approach airborne opponent during Double Heel Hold) 2, 1, 3, 4
- Running Jaguar Bomb: (Approach airborne opponent) WR2+4
- Aerial Jaguar Bomb: (Approach airborne opponent) f, hcf1
- Shining Torpedo: (During opponent wall stun) f, hcf1
Attack Reversal
- Arm Whip: (Time with opponent right punch) b1+3
- Spinning Heel Hold: (TIme with opponent left kick) b2+4
- Leg Screw: (Time with opponent right kick) b2+4
- Low Parry: (TIme with opponent low attack) d/f
Reverse Arm Slam Combo
- Reverse Arm Slam: (Approach opponent) d/f1+3
- Backdrop: (During Reverse Arm Slam) 1 (or 2)
- German Suplex: (During Backdrop) 1 (or 2)
- Power Bomb: (During German Suplex) 1 (or 2)
- Giant Swing: (During Power Bomb) 1
- Muscle Buster: (During Power Bomb) 2
Reverse Special Stretch Bomb Combo
- Reverse Special Stretch Bomb: (Approach opponent) d/f2+4
- Reverse Special Stretch Bomb: (During sidestep) 2+4
- Cannonball Buster: (During Reverse Special Stretch Bomb) 1 (or 2)
- Manhattan Drop: (During Cannonball Buster) 1 (or 2)
- Victory Bomb: (During Manhattan Drop) 1 (or 2)
- Giant Swing: (During Victory Bomb) 1
- Muscle Buster: (During VIctory Bomb) 2
Standing Heel Hold Combo
- Standing Heel Hold: (Approach opponent) f, N, d, d/f2+3
- S.T.F.: (During Standing Heel Hold) 1, 2, 1+2
- Scorpion Death Lock: (During Standing Heel Hold) 2, 1, 1+3
- Indian Death Lock: (During Standing Heel Hold) 1+2, 1, 3
- King’s Bridge: (During Indian Death Lock) 3, 4, 1+2, 3+4
Arm Breaker Combo
- Arm Breaker: (Approach opponent) f, N, d, d/f1+4
- Triple Arm Breaker: (During Arm Breaker) 1, 1+2
- Head Jammer: (During Arm Breaker) 2, 4, 2+4
- Struggle Combination: (During Head Jammer) 3, 4, 3+4, 1+2
- Chicken Wing Face Lock: (During Arm Breaker) 2, 1, 1+3
- Dragon Sleeper Finish: (During Chicken Wing Face Lock) 2, 1, 3, 1+2
- Rolling Death Cradle: (During Chicken Wing Face Lock) 1, 3, 4, 2, 1+2
Mexican Magma Drive
- Cobra Clutch: (Approach opponent during Jaguar Step) 1+4 (or 2+3)
- Cobra Twist: (During Cobra Clutch) 1, 4, 2, 3
- Reverse DDT: (During Cobra Twist) 1, 1+3 (or 2, 2+4)
- Reverse Special Stretch Bomb: (During Reverse DDT) 1+2, 1, 1+3 (or 1+2, 2, 2+4)
- Samurai Rock: (During Reverse DDT) 2, 3, 1, 1+2
- Backdrop: (During Reverse Special Stretch Bomb) 3+4, 1+2
- Sol Naciente: (During Backdrop) 1+2, 4, 2, 1+2
- Burning Hammer: (During Backdrop) 1+2, 3, 1+3 (or 1+2, 4, 2+4)
- Screwdriver: (During Burning Hammer) 2, 4, 3, 1, 1+3 (or 2, 4, 3, 1, 2+4)
King combos
King’s combos typically rely on having a throw at the end as a finisher, so you’ll want to get used to landing those throws on airborne opponents. Here are a few solid King combos to get you started:
- Combo 1: u1+2, d/f4, 3, 2, b1, 2, WR2+4
- Combo 2: FC d/f2, f, f1, d/f4, 3, 1, b3, WR2+4
- Heat Dash Combo: u/f4, b2, 4, f2, 1f, f2+4, WR2+4
King strategy
While King’s throws are the central part of his strategy, you’ll need to understand the rest of his kit to set up for them. Make use of his strong poke game and plus frame moves to bait counterhits or open your opponent up to throws. Keep your opponent guessing by changing up your approach, especially with your WR attacks. And remember that your Heat Smash does massive damage, so save it for when you need it.
Hopefully that gives you a good platform to get started with as a King player. If you’re still not sold on him, why not check out some other characters with our Tekken 8 Paul and Tekken 8 Jin character guides?
About the Author

Tekken 8
-
UnknownUnknown
- Platform(s): PC, PlayStation 5, Xbox Series S, Xbox Series S/X, Xbox Series X
- Genre(s): Fighting


