You can trust VideoGamer. Our team of gaming experts spend hours testing and reviewing the latest games, to ensure you're reading the most comprehensive guide possible. Rest assured, all imagery and advice is unique and original. Check out how we test and review games here
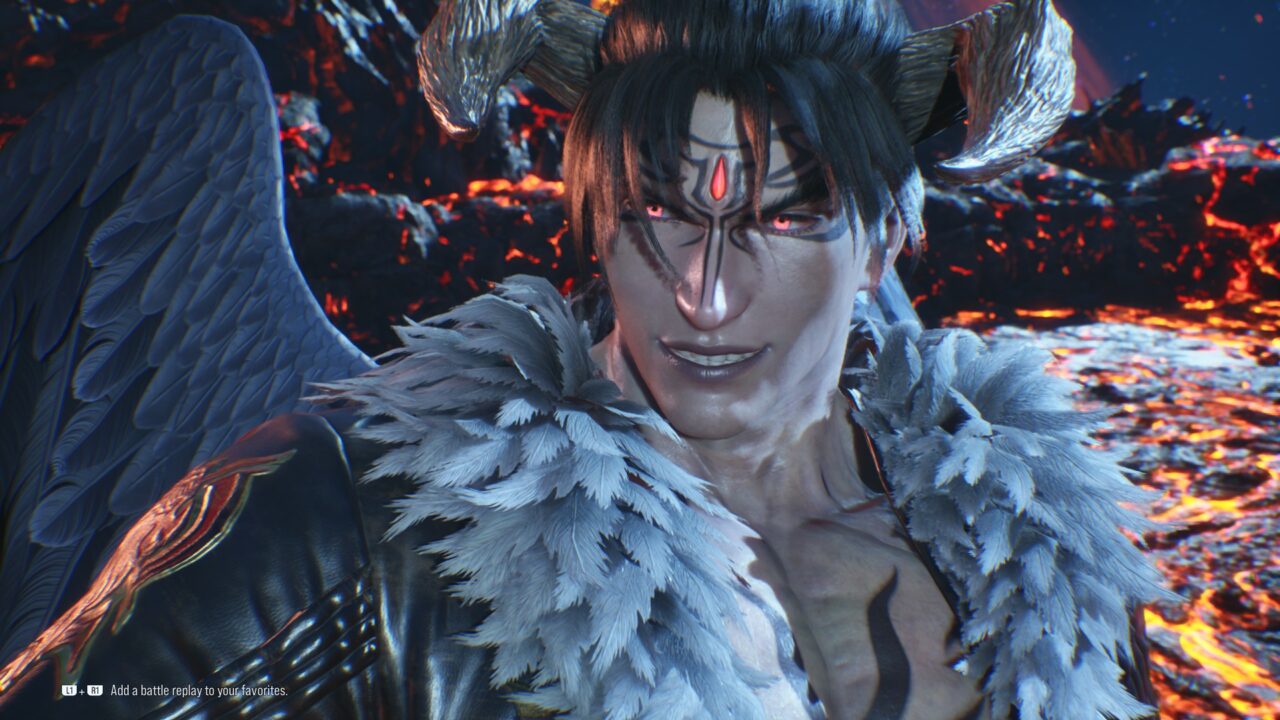
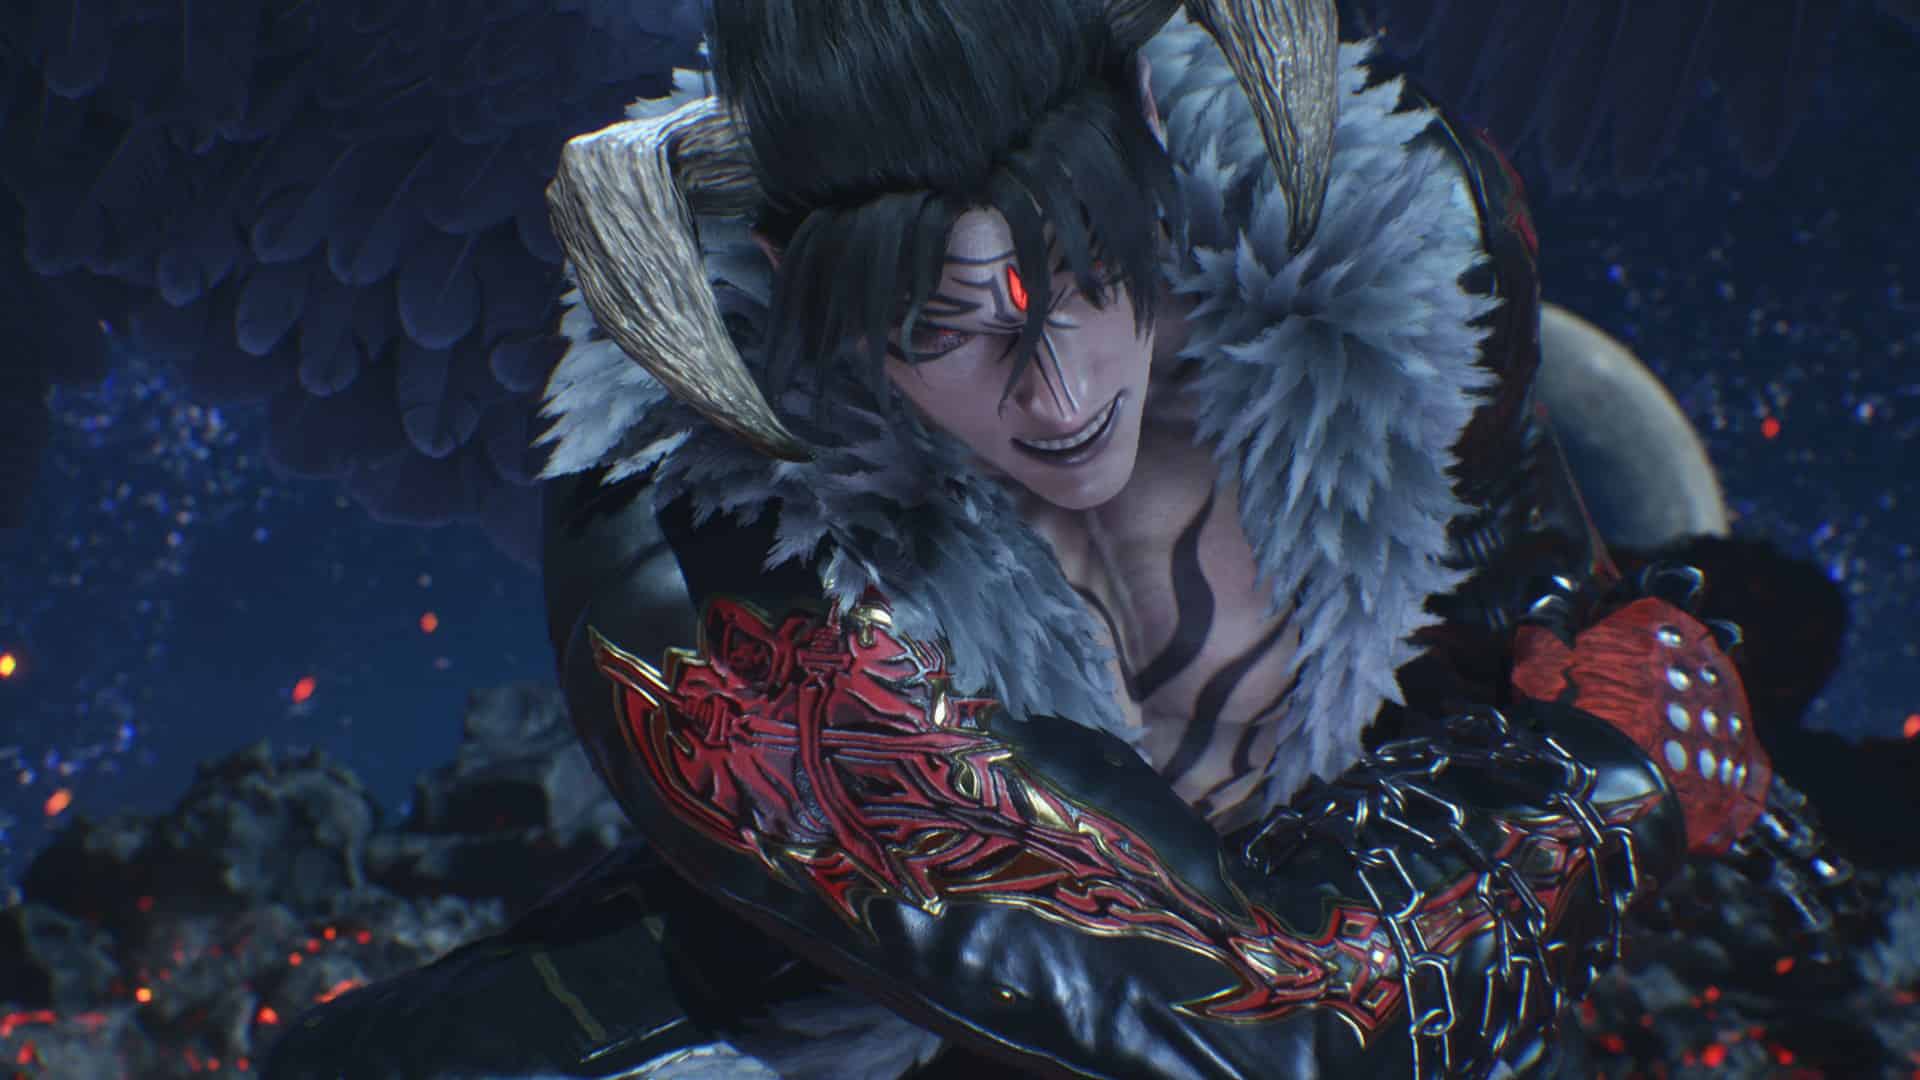
One of the strongest characters in the game, Tekken 8 Devil Jin comes with some of the highest execution requirements, but rewards players who can match them with massive damage potential. If you’re wanting to get started with learning him, we’ve got his full move list and some beginner combos to help you out.
Make sure you’ve read out Tekken 8 review to see how we fared with the game, as well as our Tekken 8 DLC guide for all the info on upcoming characters. And if you want to know where Devil Jin fits on our Tekken 8 tier list, be sure to check that out too. For now though, let’s go through our Tekken 8 Devil Jin guide with his full move list and beginner combos.
Devil Jin overview
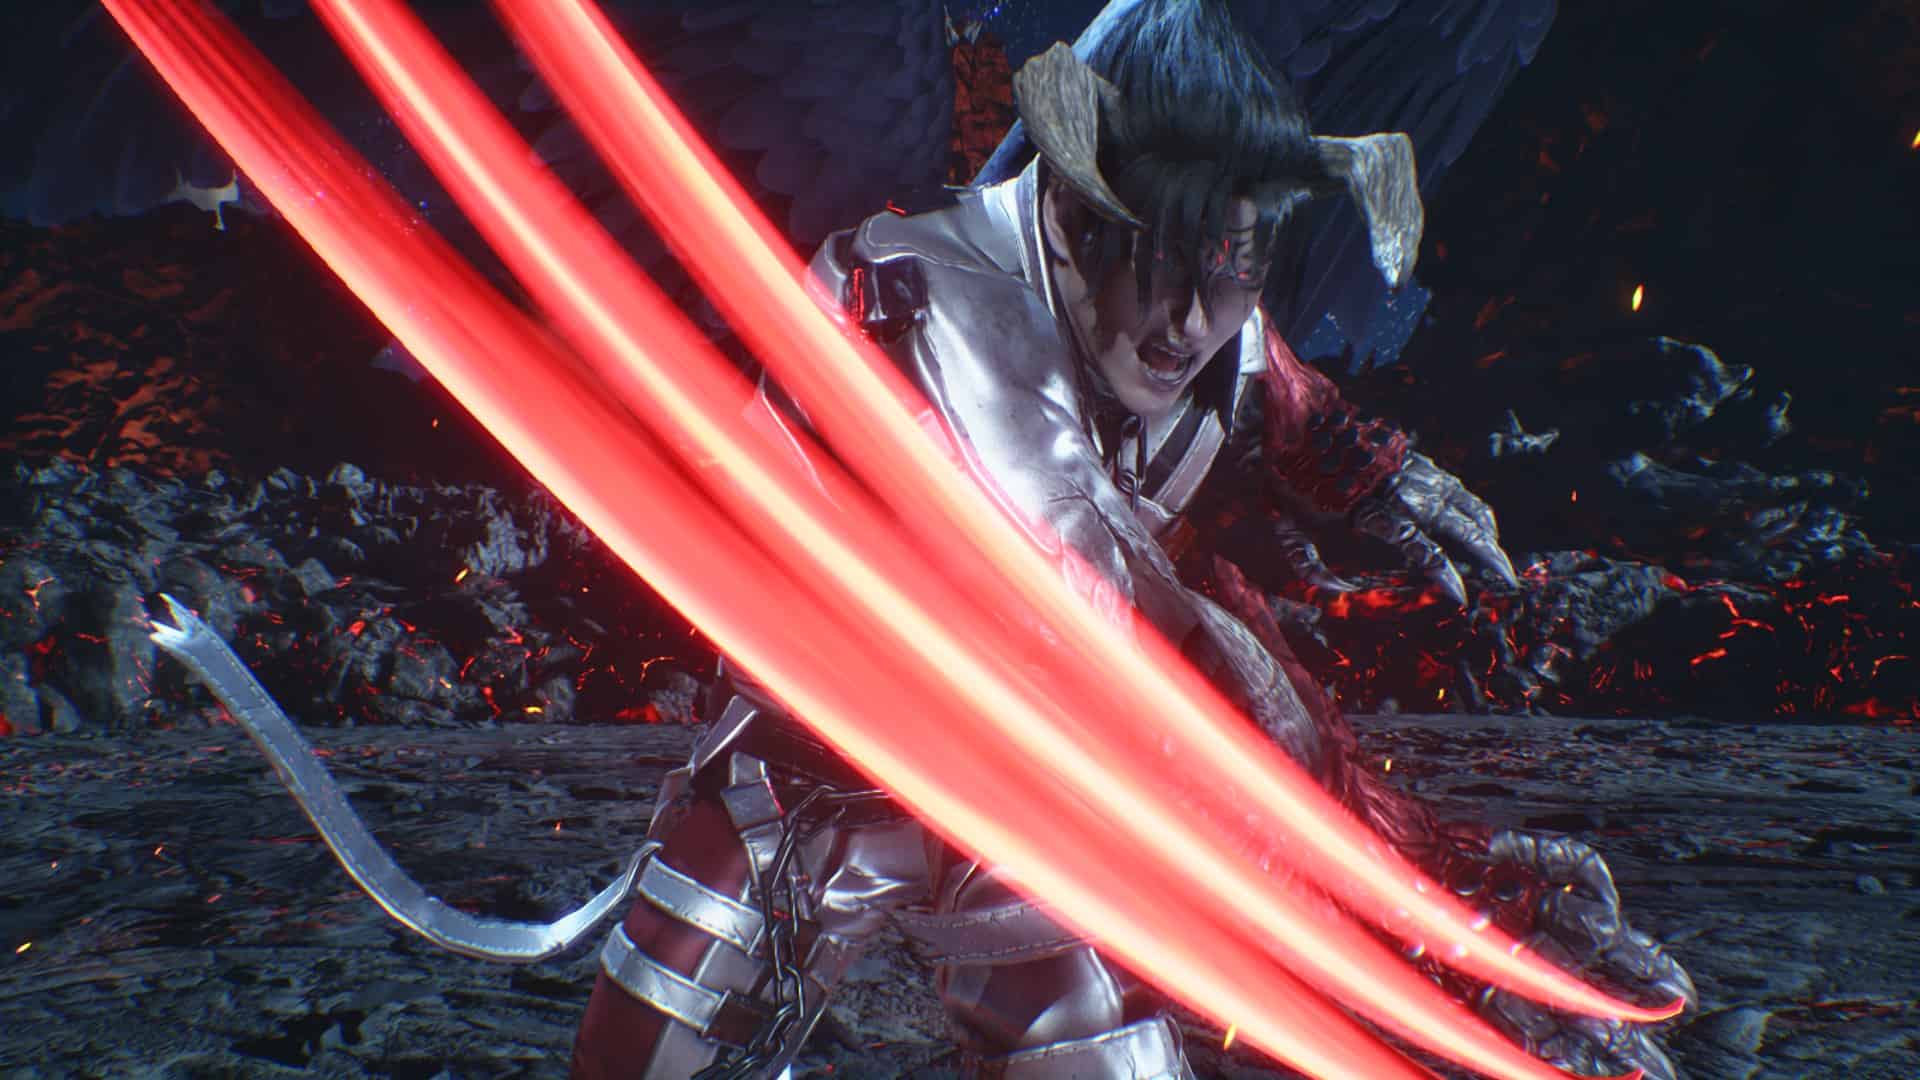
While not a true Mishima, Devil Jin still has the same complexity and sky-high execution requirements, with electrics and wavedashes galore. But mastering them opens up a character with strong fundamentals and one of the best mixup games in the series. And if that wasn’t enough, Devil Jin can deal some of the highest-damage combos in the game, with some players using wall breaks, floor blasts and more to reach upwards of 160 damage in one combo. It’ll take a long time to master Devil Jin, but we won’t pretend it isn’t worth it.
Tekken 8 Devil Jin move list
Devil Jin has a fairly standard move list, with a lot of his value coming from making the most of his electrics and his Fly stance, both as a means of opening up the opponent and as combo enders. Here is the full Tekken 8 Devil Jun move list:
Heat System
- All moves will deal chip damage on block
- A Heat Dash can be used when a Heat Engager hits or is blocked (after activation, Heat will end)
- Heat Smash, a move that causes critical damage, can be activated (after activation, Heat will end)
- Annihilation Beam can be used
- Allows the use of Electric Wind God Fist without Just Input
Heat Moves
- Heat Burst: (When Heat activation available) 2+3
- Rakshasa’s Fury: b2, 3
- Wicked Jambu Spear: b3
- Wraith Kick: u/f4
- Demon’s Paw: f, f2
- Dark Arachnid Twister: (During Mourning Crow) 2, 2
- Wheel of Pain > Annihilation Beam: (During Heat) (4, 3), 1+2
- Hisou > Annihilation Beam: (During Heat) u/f3+4, (on hit or block) 1+2
- Laser Crush > Annihilation Beam: (During Heat) b, f2, 1, 4, 1+2
- Spiral of Madness > Annihilation Beam: (During Heat) f, N, d, d/f1+2, 1+2
- Vindictive Helix: (During Heat) 2+3
- Inner Purgatory: (During Heat and Mourning Crow) 2+3
Rage Moves
- Devil Dimension: Tainted Chains: (During Rage) d/f1+2
Normal Moves
- Flash Claw Combo: 1, 1, 2
- One Two Strike: 1, 2
- Back Fist Combo: 1, 2, 2
- Shoot the Works: 1, 2, 3, 4
- One Two Knee: 1, 2, 4
- Demon Backhand Spin: 2, 2
- Hell Cyclone: 3, 1, 2
- Hell Spiral: 3, 1, 4
- Demon March: 3, 1, f, f
- Last Rites: 4
- Wheel of Pain: (4, 3)
- Tsujikaze: 1+2
- Fly: 3+4
- Three Ring Alaya: 1+4, 2
- 893P > Knee Kick: f2, 4
- Mourning Crow: f3
- Twisted Samsara: f4, 3
- Dark Twin Lancer: d/f1, 2
- Bloody Glaive: d/f2
- Rengoku: d/f3, 2, 4
- Tsunami Kick: d/f4, 4
- Corpse Thrust: d1
- Broken Plate: d3
- Double Lift Kicks: d3+4
- Malicious Mace: d/b2
- Demon’s Spear: d/b1+2
- Demon’s Lance: d/b1+2 (hold)
- Brimstone Strike: b1, 2
- Rakshasa’s Rampage: b2, 1
- Rakshasa’s Fury: b2, 3
- Wicked Jambu Spear: b3
- Demon Steel Pedal: b4
- Aratama Strike: b1+2
- Lightning Screw Uppercut: b1+4
- Hellfire Blast: u/b1+2
- Samsara: u4
- Hellfire Cannon: u1+2
- Infernal Shackle: u/f1
- Decapitating Sword: u/f2
- Reaper’s Scythe: u/f3
- Wraith Kick: u/f4
- Hisou: u/f3+4
- Demon’s Paw: f, f2
- Demon’s Shaft: f, f4
- Laser Cannon: b, f2, 1, 2
- Laser Scraper: b, f2, 1, d/f2
- Laser Crush: b, f2, 1, 4
- Laser Slice: b, f2, 3
- Gates of Hades: b, f1+2, 2
- Leaping Side Kick: WR3
- 10 Hit Combo: f2, 4, 3, 1+4, 1, 2, 1, 4, 1+2
Special Move
- Ki Charge: 1+2+3+4
Moves While Crouching
- Solo Piston > Infernal Shackle: WS1, 1
- Solo Piston > Bloody Glaive: WS1, 2
- Alaya: WS2
- Organ Wrecker: WS3
- Wretched Heel: WS4, 4
Moves during Sidestep
- Devil Twister: (During sidestep) 2
- Hell’s Gate: (During sidestep) 2 (during hit) u
Moves While Down
- Yomigaeri: (While down and facing up) u3+4
Moves during Wind God Step
- Wind God Step: f, N, d, d/f
- Thunder God Fist: f, N, d, d/f1
- Heaven’s Door: f, N, d, d/f1, u/f
- Wind God Fist: f, N, d, d/f2
- Electric Wind God Fist (EWGF): f, N, d, d/f2 (press d/f and 2 simultaneously)
- Demon’s Hoof: f, N, d, d/f3
- Demon’s Tail: f, N, d, d/f (hold) 3
- Spinning Demon Scythe: f, N, d, d/f (hold) 3, 3
- Spinning Demon Hellfire Beam: f, N, d, d/f (hold) 4, (on hit) 1+2
- Spiral of Madness: f, N, d, d/f1+2
Moves during Fly
- Fly: 3+4
- Near Death: (During Fly) 1
- Infernal Annihilation: (During Fly) 2
- Amara: (During Fly) 3
- Devil Starstorm: (During Fly) 4, (during hit) 2, 1+2
- Infernal Destruction: (During Fly) 1+2
- Cross Infernal Destruction: (During Fly) f1+2
Moves during Mourning Crow
- Mourning Crow: f3
- Tiger Thrush: (During Mourning Crow) 1
- Dark Arachnid Twister: (During Mourning Crow) 2, 2
- Venomous Torment: (During Mourning Crow) 3
- Devil Starstorm: (During Mourning Crow) 4, (on hit) 2, 1+2
Throws
- Double High Sweep: (Approach opponent) 1+3
- Judgment: (Approach opponent) 2+4
- Shoulder Flip: (Approach opponent from left side) 1+3 (or 2+4)
- Over the Limit: (Approach opponent from right side) 1+3 (or 2+4)
- Pivoting Hip Throw: (Approach opponent from behind) 1+3 (or 2+4)
- White Mountain: (Approach opponent) d/f2+3
- Stonehead: (Approach opponent) u/f1+2
- Complicated Wire: (Approach opponent) qcb1+3
- Obliteration: (Approach opponent) f, hcf1+2
Attack Reversal
- Imperial Wrath: (Time with opponent attack) b1+3 (or b2+4)
- Low Parry: (Time with opponent low attack) d/f
Moves While Opponent is Down
- Hellfire Incinerator: (While opponent is down) d1+2
Devil Jin combos
Devil Jin has some pretty high execution requirements, but if you can manage to consistently land his combos, he offers some of the highest damage potential in the game at higher levels. Here are some beginner Devil Jin combos to get started:
- Combo 1: d3+4, d/f3, 2, 4u, (during Fly) 2
- Combo 2: EWGF, EWGF, d/f3, 2, 4u, (during Fly) 4, (on hit) 2, 1+2
- Heat Dash Combo: EWGF, u1+2, (during Heat) f, f2f, b2, 1, b, f2, 1, 2
Devil Jin strategy
Devil Jin excels when played aggressively. His wavedash and mixups force your opponent to always be guessing, and puts them on the back foot. Load on the pressure and use your launchers and hellsweeps to whiff punish to get some of the highest-damage combos in the game. And with potentially the best Heat Smash on the roster, you have a get out of jail free card if you ever get in trouble, or just to finish off your opponent.
That’s it for our Tekken 8 Devil Jin guide, hopefully this gives you a good starting point. If you’re after some more character guides, check out our Tekken 8 Reina, Tekken 8 Victor, and Tekken 8 Azucena guides too.
About the Author

Tekken 8
-
UnknownUnknown
- Platform(s): PC, PlayStation 5, Xbox Series S, Xbox Series S/X, Xbox Series X
- Genre(s): Fighting


