
You can trust VideoGamer. Our team of gaming experts spend hours testing and reviewing the latest games, to ensure you're reading the most comprehensive guide possible. Rest assured, all imagery and advice is unique and original. Check out how we test and review games here
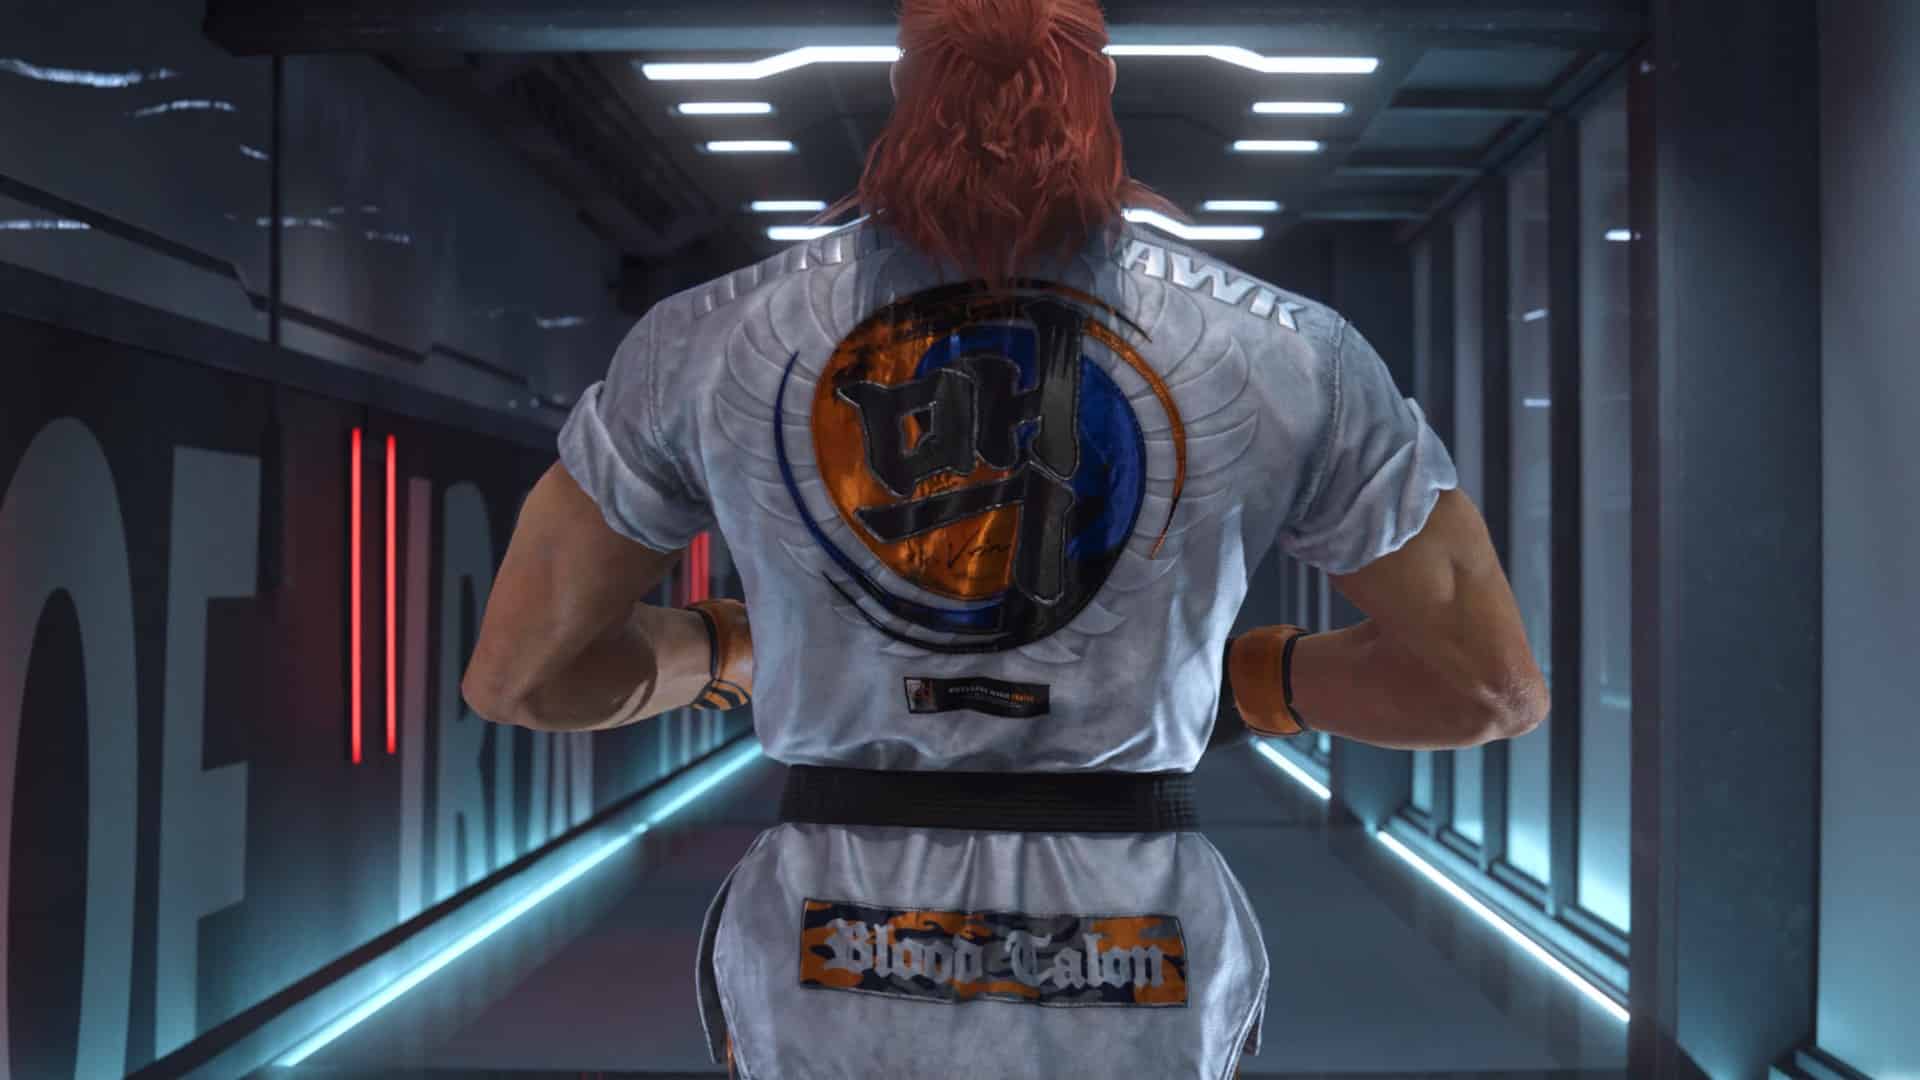
Tekken 8 Hwoarang is back, and just like in Tekken 7, the taekwondo master is one of the strongest fighters in the game. His different stances, mixup potential, and massive damage make him a danger to anyone, and if you’re looking to pick him up we’ve got his full move list and some beginner combos to get you started.
Before that, make sure to take a look at our Tekken 8 review to see what we thought of the game. And if you’re looking for more news on the upcoming Tekken 8 DLC characters, we have you covered. With that, let’s get into our Tekken 8 Hwoarang guide.
Tekken notation
Before you can start learning moves and combos, it’s important to know Tekken notation. This helps quickly explain specific inputs in one or two characters instead of having to write out the full thing every time. Our move list and combos use the notation below, so make sure to refer back to it to know exactly what to do.
| Notation | Action |
| 1 | Left Punch (Square / X) |
| 2 | Right Punch (Triangle / Y) |
| 3 | Left Kick (Cross / A) |
| 4 | Right Kick (Circle / B) |
| N | Neutral (Pressing nothing) |
| f | Forward |
| b | Back |
| u | Up |
| d | Down |
| d/f, d/b, u/f, u/b | Down Forward, Down Back, Up Forward, Up Back |
| qcf / qcb | Quarter Circle Forward / Quarter Circle Back |
| SS / SSR / SSL | Sidestep / Sidestep Right / Sidestep Left |
| FC | Fully Crouched |
| WS | While Standing / While Rising |
| WR | While Running |
| () | Rapidly press one after the other |
Tekken 8 Hwoarang move list
Getting the hang of Hwoarang’s move list means getting the hang of his stances. With so many on offer, once you master his stances you’ll have some of the best mixup potential in the game. Here is Hwoarang’s full Tekken 8 move list:
Heat System
- All moves will deal chip damage on block
- A Heat Dash can be used when a Heat Engager hits or is blocked (after activation, Heat will end)
- Heat Smash, a move that causes critical damage, can be activated (after activation, Heat will end)
- Can use kicks during powered up Right Flamingo
Heat Moves
- Heat Burst: (When Heat activation available) 2+3
- Ignition Barrage: d/f3+4
- Peacekeeper: f, f4
- Black Kite: (During Right Stance) d3
- Flamingo Rocket: (During Left Flamingo) f3
- Left Heel Lance: (During Right Flamingo) b3
- Trinity Claymore: (During Heat) 2+3
Rage Moves
- Sky Burial: (During Rage) d/f1+2
Normal Moves
- Home Surgery: 1, 1, 3, 3
- Left Right Combo: 1, 2
- Rejector: 1, 2, f3
- Rejection: 1, 2, f4
- Right Jab: 2
- Right Jab Side Kick: 2, f3
- Right Jab > Spinning Back Kick: 2, f4
- Siege Mortar Combo: 3, 3, 2
- Left Kicks: 3, 3, 3
- Left Kicks > Right Hook Kick: 3, 3, 4
- Left Kicks > Backlash: 3, 3, f4
- Flying Eagle: (3, 4)
- Right Left Kick Combo: 4, 3
- Right Kicks > Chainsaw Heel: 4, 4, 3
- Right Kicks > Raptor Combo: 4, 4, 4, 4
- Disrespect: 1+2
- Motion Switch: 3+4
- Rusty Knife: f2
- Left Flamingo Feint: f3
- Cheap Shot Snap Kick: f(3, N, 3)
- Right Hook Kick: f4
- Right Flamingo Feint: f, N, 4
- Push Hands: f1+2
- Left Uppercut & Middle Kick: d/f1, 3
- Right Uppercut: d/f2
- Double Claymore: d/f3, 4
- Middle Claymore: d/f4
- Ignition Barrage: d/f3+4
- Smash Low Right: d3, 4
- Firecracker: d4, 4
- Sweep Kick: d/b3
- Ankle Biter > Crescent Kick: d/b4, 4
- Dynamite Heel: d/b3+4
- Stealth Needle: b1
- Left Plasma Blade: b3
- Nose Bleeder: b4
- Knife Hand Strike: u/b2
- Fade-Away Kick: u/b4
- Jump Kick: u3
- Scorpion Side Kick: u4
- Bloody Guillotine: u3+4
- Bone Stinger: u/f2
- Hunting Hawk: u/f3, (on hit or block) 4, 3
- Air Raid: u/f4, 4, 4
- Flashing Trident: u/f3+4, 4
- Delayed Rising Toe Kick: u/f, N, 4
- Spinning Axe Kick: f, f3
- Peacekeeper: f, f4
- Flying Nerichagi: WR3
- Torpedo Kick: WR4
Special Move
- Ki Charge: 1+2+3+4
During Shark Step
- Shark Step: f, N, d, d/f
- Phalanx: f, N, d, d/f3
- Sky Rocket: f, N, d, d/f4
- Lethal Sky Rocket: f, N, d, d/f4 (press d/f and 4 simultaneously)
Moves While Crouching
- Chonsan Spin: WS2, 3
- Iron Heel: WS3
- Tsunami Kick: WS4, 4
- Spinning Scythe > Axe Heel: WS3+4, 3
Moves during Sidestep
- Eruption: (During sidestep) 3, 3
- Spinning Trip Kick: (During sidestep) 4
Moves While Facing Backward
- Left Plasma Blade: (Back facing opponent) 3
- Plasma Blade: (Back facing opponent) 4
- Spinning Low Kick: (Back facing opponent) d3
During Right Stance
- Right Stance: 3+4
- Migraine: (During Right Stance) 1, 1
- Big Fists: (During Right Stance) 2, 1, 1
- Hawk Strike: (During Right Stance) 2, 3
- Chainsaw Kick Combo: (During Right Stance) 2, 4, 3
- Right Reverse Kick Combo: (During Right Stance) 2, 4, 4
- Volcannon: (During Right Stance) 3, 4
- Backlash: (During Right Stance) (3, 4)
- Chainsaw Kick: (During Right Stance) 4, 3
- Right Reverse Kick: (During Right Stance) 4, 4
- Disrespect: (During Right Stance) 1+2
- Motion Switch: (During Right Stance) 3+4
- Left Right Combo: (During Right Stance) f1, 2
- Cheap Shot: (During Right Stance) f3
- Right Flamingo Feint: (During Right Stance) f4
- Plasma Blade: (During Right Stance) f(4, 4)
- Black Kite: (Right Sidekick) d/f3
- Right Sidekick: (During Right Stance) d/f4
- Double Claymore: (During Right Stance) d/f2+3, 4
- Triumph Low Right: (During Right Stance) d3, 4
- Heel Screw: (During Right Stance) d3+4
- Blast Fist: (During Right Stance) b2
- Nose Bleeder: (During Right Stance) b3
- Spin Kick: (During Right Stance) b4
- Hunting Heel: (During Right Stance) f, f3
During Left Flamingo
- Left Flamingo: f3
- Left Flamingo > Back Hand: (During Left Flamingo) 1
- Right Backhand: (During Left Flamingo) 2
- Flamingo Siege Combo: (During Left Flamingo) 3, 2
- Flamingo Kick Combo Middle: (During Left Flamingo) 3, 3
- Flamingo Side Kick > Right Hook Kick: (During Left Flamingo) 3, 4
- Flamingo Side Kick > Backlash: (During Left Flamingo) 3, f4
- Right Step Kick: (During Left Flamingo) 4
- Lightning Halberg: (During Left Flamingo) (4, 3)
- Flamingo Switch: (During Left Flamingo) 3+4
- Power Blast: (During Left Flamingo) 1+4
- Flamingo Rocket: (During Left Flamingo) f3
- Spinning Hook Kick: (During Left Flamingo) f4
- Flamingo Double Claymore: (During Left Flamingo) d/f3, 4
- Flamingo Low Right: (During Left Flamingo) d3, 4
- Combat Low: (During Left Flamingo) d4
- Stealth Needle: (During Left Flamingo) b1
- Left Thunderbolt: (During Left Flamingo) b3
- Flamingo Screw Kick: (During Left Flamingo) b4, 3
- Flamingo Hunting Hawk: (During Left Flamingo) u/f3, (on hit or block) 4, 3
- Switch Plasma Blade: (During Left Flamingo) u/f4
- Flamingo Flashing Trident: (During Left Flamingo) u/f3+4, 4
- 10 Hit Combo: (During Left Flamingo) 2, 2, 3, 4, 3, 4, 4, 4, 4, 3
During RIghtt Flamingo
- Right Flamingo: f, N, 4
- Left Punch: (During Right Flamingo) 1
- Right Flamingo > Back Hand: (During Right Flamingo) 2
- Left Step Kick: (During Right Flamingo) 3
- Right Kick: (During Right Flamingo) 4
- Flamingo Switch > Left Flamingo: (During Right Flamingo) 3+4
- Screw Kick: (During Right Flamingo) f3
- Right Viper Combo > Right Sword: (During Right Flamingo) f4, 4
- Snap Kick: (During Right Flamingo) d/f4
- Teaser: (During Right Flamingo) d4, 4
- Predator Bardiche: (During Right Flamingo) d4, 3, 4
- Left Heel Lance: (During Right Flamingo) b3
- Right Thunderbolt: (During Right Flamingo) b4
- Raptor Claw: (During Right Flamingo) u4
- Flamingo Hunting Heel: (During Right Flamingo) u/f3
- Air Blade: (During Right Flamingo) u/f4
- Flying Eagle: (During Right Flamingo) (3, 4)
- 10 Hit Combo 2: (During Right Flamingo) 1, 2, 3, 4, 3, 4, 4, 4, 4, 3
Throws
- Pickpocket: (Approach opponent) 1+3
- Falcon Dice Kick: (Approach opponent) 2+4
- Bring It On: (Approach opponent from left side) 1+3 (or 2+4)
- Dead-End: (Approach opponent from right side) 1+3 (or 2+4)
- Slaughterhouse: (Approach opponent from behind) 1+3 (or 2+4)
- Roll and Choke: (Approach opponent) 2+4b
- Human Cannonball: (Approach opponent) f2+3
- Leg Hook Throw: (Approach opponent) u/f1+2
- Door Mat: (Approach opponent) qcb3
- Overhead Kick: (Approach airborne opponent) u/b3
- Jackknife: (During Right Stance approach opponent) 1+3 (or 2+4)
Attack Reversal
- Parry: (Time with opponent punch) b1+3 or (b2+4)
- Shotgun Shuffle: (After successful parry) 4
- Low Parry: (Time with opponent low attack) d/f
Tekken 8 Hwoarang combos
Even Hwoarang’s basic combos require a lot of practice as you’ll need to get used to switching stances in the middle of it. Even so, with a few tries you’ll hopefully be able to start nailing it down consistently. Here are a few simple Hwoarang combos:
- Combo 1: b3, u3, (during Left Flamingo) u/f4, (during Right Stance) u/f3, 4, 3
- Combo 2: f, N, d, d/f4, 3+4, (during Right Stance) (3, 4), b3, u3, (during Left Flamingo) b4, 3
- Heat Dash Combo: d/f2, f4, (during Right Flamingo) b3, (during Heat) f, f4f, 4, 4, 4, 4, u/f3, 4, 3
Fingers crossed, this helps you get started on the long road to become a Hwoarang master. If you’re looking for more Tekken guides, check out our guides to Tekken 8 Jin and Tekken 8 Paul too.
About the Author

Tekken 8
-
UnknownUnknown
- Platform(s): PC, PlayStation 5, Xbox Series S, Xbox Series S/X, Xbox Series X
- Genre(s): Fighting


