
You can trust VideoGamer. Our team of gaming experts spend hours testing and reviewing the latest games, to ensure you're reading the most comprehensive guide possible. Rest assured, all imagery and advice is unique and original. Check out how we test and review games here
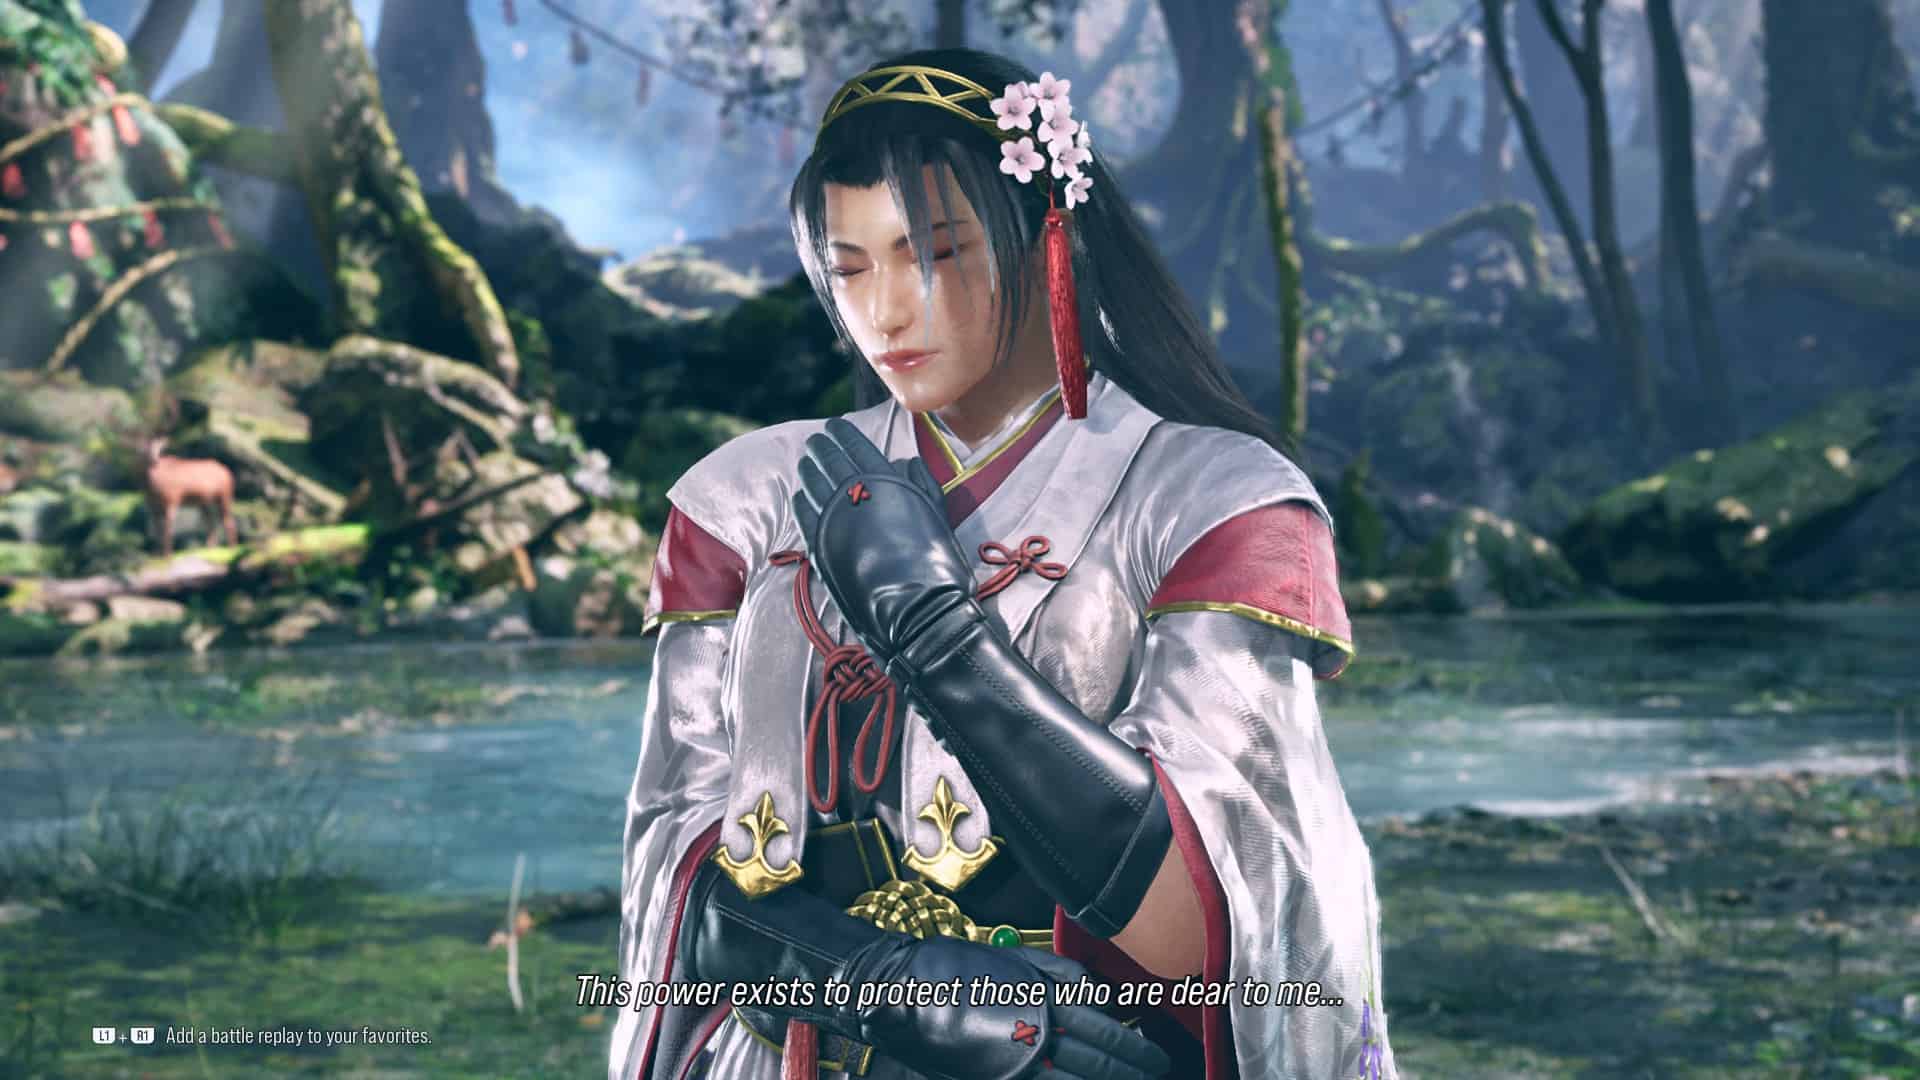
One of the most surprising returning characters, Tekken 8 Jun has seemingly come back from the dead to become one of the strongest characters in the roster. If you’re looking to pick her up, we’ve got her full move list as well as some simple bread and butter combos to get you started.
If you haven’t checked out our Tekken 8 review yet, take a look to see what we made of the game. And to prepare for the upcoming Tekken 8 DLC characters, we’ve got a guide telling you everything you need to know. With that, let’s get into our Tekken 8 Jun guide with her full move list and beginner combos.
Tekken notation
Before you can start learning moves and combos, it’s important to know Tekken notation. This helps quickly explain specific inputs in one or two characters instead of having to write out the full thing every time. Our move list and combos use the notation below, so make sure to refer back to it to know exactly what to do.
| Notation | Action |
| 1 | Left Punch (Square / X) |
| 2 | Right Punch (Triangle / Y) |
| 3 | Left Kick (Cross / A) |
| 4 | Right Kick (Circle / B) |
| N | Neutral (Pressing nothing) |
| f | Forward |
| b | Back |
| u | Up |
| d | Down |
| d/f, d/b, u/f, u/b | Down Forward, Down Back, Up Forward, Up Back |
| qcf / qcb | Quarter Circle Forward / Quarter Circle Back |
| SS / SSR / SSL | Sidestep / Sidestep Right / Sidestep Left |
| FC | Fully Crouched |
| WS | While Standing / While Rising |
| WR | While Running |
| () | Rapidly press one after the other |
Tekken 8 Jun move list
Some of Jun’s moves make a return from her previous appearance in Tekken Tag Tournament 2, but with that being so long ago, even Jun mains will need a refresher. Here are all of Jun’s moves in Tekken 8:
Heat System
- All moves will deal chip damage on block
- A Heat Dash can be used when a Heat Engager hits or is blocked (after activation, Heat will end)
- Heat Smash, a move that causes critical damage, can be activated (after activation, Heat will end)
- Allows the use of Kazama’s Power (health reducing move) without reducing health
- Allows the use of the powered up version of Inner Peace
Heat Moves
- Heat Burst: (When Heat activation available) 2+3
- Shunkei: 1+2
- Ame-no-Habakiri: f2, (on hit or block) 1+2
- Kagura: (During sidestep) 4
- Zuiun Renkyaku: (During Izumo) 3
- Ame-no-Nuboko: (During Miare) 2
- Yomotsu Ooyumi: (During Heat) 2+3
- Yomotsu Mihashira: (During Heat and Genjitsu) 2+3
Rage Moves
- Amatsu Izanami: (During Rage) d/f1+2
Normal Moves
- Suikei > Izumo Smash: 1, 1
- Spear Step: 1, 2
- Spear Step > Izumo Strike: 1, 2, 2
- Spear Step > Spin Kick: 1, 2, 4
- Suiren Leg Scythe: 1, 3
- Byakuren Tsukinuki: 2, 1, 4, 1
- Byakuren Tamasudare: 2, 1, 4, 3
- Byakuren Misogi: 2, 1, 1+2
- Shion: 3
- Shunkei: 1+2
- Ryuuntsui – Misogi: 3+4
- White Heron Dance: 1+4, 2, 4
- White Heron Lower Dance: 1+4, 3, 1
- White Heron Sun Palm: 1+4, 3, 1
- White Heron Moon Kick: 1+4, 3, 4
- Izumo Smash: f1
- Demon Slayer: f2
- Ame-no-Habakiri: f2, (on hit or block) 1+2
- Kanbashira > Izumo Strike: f3, 2
- Double Kanbashira: f3, 4
- Getsukankyaku: f4
- Inner Peace: f1+2
- Genjitsu: f3+4
- Wheel Kick: f2+3
- Habotan: d/f1, 1
- Aya Stitch: d/f1, 2
- Mizuho: d/f2
- Ame-no-Murakumo: d/f2, (on hit or block) 1+2
- Kazakiri: d/f3
- Katabami: d/f4
- Heavenly Sun Palm: d/f3+4, 1
- Heavenly Moon Kick: d/f3+4, 4
- Narumi: d2
- Suminagashi: d4, 4
- Kamudo-no-Tsurugi: d1+2
- Double Lift Kicks: d3+4
- Hourai’s Dance: d/b1, 1, 1+2
- Ayame: d/b2
- Leg Scythe: d/b3
- Kariashi: d/b4, 4, 4
- Kariashi Hakuro: (During Kariashi) 1+4
- Violet: b1
- Sumire Okuri: b1 (Counter Hit)
- Ryuen Saika Shikei: b2, 1, 1
- Ryuen Saika Renken: b2, 1, 2
- Ryuen Saika Renshuu: b2, 1, 4
- Ryuen Magushi: b2, 2
- Dragon Wheel Kick: b3
- Ryuusha Renken: b3, 2
- Dragon Wheel Leg Cutter: b3, 4
- Shirabyoushi: b4, 2
- Miare: b1+2
- Omoikane: b3+4
- Shinki: b2+3
- Izumo Strike: u2
- Chikura: u4
- Divine Exile – Heaven: u/f1
- Totsuka-no-Tsurugi: u/f2
- Iwato: u/f3
- Housenka – Misogi: u/f4, 3
- Saiuntsui: u/f3+4
- Suiei Ura Saika: f, f2, 2
- Suiei Kagetsu: f, f2, 3
- Yukimiguruma: f, f3, 3+4
- Tokkei – Misogi: f, f1+2
- Ame-no-Uzume: WR3
Special Move
- Ki Charge: 1+2+3+4
Moves While Crouching
- Tenkan Saika Shikei: WS1, 1, 1
- Tenkan Saika Renken: WS1, 1, 2
- Tenkan Saika Renshuu: WS1, 1, 4
- Tomoezakura: WS1, 4, 2
- Tomoefuji: WS1, 4, 1+2
- Hyakkaou: WS2, 1
- Gioh: WS3
- Ichikaku: WS4
- Sudare Nagashi: 1+2
- Flowing Moon Scent: WS3+4
- Twin Cloud Kicks: FC 3+4, 3
- Divine Exile – Earth: FC d/f1
- Grace: FC d/f2
- Kanamegaeshi: FC d/f3
- 10 Hit Combo: ES1, 1, 1+4, 2, 1, 2, 4, 4, 3
Moves during Sidestep
- Kasanegasumi: (During sidestep) 2
- Kagura: (During sidestep) 4
- Sankouchou: (During sidestep) 1+2
Moves during Izumo
- Izumo: u2
- Haraede Kannagi: (During Izumo) 1, 1
- Haraede Musubi: (During Izumo) 1, 2
- Setsurinbu – Misogi: (During Izumo) 2
- Zuiun Renkyaku: (During Izumo) 3
- Wakeikazuchi – Misogi: (During Izumo) 4, 2
- Mihikarioroshi: (During Izumo) 1+2
- Dianthus Garden: (During Izumo) f1+2
Moves during Genjitsu
- Genjitsu: f3+4
- Rurikoukai: (During Genjitsu) 1
- Kazama Style Sprint: (During Genjitsu) 2
- Getsuun Renken: (During Genjitsu) 3, 2
- Nichiun: (During Genjitsu) 4
Moves during Miare
- Miare: b1+2
- Ame-no-Sakahoko: (During Miare) 1
- Ame-no-Nuboko: (During Miare) 2
- Izumo Strike: (During Miare) 1+2
- Genjitsu: (During Miare) f
Throws
- Shiho Nage: (Approach opponent) 1+3
- Katanuki: (Approach opponent) 2+4
- Cloud Taste: (Approach opponent from left side) 1+3 (or 2+4)
- Wind Wheel: (Approach opponent from right side) 1+3 (or 2+4)
- Twisted Limbs: (Approach opponent from behind) 1+3 (or 2+4)
- White Mountain: (Approach opponent) d/f2+3
- Riai: (Approach opponent) u/f1+2
- Falling Rain: FC d/b1+2
- Tsukuyomi: (During Izumo) 1+4 (or 2+3)
Attack Reversal
- Attack Reversal: (Time with opponent attack) b1+3 (or b2+4)
- Amaterasu: (Time with opponent low attack) f3+4
- Low Parry: (Time with opponent low attack) d/f
- Throw Reversal: (Time with opponent throw) f3+4
Jun combos
Once you start getting more complex, Jun has some of the highest damage combos and wall carry potential in the game. But before you get there, you’ll want to master some of her more basic combos, like these:
- Combo 1: f2, u/f3, f3, 2, (during Izumo) 1, 1, b2, 1, 4
- Combo 2: u/f4, 3, (during Miare) f, (during Genjitsu) 4, f3, 2, (during Izumo) 1+2
- Heat Dash Combo: f2, u/f3, (during Heat) 1+2f, f4, b2, 1, 2, f, f2f, (during Genjitsu) 2
Jun strategy
Jun excels at almost everything. Her strong poke game lets her heap pressure on opponents, potentially netting a counterhit launcher in the process. But with great movement she can also bait whiffs that can be punished with some incredible punishers. Couple all that with sky-high combo damage, and however you want to play her, Jun is an incredible character.
Hopefully this is a good start to your journey to mastering Jun Kazama in Tekken 8. If you’re after some more character guides, we have guides on Tekken 8 Jin and Tekken 8 Paul for you to check out too.
About the Author


Tekken 8
- Platform(s): PC, PlayStation 5, Xbox Series S, Xbox Series S/X, Xbox Series X
- Genre(s): Fighting