You can trust VideoGamer. Our team of gaming experts spend hours testing and reviewing the latest games, to ensure you're reading the most comprehensive guide possible. Rest assured, all imagery and advice is unique and original. Check out how we test and review games here
While you’re exploring the deep, dark facilities of Lethal Company’s moons, there are plenty of dangers to watch out for. One of those dangers is the prospect of Lethal Company hazard levels. But it’s not immediately apparent what these are, or what they mean. That’s why we’re here to explain it, taking you through every hazard level in this co-op horror game, and what it means for you while you’re trying to meet your quota.
If you want to know some more about the game, check out the Lethal Company sales to see how many people have bought it, as well as what we know about the Lethal Company ending. For now though, let’s go through hazard levels in Lethal Company, and what each one means.
All Lethal Company hazard levels and what they mean
Hazard levels in Lethal Company are a means of indicating how dangerous certain areas are, giving you an idea of how difficult different moons are to play on. In total, there are seven hazard levels. These are:
- Safe
- D
- C
- B
- A
- S
- S+
As well as offering a more challenging experience, the moons with a higher hazard level also require you to pay a fee to visit. In exchange, however, you will gain access to more valuable scrap and loot, and will be able to make much more money. A single good trip on Titan, for example, could be enough to complete your quota in one visit if you’re lucky.
Hazard Level – Safe
There is only one area of the game that is designated as Safe, which is the Company Building on 71- Gordion. This is where you come to sell your scrap at the end of each run, and the only threat to life is Jeb, the monster that eats your scrap, which can kill you if you ring the bell too many times.
Hazard Level – D
The lowest hazard level in Lethal Company besides Safe, hazard level D is applied to Assurance, one of the starter moons. Assurance is largely populated by fairly harmless creatures, and you’re unlikely to be in much danger here, unless you happen to run into some Eyeless Dogs outside. A great option for beginner players.
Hazard Level – C
Hazard level C is the next step up, and applies to the moon Vow. Again, this isn’t a very dangerous location, and is pretty beginner friendly. However, there is a bit more danger here, so you’ll want to keep your wits about you regardless.
Hazard Level – B
Hazard level B is the point where things start to get really dangerous. There are three moons that fit under this category, being: March, Offense, and Experimentation. As well as more dangerous creatures around to kill you, there’s also a higher chance of dying from environmental causes, such as falling down pits, triggering mines, or even quicksand outside.
Hazard Level – A
From this point onwards, your main focus should be on surviving, as the creatures on the remaining tiers are some of the most dangerous in the game. Rend is the only A-tier moon, and features some pretty dangerous beasts around, so be careful.
Hazard Level – S
The second-highest hazard level, the S-tier only contains the moon Dine. Like Rend, Dine is full of monsters waiting to kill you, and plenty of environmental traps too. We would recommend only heading here if you’ve got a good team, with good teamwork, and sticking together to watch each others’ backs.
Hazard Level – S+
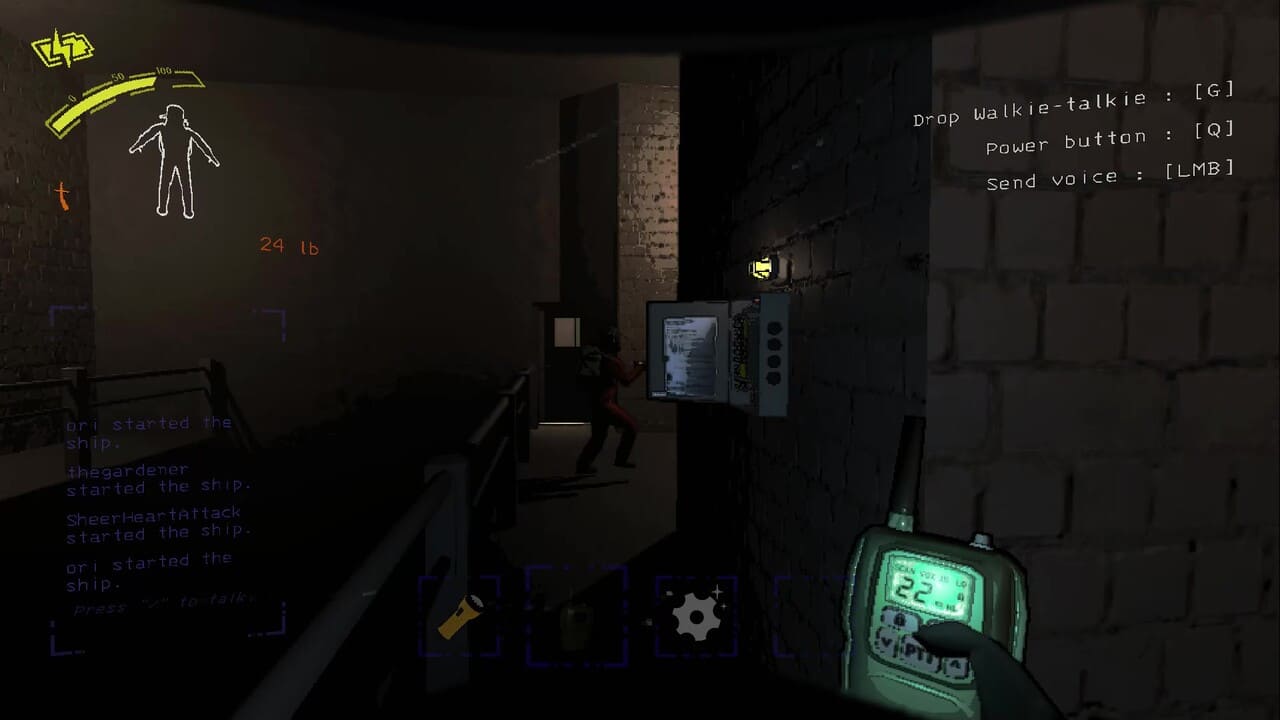
The highest tier, there is only one moon with hazard level S+ – Titan. This is the most dangerous moon in the game, and you should only head here with a great team, and if you’re willing to spend the money to get some good gear. Flashlights, walkie-talkies, inverse teleporters to help you escape, a zap gun or stun grenade, and someone to guide you from the monitor are all a must. Even having a shovel in your inventory for self-defense is a good idea. Otherwise, you probably won’t last very long at all here thanks to the likes of Manticoils and Brackens.
That’s everything you need to know about Lethal Company hazard levels. For more help dealing with the game’s many dangers, take a look at our guide to surviving the Lethal Company Bracken, as well as our guide on how to use the zap gun in Lethal Company too.
Lethal Company hazard levels FAQs
What are hazard levels in Lethal Company?
Hazard levels are grades which denote how danger of each moon in Lethal Company, ranging from Safe to S+.
How many hazard levels are there in Lethal Company?
Excluding the ‘Safe’ hazard level, there are six hazard levels ranging from D to S+.
About the Author

Lethal Company
-
UnknownUnknown
- Platform(s): Android, PC
- Genre(s): Action, Adventure, Horror, Indie, Puzzle


