You can trust VideoGamer. Our team of gaming experts spend hours testing and reviewing the latest games, to ensure you're reading the most comprehensive guide possible. Rest assured, all imagery and advice is unique and original. Check out how we test and review games here
Should you defend The Lodge or go to The Eye in the Starfield High Price to Pay quest? If it feels like this main story quest shoulders you with a major decision, then you’re not far off. The Starborn are here, eager to claim back their Artifacts, leaving you to decide whether to stay at The Lodge to protect the Constellation HQ or head up to The Eye to help Vladimir.
We’ll walk you through the consequences of choosing to defend The Lodge or go to The Eye. If you haven’t already, check out the Starfield Lair of the Mantis puzzle solution, especially if you’re after a new ship and suit. For some extra firepower to help the fight against the Starborn, check out the Starfield powers list.
The following includes some fairly meaty spoilers, so just a warning before you scroll down.

Starfield A High Price to Pay walkthrough
During the campaign, the Constellation faction has been divided into two groups, one in The Lodge and one aboard The Eye. Head to The Lodge and talk to Noel who will reveal that The Eye has been attacked. Immediately after, The Lodge comes under attack too, with someone attempting to break in.
There are certain NPCs who are always in The Lodge or The Eye no matter what. Aside from them, your companions will be split across the two places, with Sarah Morgan, Sam Coe, Andreja, and Barrett having a chance to be in either one. Here is a list of who is present in both The Lodge and The Eye during this quest:
- The Lodge: Walter, Matteo, Noel, and Vasco, and one of your Starfield companions
- The Eye: Vladimir Sall and three of your companions
From here, you have to choose either to defend The Lodge or head to The Eye.
What happens if you choose to defend The Lodge?
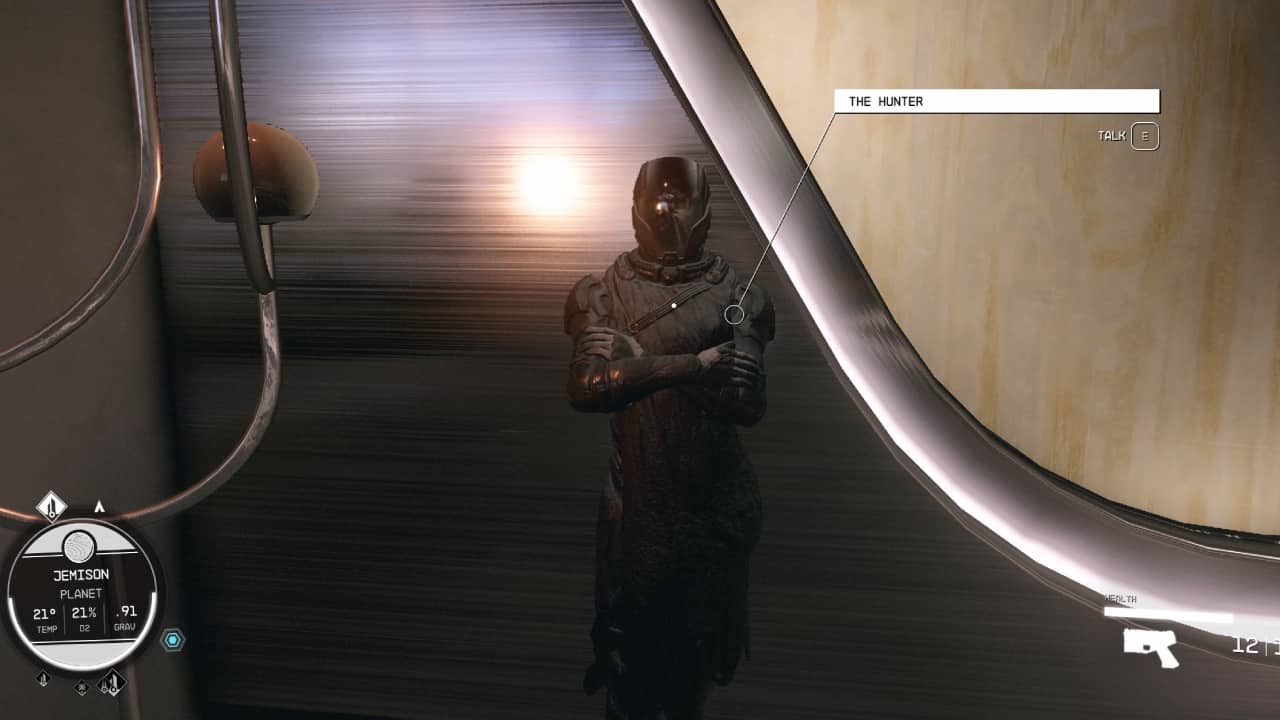
If you choose to defend The Lodge, you’ll be asked to head upstairs to the second floor to check on Walter. Once you get near him, a Starborn warrior called the Hunter will appear and attack. You will need to fight the Hunter for long enough that your Constellation companions have enough time to escape through a sewer in the basement. The Hunter can summon duplicates of themselves, so try your best to avoid damage and make good use of cover.
Equipping your best Starfield weapons and armor before hand is highly recommended. Make sure to stock up on ammo from the New Atlantis shops before you head in as well. You can actually meet the Hunter long before this mission in The Viewport tavern. We aren’t sure what happens if you kill him at an earlier juncture, though.
Once you’ve dealt enough damage, the Hunter will retreat. Follow your companions through the sewers to reach The Well district. From here, take the elevator up to the New Atlantis spaceport and board your ship. From here, fly over to The Eye, dock, and board to find out what happened there.
While you were in The Lodge, The Eye was also attacked, and one of your Constellations companions will have been killed. Which companions dies depends on who you’ve had follow you around the most and tends to vary from player to player.
What happens if you choose to go to The Eye?
If you choose to go to The Eye, you have to do this quickly. Leave The Lodge before the Hunter attacks Walter. If you take too long, the door will be locked, and you’ll be forced to defend The Lodge instead. As you normally would, head to the spaceport and fly over to The Eye. Dock there and head inside, and the companion who would otherwise have died will be severely injured. Simply talk to them and they will be able to recover following the quest.
After this, return to The Lodge, where you’ll find that one of the companions that was left behind has been killed. Again, which companion depends on how much time you spent alongside them so varies between players.
Starfield A High Price to Pay – defend The Lodge or go to The Eye?
Whether you decide to defend The Lodge or go to The Eye in the Starfield High Price to Pay, the narrative outcome is almost exactly the same, especially in terms of how the situation stands with the Starborn. Either way, you’ll end up having to visit both The Lodge to fight off The Hunter and The Eye to check up on the other Constellation members to complete the quest. The difference comes down to companion deaths.
Which companion will be killed in A High Price to Pay?
The companion that will be killed in Starfield’s A High Price to Pay quest is the one you have the highest affinity with. As you play through, you will gain affinity with certain companions based on how much time you spend with them and your interactions. Depending on which choice you make, the companion in the other location with the highest affinity is the one that will be killed. If your highest affinity companion is with you, then the companion with the second highest affinity will die instead.
Can you keep all Constellation members alive?
Unfortunately, there is no way to keep all the members of Constellation alive. It is a scripted part of the main story, and there is no way to avoid this happening. If you’re worried about a particular companion dying, then your best option is to defend the location they are currently in.
That covers whether to defend The Lodge or go to The Eye in the Starfield High Price to Pay quest. We also have how to persuade Natan Ovadia in Starfield, the best choice for Starfield First Contact, how to sell items, how to get Digipicks, and how to lockpick in Starfield guides.
About the Author


Starfield
-
UnknownUnknown
- Platform(s): PC, Xbox Series S, Xbox Series S/X, Xbox Series X
- Genre(s): Adventure, RPG, Science Fiction, Space


