You can trust VideoGamer. Our team of gaming experts spend hours testing and reviewing the latest games, to ensure you're reading the most comprehensive guide possible. Rest assured, all imagery and advice is unique and original. Check out how we test and review games here
The Tears of the Kingdom Lightning Temple will have you dealing with some tricky little puzzles, as well as taking on a host of Constructs, too. That’s why we’re here to take you through it step-by-step to make sure you’re fully prepared for what it has to offer.
Before you head in, make sure you stock up on Tears of the Kingdom arrows, and prepare yourself some Tears of the Kingdom recipes to heal up any damage you’ll take in here. The Tears of the Kingdom Lightning Temple is no pushover, so let’s get started.

Entering the Temple
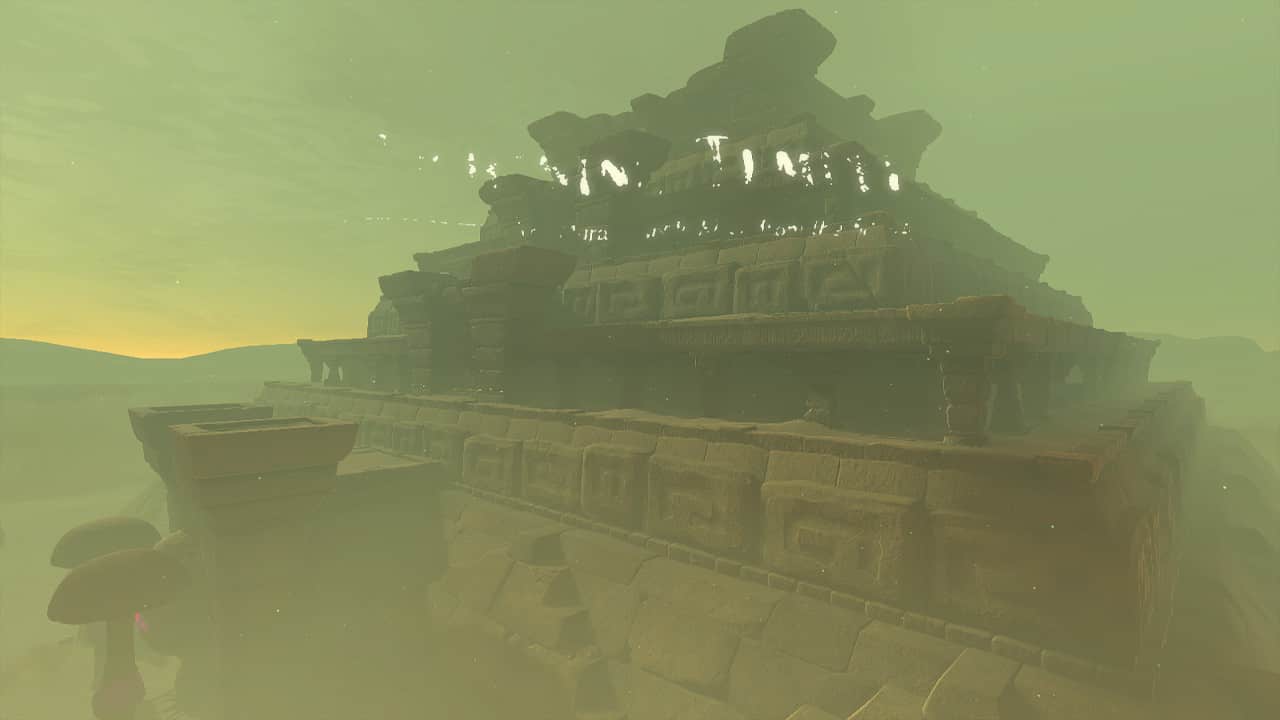
Once you’re outside the temple, you’ll see a few gibdo nests. Charge up Riju’s lightning attack and fire an arrow at the big central one to destroy it and start a fight against the temple’s boss Queen Gibdo. That’s right, a boss fight before you’ve even entered the temple. Don’t worry though, as she will flee once you deal enough damage. Hit her with a couple of Riju’s lightning strikes and she’ll scuttle off to the temple’s peak.

Hit the large pink nest on the front of the temple with another lightning strike, as well as the two gibdo nests either side. Take out any gibdos you find and head inside. On the walls on either side of the room there is a Korok-Frond Guster. Pick one up, and use it to clear the piles of sand in the room. In one, you’ll find a treasure chest containing a Flame-Emitter Capsule. Under the pile in the centre of the room is a switch. Step on it to open the door, and proceed to the next room.

You’ll come across some torches on the wall. You don’t strictly need a torch, but they’ll be very useful throughout the temple, so be sure to pick one up. You’ll come to a room with two bridges across two pits. Jump down into the second one and defeat the gibdo. Using a lit torch can burn a gibdo’s defences, letting you finish them off with another weapon. Open the chest here to receive a Large Zonai Charge. Climb back up and continue on.

In this room, you’ll find two bricks in a hole in the wall directly ahead. Use Tears of the Kingdom Ultrahand to remove the bricks. Inside this room, you’ll find a gibdo and a chest containing a Topaz. Move the stone slab in the back of the room to find a Gerudo Claymore.

Go back through the hole and turn left into a small room. Stand in the centre and the floor will drop down, where you’ll find a Gerudo Scimitar and a Shock Keese. Use Tears of the Kingdom Ascend to climb back up and proceed to a hallway with flamethrowers in the walls. There are two gibdos in here. Either defeat them normally, or push them into the flames using your Korok-Frond.
Stand next to the flames and wait for them to pause, and use this time to quickly run through. Repeat for the next set of flames, and then step on a switch in the far right corner to disable them and open the door. Proceed to the next room.

In the next room, flaming boulders roll down a narrow alley. Use Tears of the Kingdom Recall on the boulder, and follow it as it rolls back up the alley. If another boulder falls and breaks the first one, simply use Recall on this one, too. Step on the switch at the end to stop them falling, allowing Riju to follow you.

Go through the next corridor, taking out the gibdo in here, and enter a room with a pit in the middle. Take out the gibdo nest in the room using Riju’s lightning, as well as any gibdos you see. Lift up some stone slabs in the pit using Ultrahand to find a Gerudo Bow.

Now, look along the middle of the right-hand wall of the pit, and you’ll see a secret passageway. Follow it to find a spinning wheel with a quarter missing. Use Recall on the wheel, and as the empty section passes by, jump on and ride it to a platform with a chest on it. Open it to receive a powerful Mighty Zonai Shield.
Return to the pit, climb back up and walk up the stairs and you’ll enter the Room of Hopeful Light. Firstly, kill the Construct in this room. Now, head to the far right corner of the room and jump through a hole in the wall. Open a chest to receive a Mighty Construct Bow. The floor will collapse into a small room with some flamethrowers. Use Ultrahand again to grab a Gerudo Spear behind the flames, and return to the main room using Ascend.

In the corner to the right of the locked door, use Ultrahand to pull a mirror out of the sand. Head to the light in the centre of the room, and angle the mirror so that it reflects the light towards the orange hexagon above the door. Once charged up, it will turn green and the door will open. Proceed to the next room, the Room of Ascension.

The Room of Ascension
When you and Riju head in, you’ll have a short conversation. Head to the centre of the room and interact with the altar to activate the temple’s waypoint, allowing you to teleport back to this room. The floor will move, and a voice will tell you that you need to charge four batteries to allow the platform to reach the top of the temple, where Queen Gibdo waits.

Charging the first battery
Jump off the platform and head behind the shrine to the back right corner of the room. Use Ultrahand to move the two bricks in the wall and enter the room to find one of the batteries. Charge up Riju’s lightning attack and shoot the battery with an arrow to charge it up. Head back to the main room.

Charging the second battery
Head to the southern corner of the room, and use Ultrahand to remove the brick in the ground to release a strong current of air. Jump in and use your paraglider to ride up into the air, and then glide over to the opposite northern corner of the room. A couple of floors up, you’ll find a small platform with a lit fire. Land on the platform and defeat the Construct around the corner.

You’ll find two more spinning wheels with a chunk missing. Use Recall on one of the wheels, and when they overlap, quickly cancel the Recall to make them turn simultaneously. Head through and use Ultrahand to move the two bricks which are blocking the light to allow it to shine through, activating a statue opposite.

Head to the other end of the room, where the statue is, and step on the switch and head into a new corridor. You’ll find some moving walls with spikes on them that you can’t pass through. Pick up a brick using Ultrahand and place it horizontally in-between the walls to stop it. Climb over the brick and step on a switch at the end of the spiked walls to disarm them.

Here, you’ll find another spiked trap, this time from the ceiling. Grab another brick from the wall on the right, and place it vertically under the trap to stop it. Head to the next room and defeat the two constructs. Drop down into the hole to find a light, spinning walls, and another orange hexagon. Pick up the mirror using Ultrahand and shine it at the hexagon. It will charge it up during a gap in the wall, opening up the floor above the light.

Ascend back up and grab another mirror here. Hold it above the light, pointing back through the corridor with the spike trap to charge another hexagon. Head back to this room and go through the newly opened gate to find the second battery. Strike it with Riju’s lightning to charge it up, and head back to the main room.

Charging the third battery
Jump back in the wind current and fly all the way to the top floor of the room. Fight the Construct up here. Head over to the wall behind it where there are two fires lit. In-between them is a small gap in the wall. Climb up and walk through to reach the Room of Natural Light, where you’ll find a well of light in the centre.

Take the brick in this room, and stand it vertically in the light. In the western corner of the room, you’ll find a hole in the wall with some mirrors inside. Take one, and stand it atop the brick to reflect the light back into the main room. Now, head back there yourself.

The light will be blocked by a statue with a mirror attached. Use Ultrahand, and move it to the left, so that the mirror reflects the light to the right. Follow the light, and you’ll find another statue. Move it all the way to the left, too, and it will reflect the light downwards, activating a statue on the bottom floor. Jump down and activate the switch to enter the room.

Here you’ll find a gibdo nest and some Constructs. Destroy the gibdo nest first, and then take care of the remaining gibdos and Constructs. Riju’s ability is very useful here to damage multiple enemies at a time. Once they’re all dead, scout out the room where you’ll find balloons and mirrors, as well as a couple of torches on the pillars near the centre. At the end of the room, there is an elevated area where there is another orange hexagon to charge.

Use Ultrahand to attach a mirror to the front of one of the balloons. Place your balloon in the central pillar of light so that it faces directly forward. Use the metal circuit along the floor as a guide. Now, pick up a torch using Ultrahand, and light it in one of the braziers. Place the torch in the little basket of the balloon and it will start to rise. As it does so, the mirror will reflect the light into the hexagon as it passes, opening up the gate to the battery.

Go through the gate and use Riju’s lightning to charge the battery before returning to the main room. As you’re heading out, look out for a cracked part of the wall on your left as you pass through the small alleyway. Use Ascend here and you’ll find a chest containing a Diamond.
Charging the fourth battery
Use the wind current to return to the top floor where the statues with mirrors are. Head to the first statue you moved, and move it fully to the right, allowing the light to travel to the opposite side of the room. Walk over there, and use your Korok-Frond to clear the sand around the statue. Use Ultrahand to move the statue all the way to the right, so it reflects the light to the right.

Follow the light again, and you’ll find the fourth statue. Move this one all the way to the left, and it will reflect the light upwards, activating another statue. Run over to the statue that you used earlier to reflect the light downward and stand behind it. Use Ascend to reach the new area, and continue down this path.

Here you’ll find a hole in the ground, with a large drop filled with flamethrowers. This looks far worse than it is. Jump over the first two flames and start paragliding. As you fall, manoeuvre yourself to avoid the flames, passing through the available gap each time. After four sets of flames, you’ll reach the bottom, where you’ll find the fourth battery. Step on a switch to open the door to this room, and defeat the Constructs outside. Once you’ve done this, charge the battery using Riju’s lightning and return to the altar in the main room.

Lightning Temple ending and boss
Now that you’ve charged all four batteries, you’ll be able to use the central platform to travel to the top of the temple. This will lead to the temple’s boss, a rematch with Queen Gibdo. Prepare yourself by getting whatever items you need, and interact with the altar to start up the platform. This will play a short cutscene where Link and Riju ride the platform, before ending up in the boss room.

That’s most of the Tears of the Kingdom Lightning Temple out of the way. The only thing left is for you to take on the Tears of the Kingdom Queen Gibdo boss. If you want to get some good Tears of the Kingdom weapons to prepare yourself, we have a guide to point you in the right direction.
About the Author

The Legend of Zelda: Tears of the Kingdom
-
UnknownUnknown
- Platform(s): Nintendo Switch
- Genre(s): Action, Action Adventure, Adventure