You can trust VideoGamer. Our team of gaming experts spend hours testing and reviewing the latest games, to ensure you're reading the most comprehensive guide possible. Rest assured, all imagery and advice is unique and original. Check out how we test and review games here
Struggling to complete the Remnant 2 The Lament dungeon? Unlike most of the game’s dungeons, The Lament has very little combat, forcing you to rely on your wits and take on some pretty fiendish puzzles. These can be pretty tough if you don’t know what you’re doing, especially if you aren’t in the mood for it. That’s why we’re here with a guide to take you through the entire dungeon step by step.
If you’re struggling with puzzles, check out our guide to the Remnant 2 clock puzzle in Losomn’s Lemark District. And if you’re looking to deal some beefier damage, check out the Remnant 2 best weapons. Right now, let’s take a look at the Remnant 2 The Lament dungeon and go through all the puzzle solutions.
The Lament dungeon guide
The first obstacle you come across in the dungeon is a set of three corridors with arrow traps. Half-way through each corridor, either the order in which they fire, the direction they fire, or both, changes, so be aware of this and continue to zig-zag accordingly. On the last corridor, you have to time climbing over a ledge that shoots arrows, so wait for them to fire, and them immediately climb over. Pull the level at the end to disable the traps.

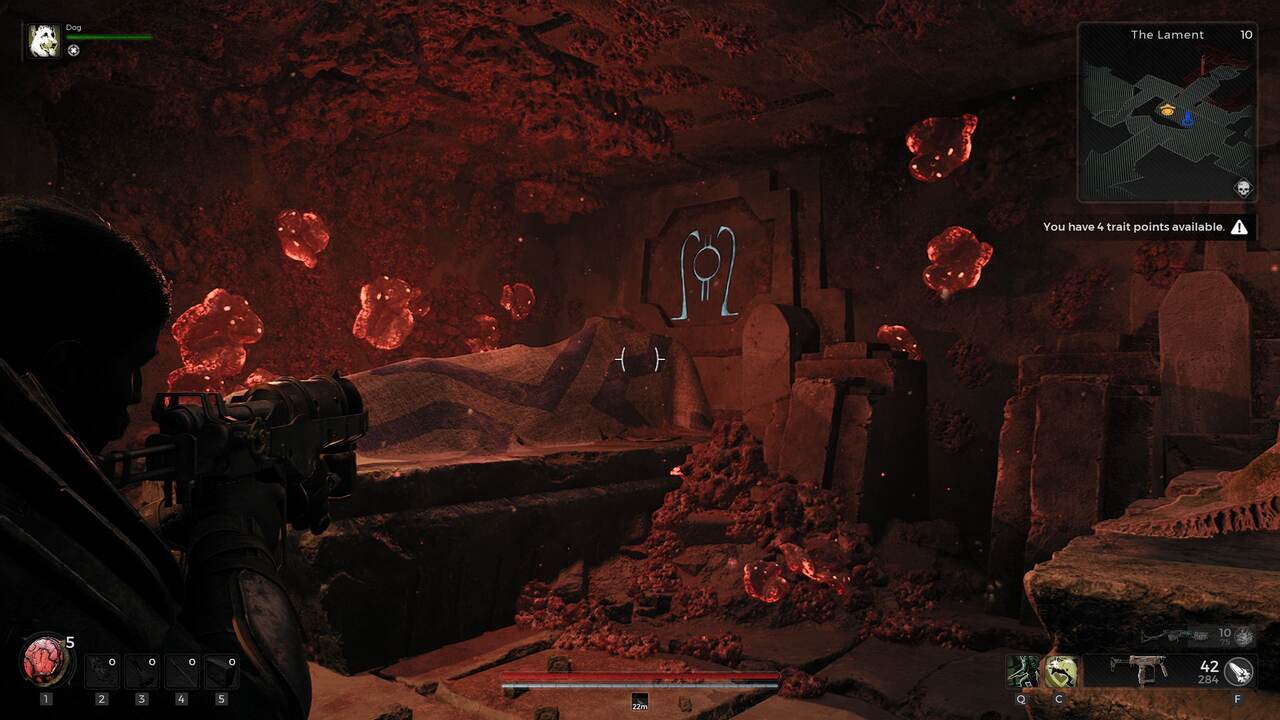
In the next room are a collection of dead Pan covered with sheets, with glowing symbols on the wall next to each one. Head down the ramp ahead of you, and read the book next to another body. Make a note of the symbol on the first page. Look at the sheets above each Pan, and make a note of the symbol on the wall of any Pan with a sheet featuring the symbol from the book. Continue through the dungeon.

The next section has a series of enemies. Kill these and continue to follow the path until you reach a door with a circular mechanism in front of it. Interact with the mechanism, and input the symbols that you noted down from the walls earlier. The order you input them doesn’t matter. Once that’s done, open up the door and proceed through. Continue all the way down the corridor and activate the checkpoint.

In the room right before the checkpoint are two coffins. Opening one of these will release a mini-boss called Wither. You’ll need to kill this to get a key for later in the dungeon, so prepare yourself for the fight, and open both coffins. Kill it to receive the Overdrive Mutator and the quest item Kolket’s Razor.

Head back to the checkpoint and face the entrance. To the right, you’ll see a pillar standing at an angle, and some pots. Roll through the pots and you’ll fall through a gap in the floor. Jump down into some water, and check behind one of the waterfalls for a path where you’ll find a key. Head all the way down the other end of the tunnel and open a door with this key. Loot the chest, and then climb up and through the hole in the wall.

Next is a trap similar to the arrow trap at the start, but this time, with buzzsaws. Your best bet is to walk down the left-hand side as the buzzsaws appear, following right behind one of them. Halfway through, as the buzzsaws reverse directions, quickly move over to the right, avoiding the middle saws, and run to the end. It might take a few tries, but it’s not as hard as it first appears. Open the coffin in the next room and pick up the Red Widow armour set.

Now it’s time for some backtracking. Head back to the door you opened with the circular mechanism, and turn left to find a corridor. Follow this path and then take another left, heading down some stairs into a large room. This room is filled with enemies, so take care of them all, and then head down to the bottom of the room where you’ll find a chasm spanned by floating platforms.

This puzzle can be frustrating if your character keeps rolling off the platforms and dying, but there’s a trick to make it much easier. First, jump on the middle platform. Then, jump forward and left to the next platform. This has the potential to cause your character to roll down each successive platform, reaching the end without having to jump again. If this doesn’t work, we’re afraid that it’s just down to trial and error, unfortunately.

Once you’re at the other side, open your inventory, and inspect Kolket’s Razor, the item you received from the Wither. Turn it so that the end with the sphere at the top points towards you, and you’ll be able to interact with it, turning it into Kolket’s Key. Open up the door, and head inside to find the Ring of Diversion and a lootable coffin. You’re not done yet, though.

Turn back towards the entrance. Walk into the wall to the right, and you’ll be able to phase through it. Follow the stairs in this hidden area all the way up and you’ll be above a boat hanging from the ceiling. Jump down and you’ll be able to grab the Lodestone Crown, a unique helmet that acts as a flashlight.

And that’s the Remnant 2 The Lament dungeon completed. If you’re after some more secrets, why not check out how to use the Remnant 2 Nightweaver Stone Doll to unlock the Dreamcatcher melee weapon. And if you’re hunting for loot, our how to unlock the Explorer archetype in Remnant 2 guide will get you the best archetype to do it with.
About the Author


Remnant 2
-
UnknownUnknown
- Platform(s): PC, PlayStation 5, Xbox Series S/X, Xbox Series X
- Genre(s): Action, Action Adventure, Action RPG, Arcade, RPG, Shooter


