You can trust VideoGamer. Our team of gaming experts spend hours testing and reviewing the latest games, to ensure you're reading the most comprehensive guide possible. Rest assured, all imagery and advice is unique and original. Check out how we test and review games here
After the Alone in the Dark Lagniappe locations? Though entirely optional collectibles, Lagniappe are well worth getting and not just if you’re a completionist as completing sets rewards you with additional lore, special scenes, new objectives, endings, and even weapons.
We’ll walk you through the location of the Alone in the Dark Lagniappe location throughout Decerto and the memories. For more guides, check out how to get the shotgun, how to get the machine gun, and where to find the Barlow Lens.
Note that you’ll need to play through the game as both Emily Hartwood and Edward Carnby to pick up all the Lagniappes as both have unique sections, dialogues, and memory areas, especially during Chapter 4.
When It Makes You Worse

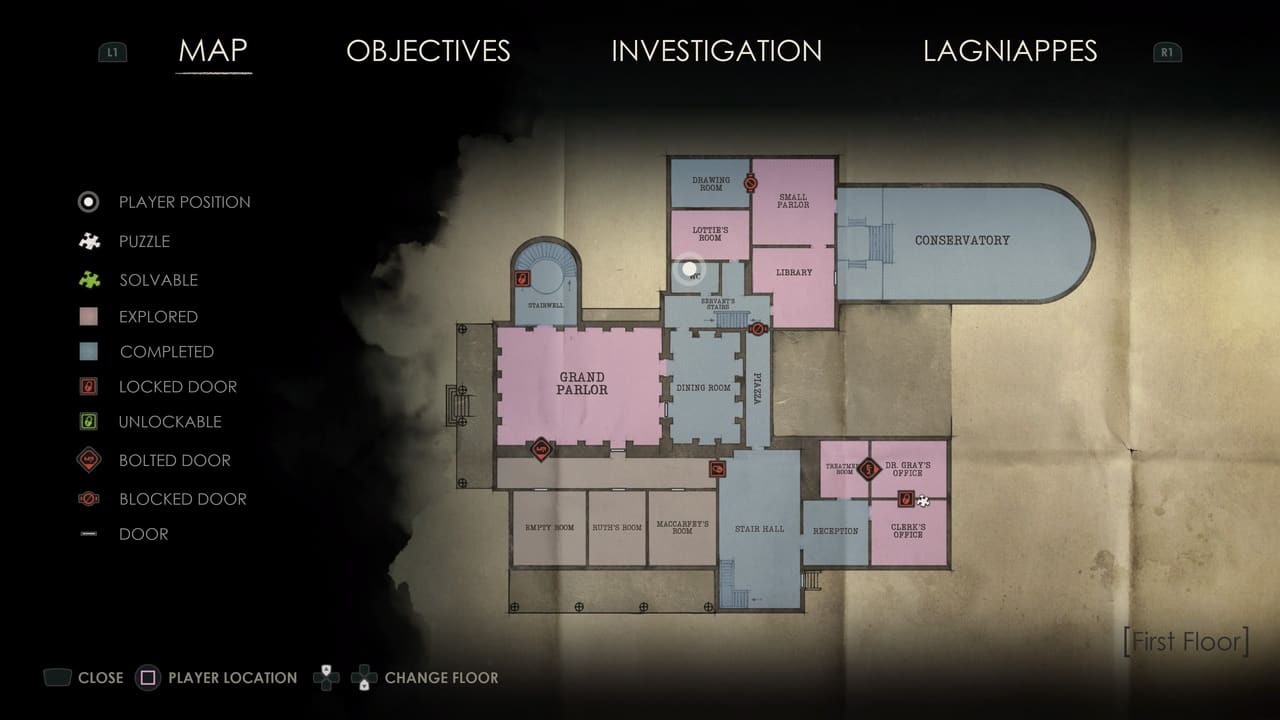
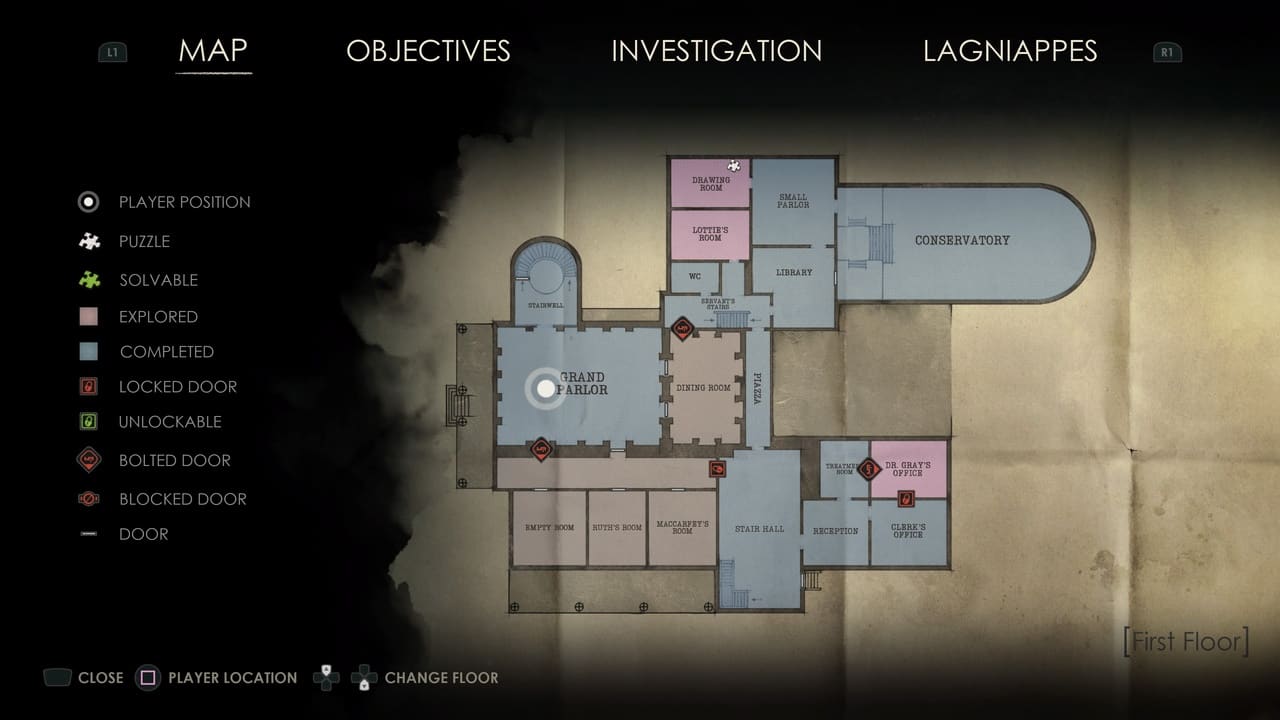
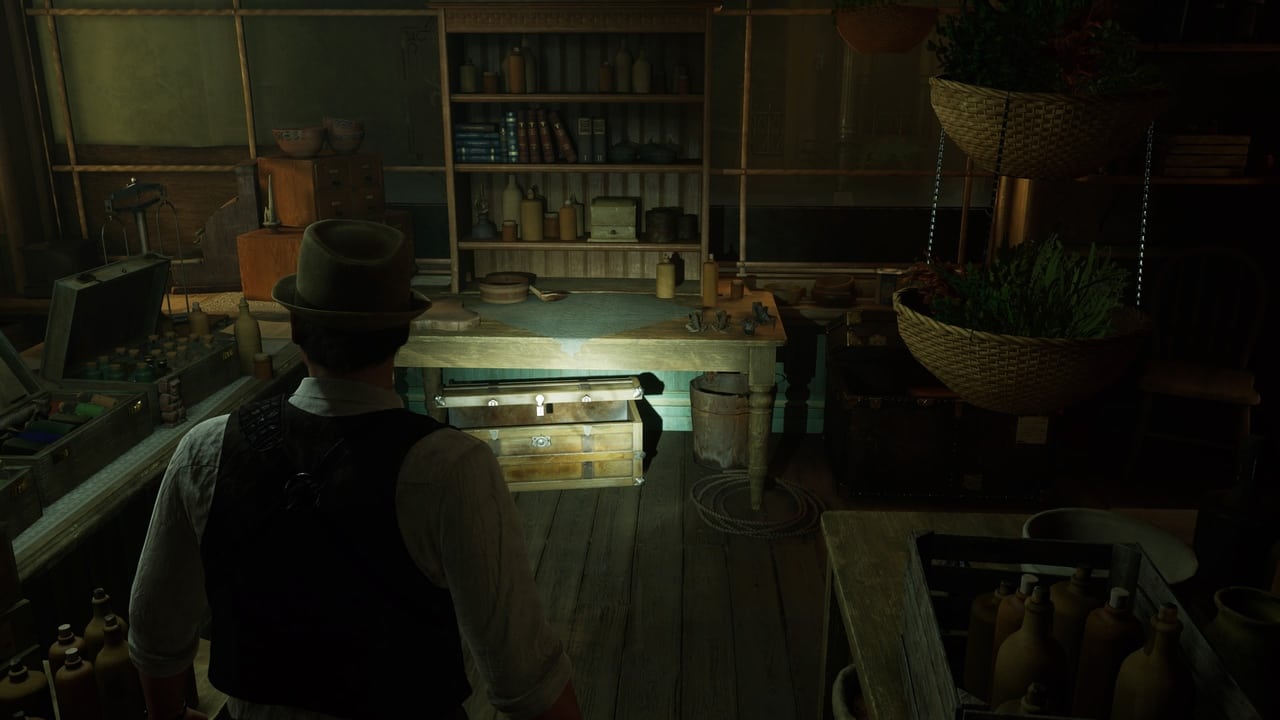
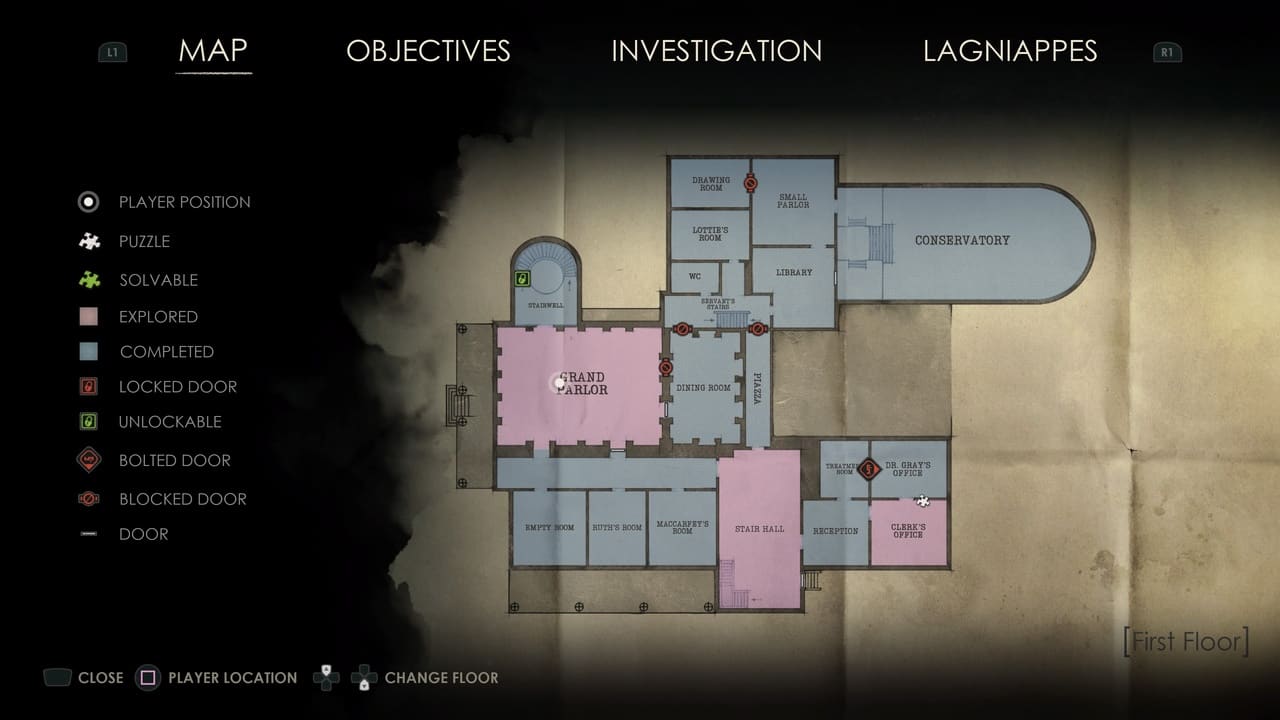
Rorschach – on a shelf at the back of the Clerk’s Office.
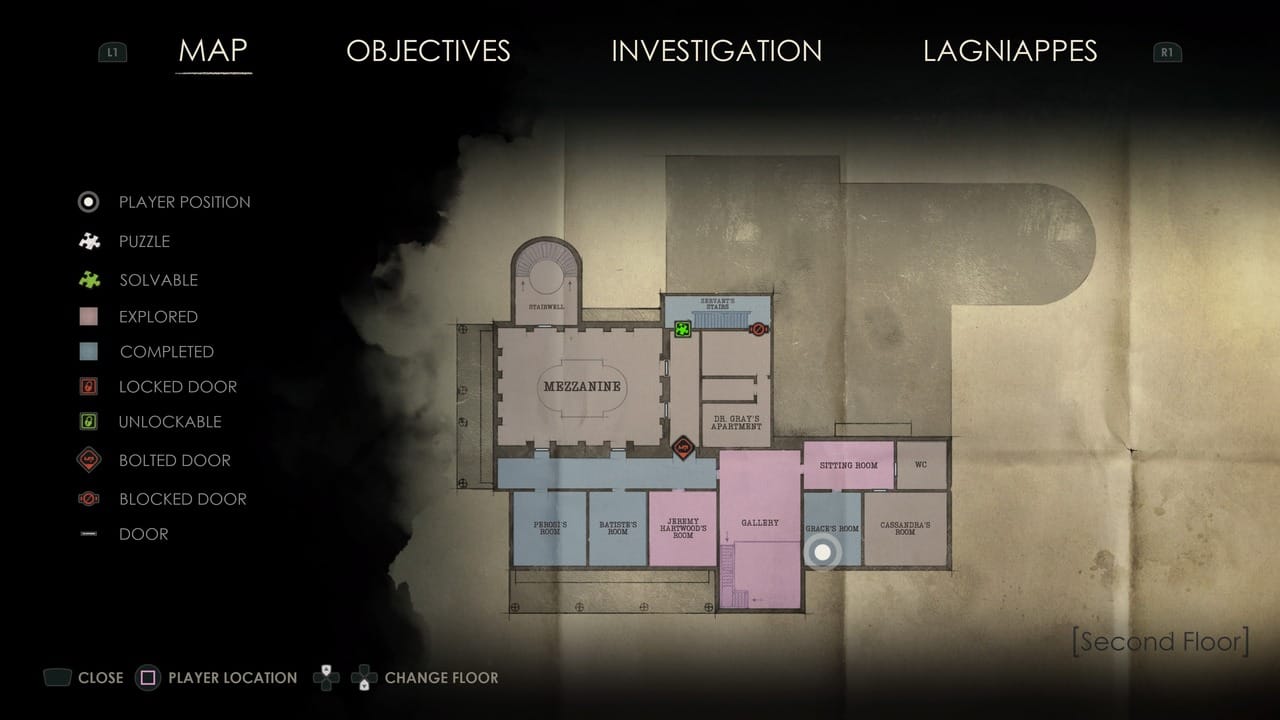
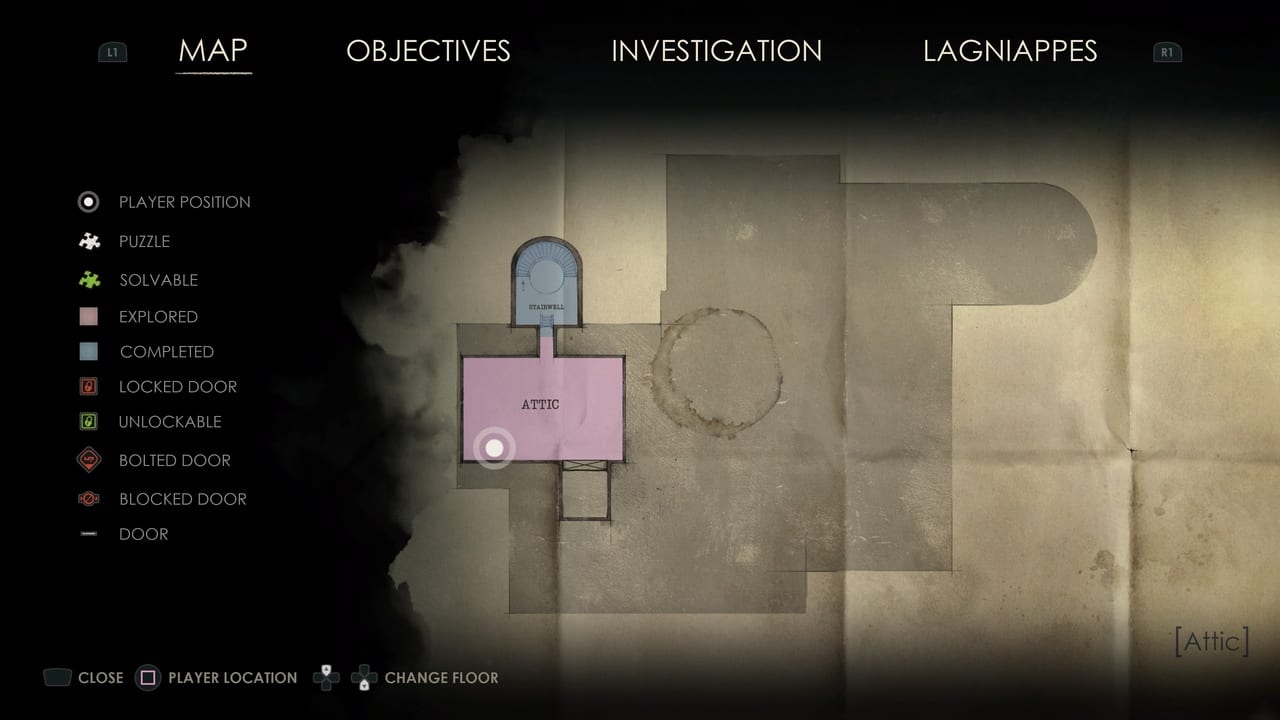
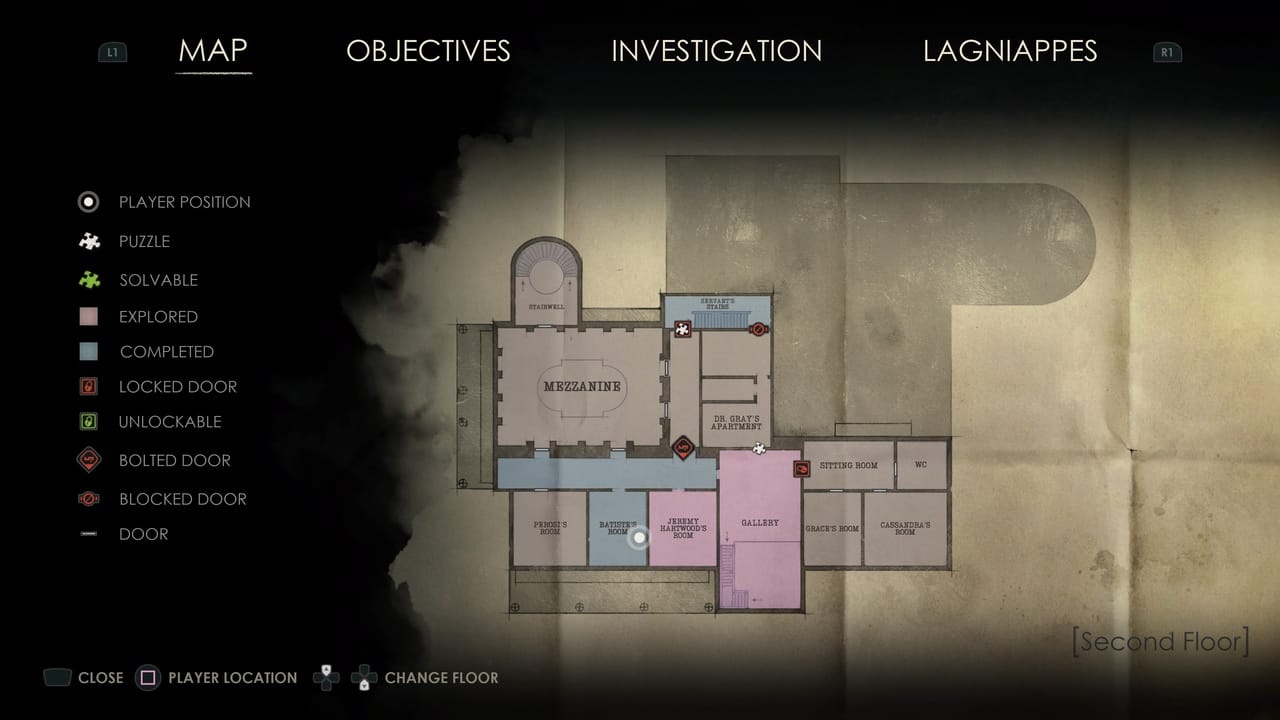
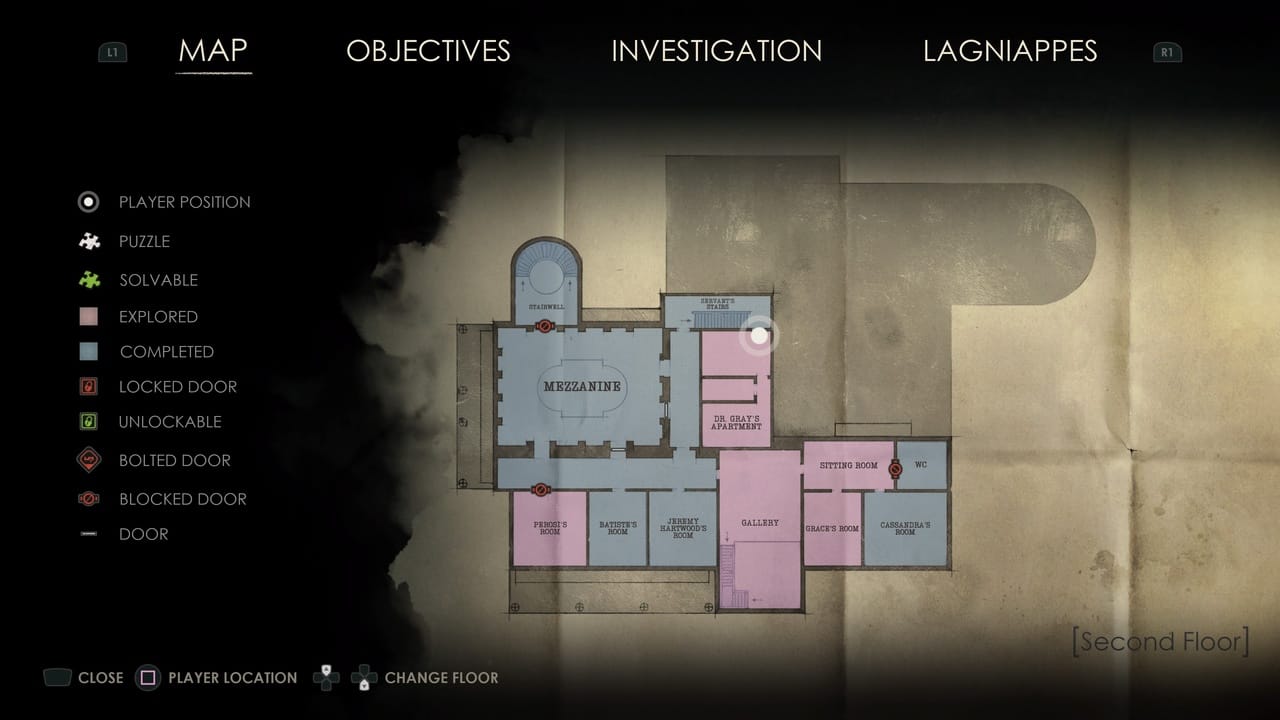
Jack in the Box – on a chair back of Grace’s Room on the Second Floor of Derceto. Interact with the box to open the lid, then interact again to grab the Lagniappe.

The Flying Dutchman – on the lounging chair in the Treatment Room on the First Floor of Derceto, accessible from Chapter 4.
The Pirates of Pontchartrain
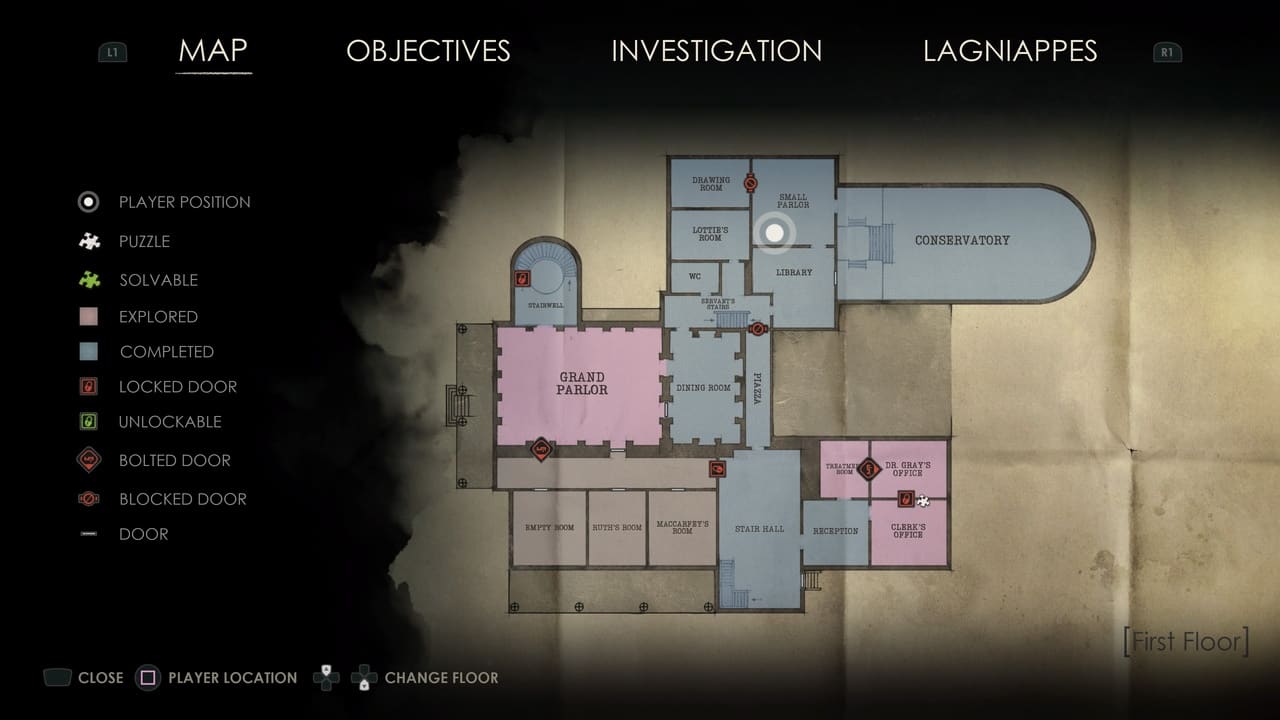
Opera Playbill – on an armchair in the Small Parlor on the first Floor of Derceto. It spawns at the start of Chapter 4 after Carnby returns to the manor after visiting the Sunken Temple.
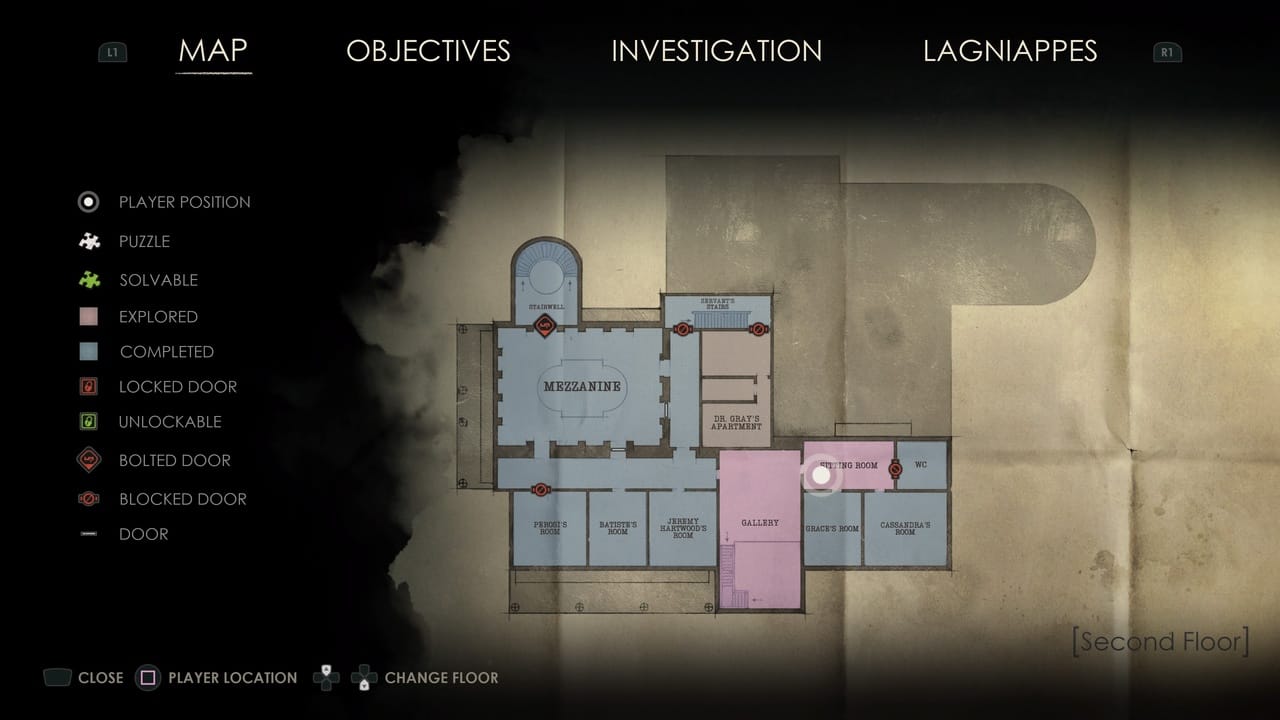
Map of Caribbean – inside the globe in the Sitting Room on the Second Floor of Derceto. You’ll need the France key piece, which is found in the Clerk’s Office safe from Chapter 4 onward.
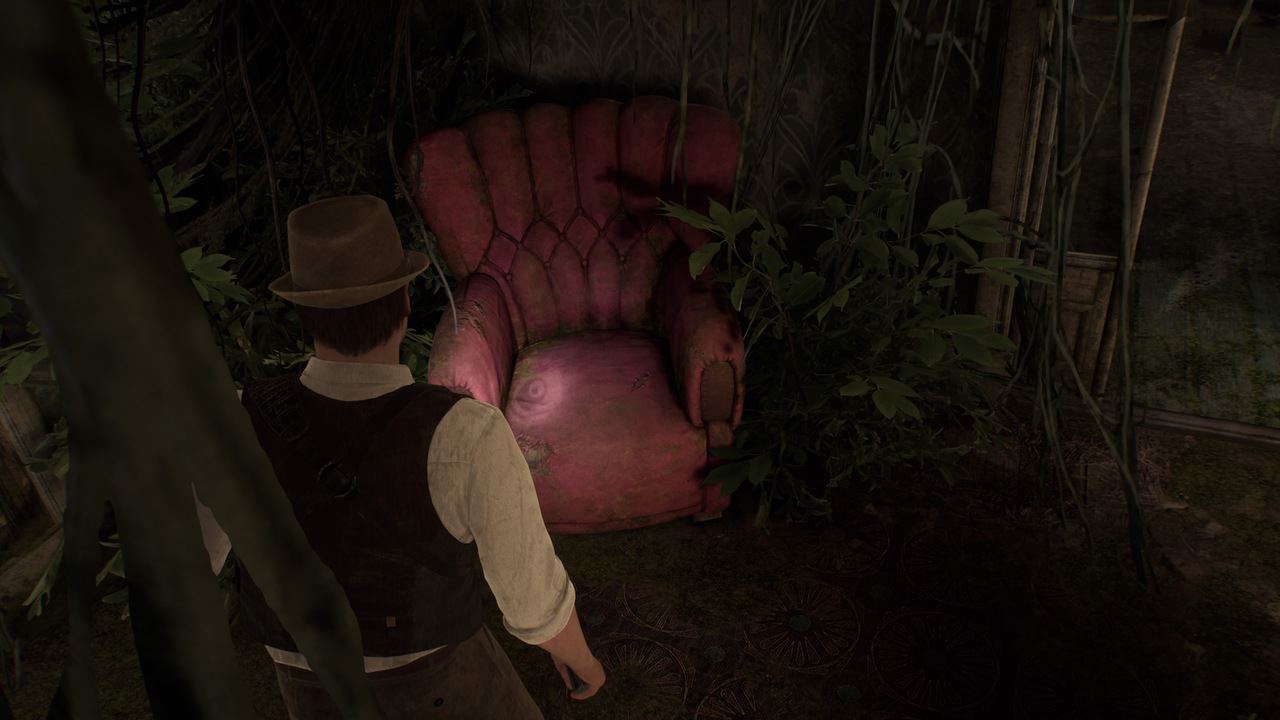
Pallid Mask – on the red chair on the second floor of the Steamboat during the A Place for Hiding memory in Chapter 4. You can access the room by jumping down through a gap on the top floor deck of the boat.
Unspeakable Cults

Children of a Dark Sun – in a small alcove at the foot of sarcophagus on the upper level of the Sunken Temple, accessed during Chapter 3.

Ashes of Indigo – on the draped over furniture to the right as you enter the Empty Room on the First Floor of Derceto. Only accessible from Chapter 4.
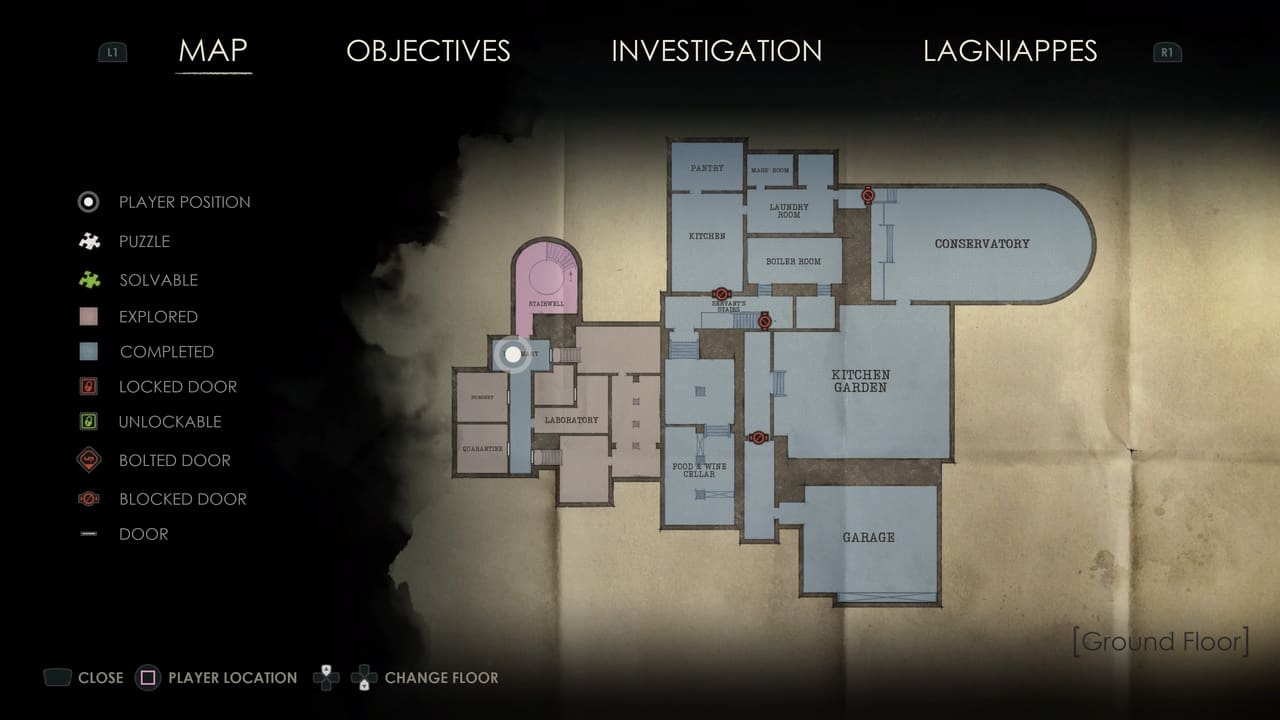
Scapegoat – on a stretcher in the Infirmary on the Ground to the right as you enter from the Stairwell. Only accessible from Chapter 4.
The Hartwood Curse

Discarded Palette – on the second floor of the boathouse in the Hateful Mound during Chapter 2. After lowering the bridge and crossing, head upstairs. Before going through the window, take a right through a small gap you can squeeze through. The palette is in a tool box in the corner.
Witness the Black Pharaoh – on the wall in the yard to the right of the house where Jeremy and the Dark Man first met in the New Orleans Riverside memory during Chapter 3. It’s accessible right after the warehouse and just before entering the townhouse.
Alone in the Dark – obtained during a second playthrough by opening the Clerk’s Office safe early, though you haven’t technically found the code yet.
The Crescent City

Streetcar Ticket – on a shelf in the Food & Wine Cellar, just ahead of the first iron gate.
Ju-Ju – to the right at the top of the stairs on the way to Miss Jackson’s seance parlor in the French Quarter Chapter 1.
Matchbook – given to Edward by Ruth automatically when you visit the Pregtz shipping company at the New Orleans Riverside right after the Convent of Taroella memory section in Chapter 3.
Prisoner of Ice
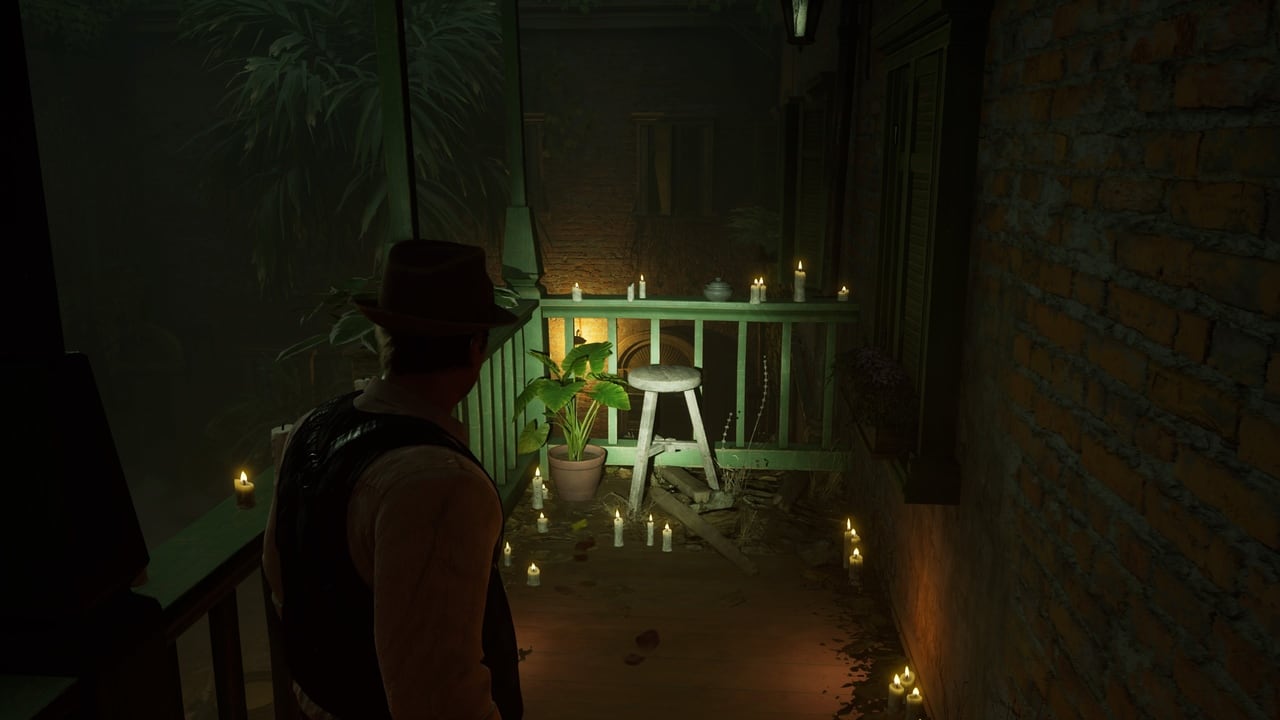
Tessellated Shard – found on a table in the small cupboard at the back of the Attic during Chapter 4.
Do Not Disturb – on the door to Dr Gray’s Apartment on the Second Floor of Derceto. Available after the Steamboat memory in Chapter 4.
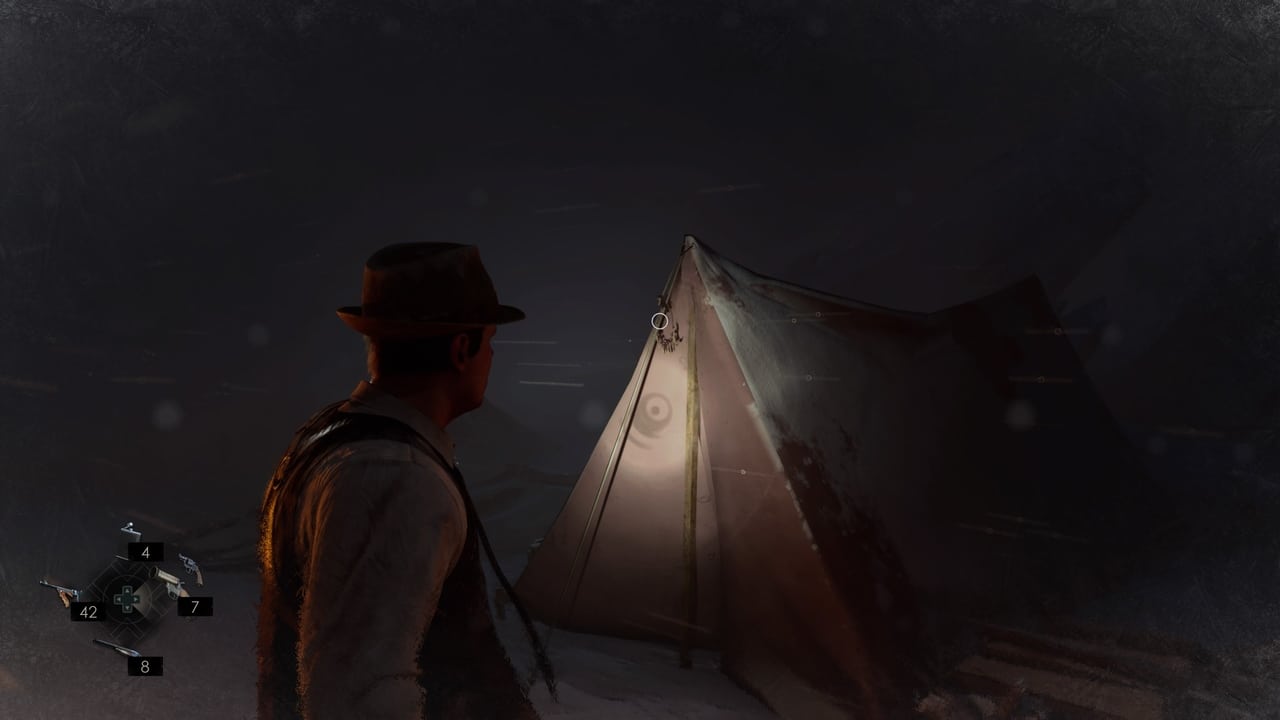
Sallow Offering – on the red tent in the camp at the start of the Coast of Greenland portion of Chapter 4.
Lost Children

Rubber Stamp – on the clerk’s counter in the Reception room in Derceto.
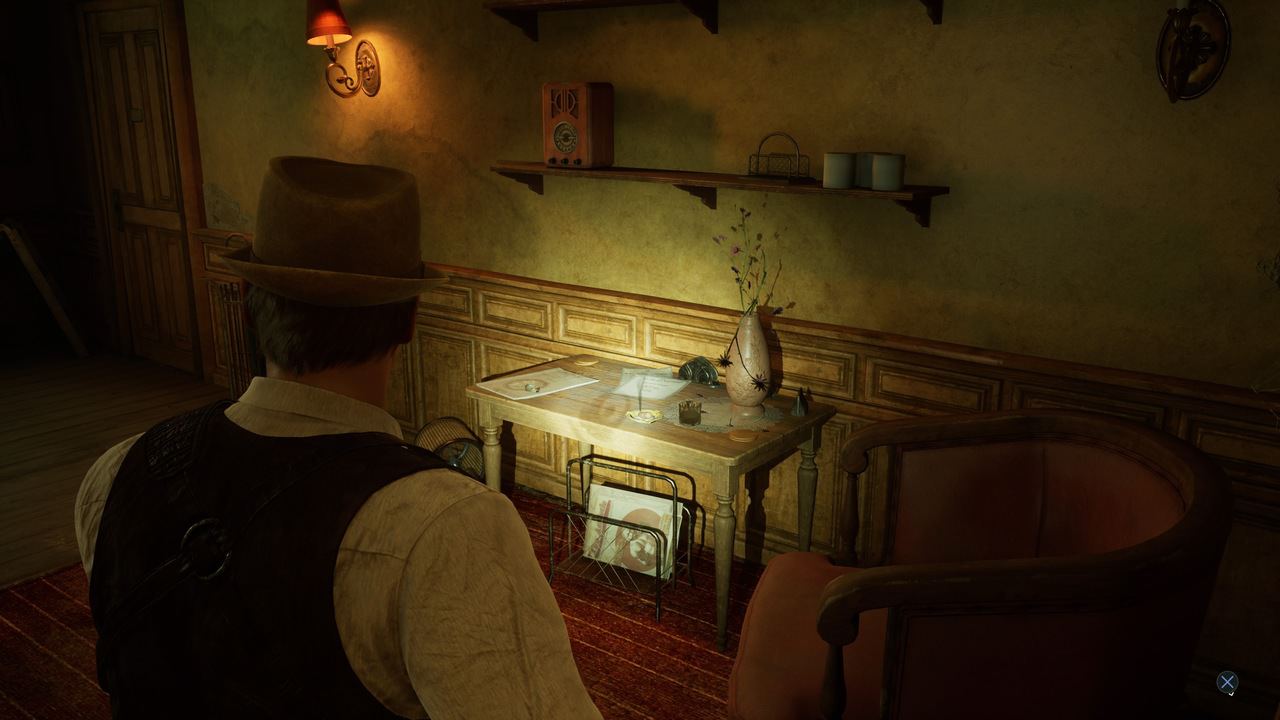
Fountain Pen – on a low table in Batiste’s Room on the second floor of Derceto.

Dog Collar – on the low shelf of the desk between two chairs at the back of the Drawing Room on the first floor of Derceto.
Dying with Dignity
War Photo – on the chest of draws to the left as you enter Ruth’s Room. Only available when playing as Emily during Chapter 4.
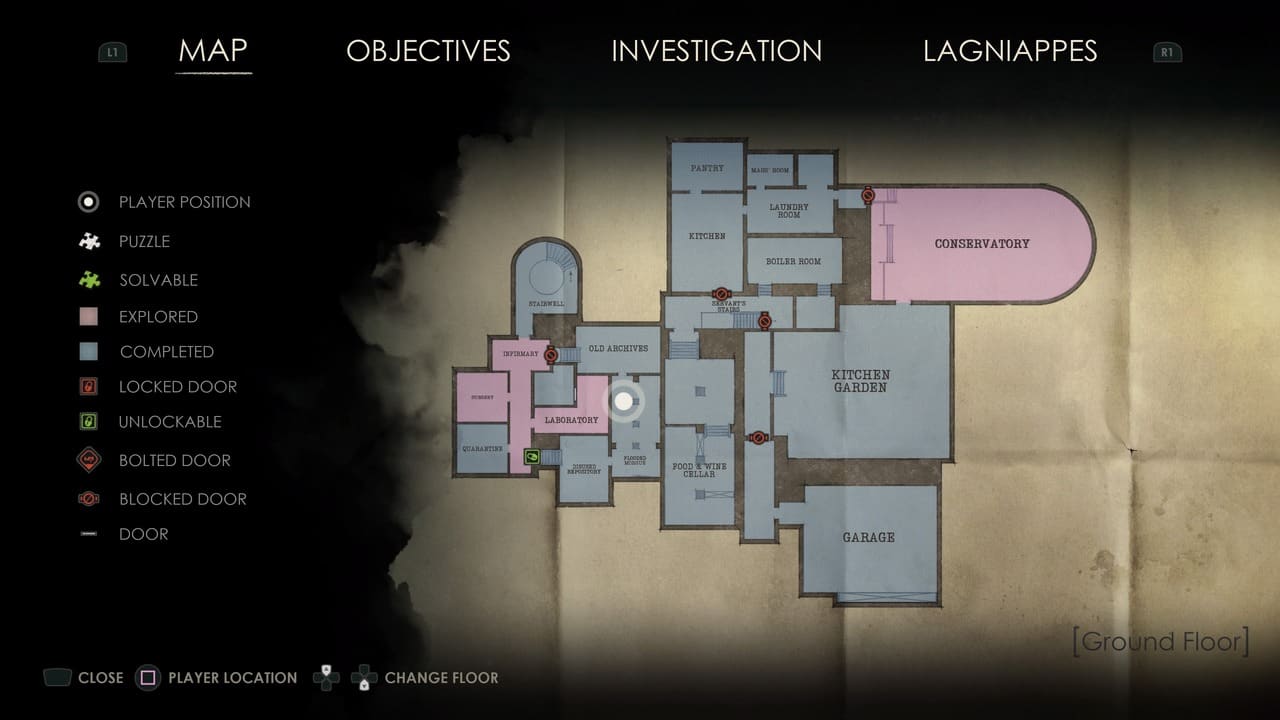
Toe Tag – on the foot of John’s corpse in the Morgue on the Ground Floor of Derceto. Complete the floor plan puzzle and watch the cutscene, then head back to the corpse to find the tag.
Sheet Music – During the graveyard memory in Chapter 3, you’ll enter a cave then get pursued by several enemies. Once they stop chasing, press on forward to the first ledge. Instead of climbing up, take a left through the gap in the wall to find the Sheet Music lagniappe.
Death of the Author
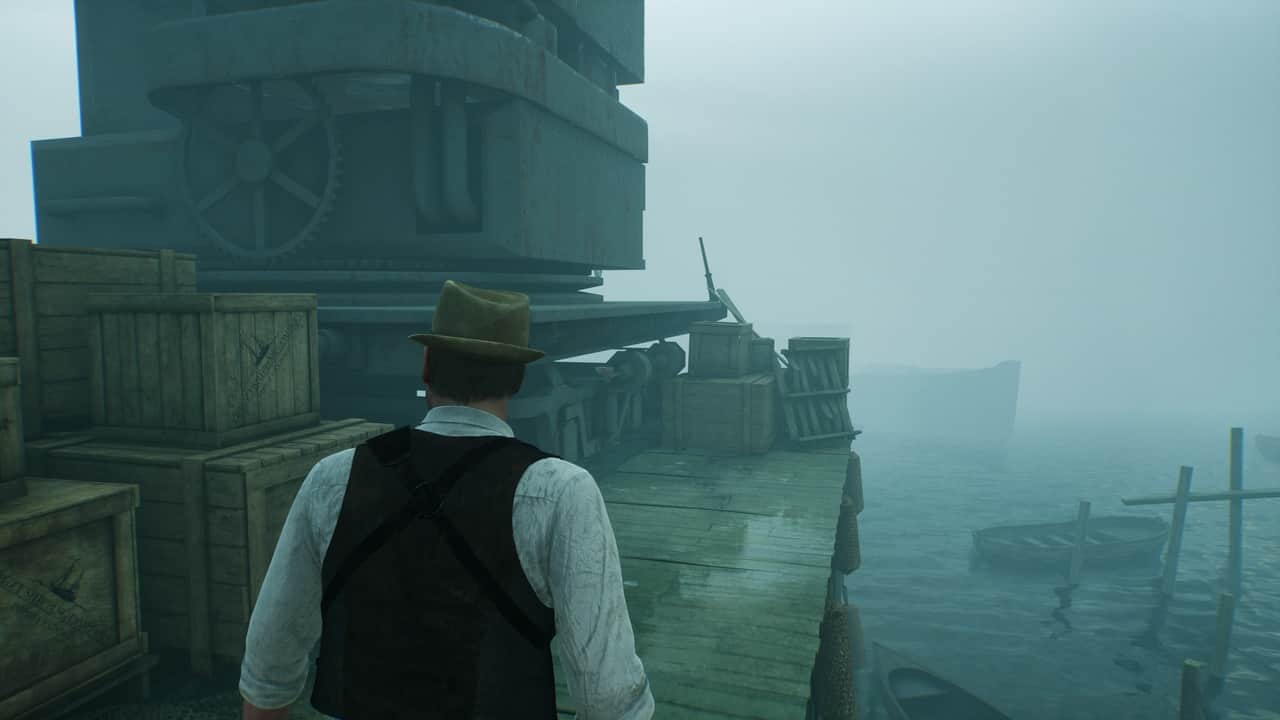
Typewriter Ribbon – at the end of the pier on a stack of wooden boxes in the New Orleans Riverside memory in Chapter 3.
Broken Spectacles – in the sink basin of the WC on the first floor of Dercato at the start of Chapter 4.

Movie Script – found in the trunk on your left as you enter Cassandra’s Room on the Second Floor of Derceto. Only spawns from Chapter 4 onwards.
Beast of Burden
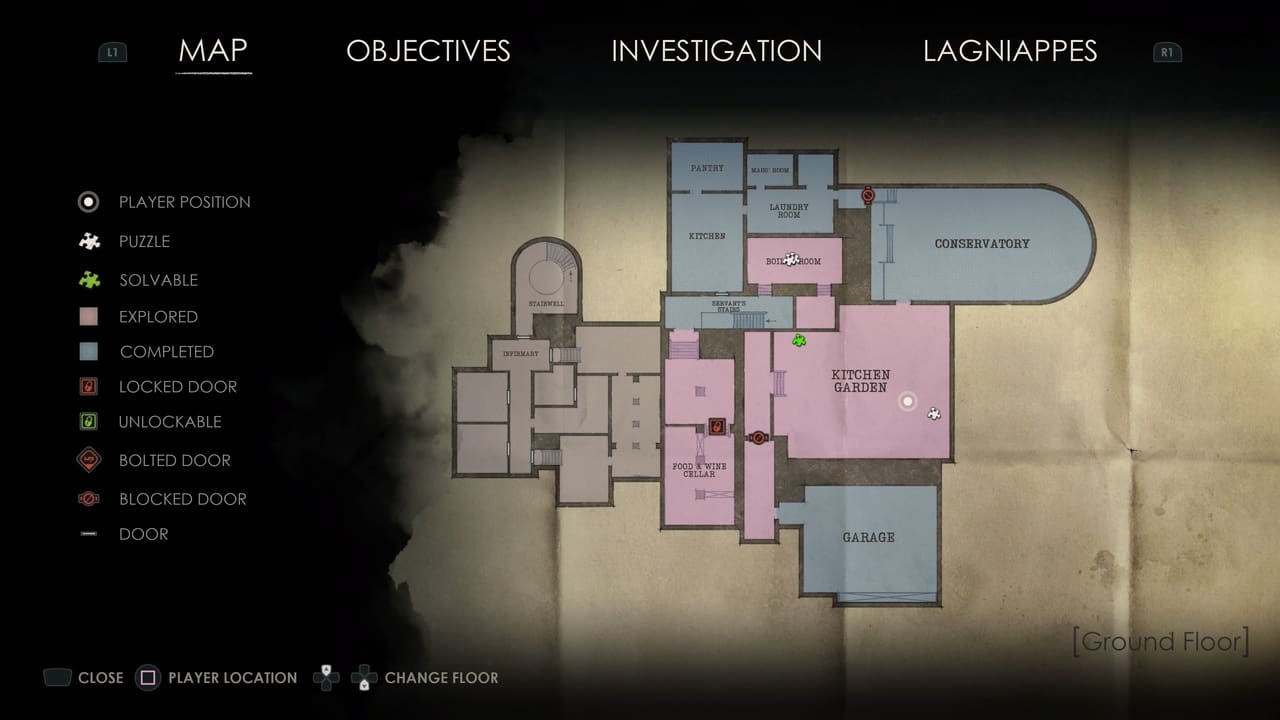
Mummified Cat – in a shallow hole dug next to a statue of a woman holding a small bowl in the southeast of the Kitchen Garden. Available from Chapter 2 onward.

Gazing Statuette – on a workbench in a boat house in the Hateful Mound during Chapter 2. After breaking the barrier, follow the path across the swamp, then take a left when you reach a cluster of houses. Squeeze through the gap to reach the back of the boathouse and find a door you can open. The Gazing Statuette is on a workbench inside, but watch out for the enemy on your left as you enter.
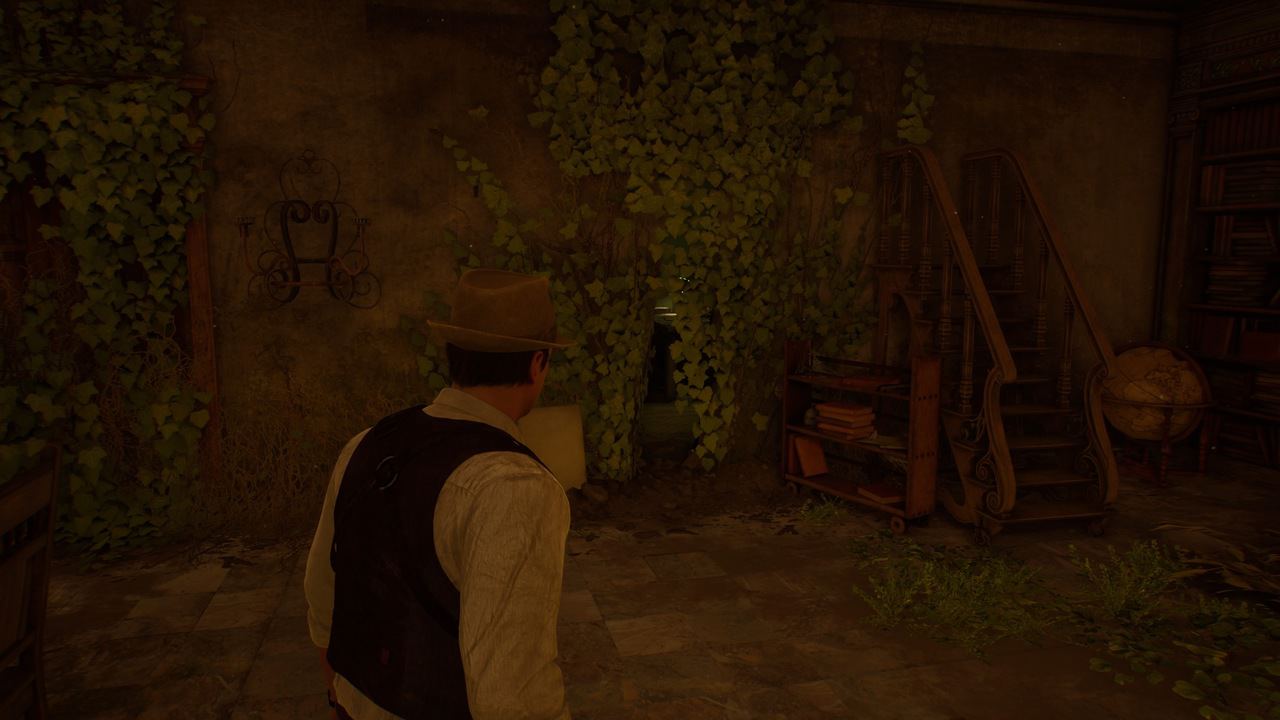
Unmasked Evil – in a hidden room behind some vines on the third floor of the library in the Convent of Taroella, which is explored at the start of Chapter 3. As you reach the top of the stairs, look right and you’ll see the gap leading to the room.
A Thousand Young

Forsaken Crucifix – on a shelf to the right of the wine rack in the Cellar on the Ground Floor of Derceto.
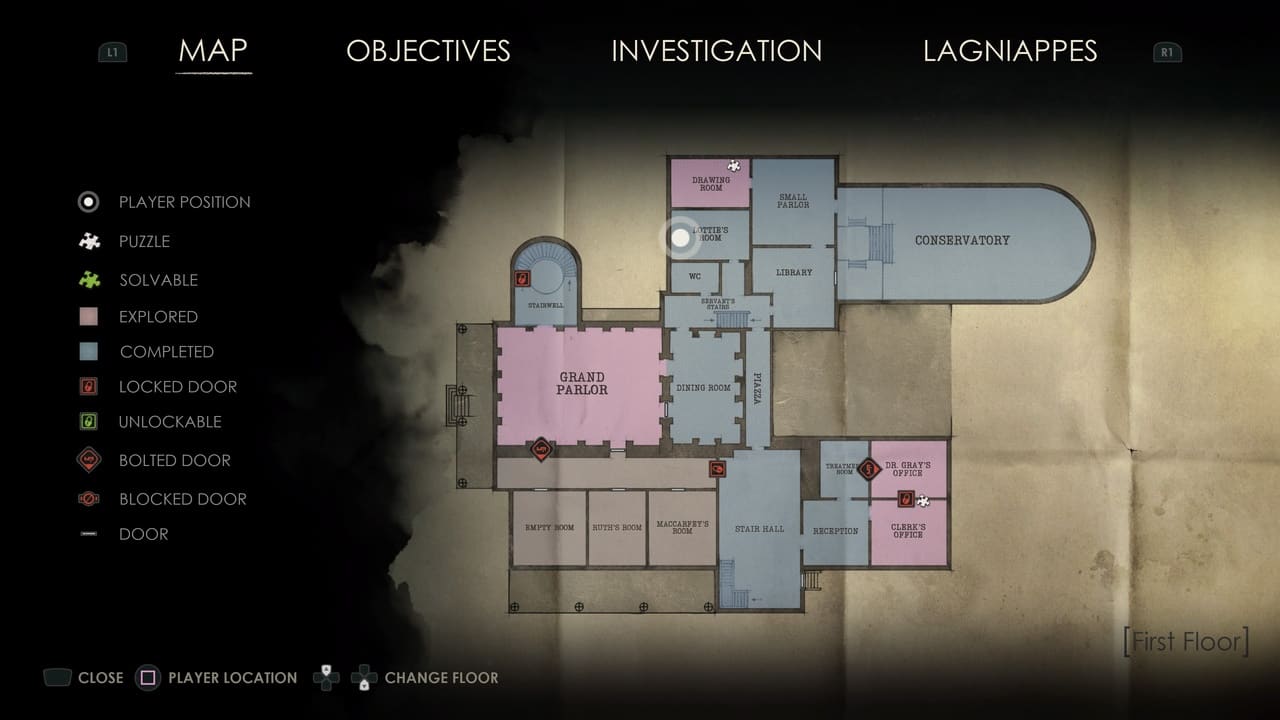
Nurse’s Watch – on the window sill in Lottie’s Room on the First Floor of Derceto. To reveal the Lagniappe, you’ll need to first interact with the window to close it.
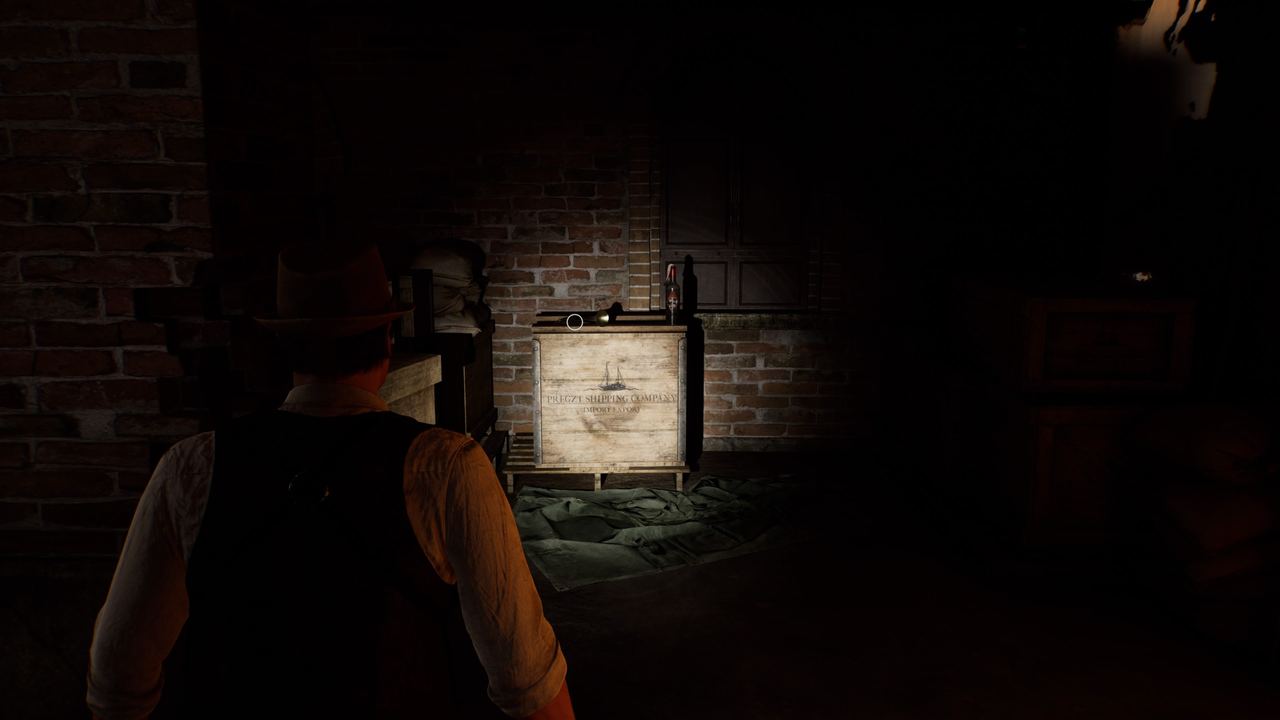
Severed Horn – on crate on the bottom floor at the back of the Pregtz Shipping Company warehouse during the New Orleans Riverside memory in Chapter 3.
All The World’s A Stage
Curious Napkin – on the table to the right as you enter the hotel during Carnby’s French Quarter memory portion of Chapter 4.
Toy Talisman – in Dr Gray’s Apartment during Chapter 4. You’ll need to first access the hidden room, then backtrack to the first room. The talisman is on the floor to the left of the desk.

Box of Biscuits – on a desk at the back of the morgue office on the Ground Floor of Derceto. It’s only accessible when playing Emily after her Chapter 4 memory in the trenches.
A Great Depression

Rat Poison – on the floor of the pantry in the room just off from the Kitchen on the Ground Floor of Derceto.
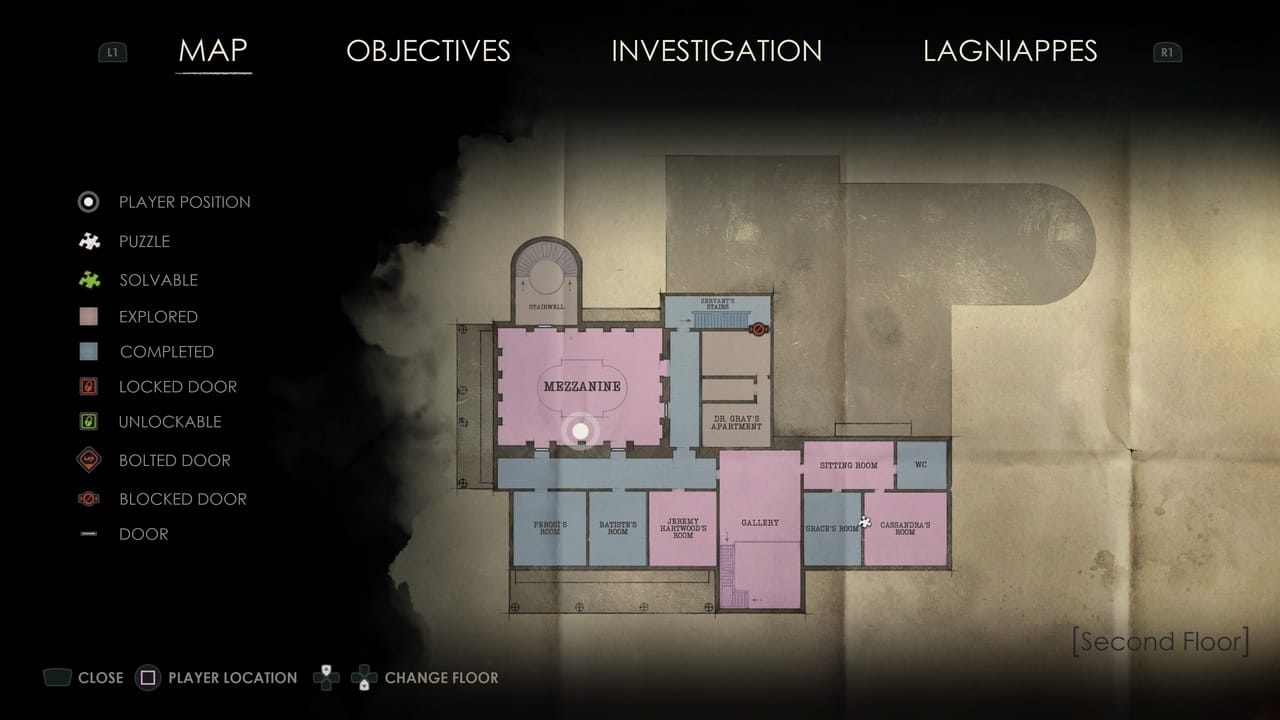
Beignet – in the Mezzanine inside a large bronze bowl on a chest of drawers.
Syringe – found on the floor in the Grand Parlor after talking to Ruth in Chapter 2. Only available when you play as Emily.
A Goat Without Horns
Preserved Reptile – on the workbench in the corner store in the French Quarter in Chapter 1.

Profane Totem – after leaving the hotel in the French Quarter in Chapter 4 as Carnby, follow the path through the swamp until you hit a fork. Take the left path to a small hut sinking into the water. Inside on the floor is the totem.
Jangling Shaker – on the floor behind the bar when the Grand Parlor turns into a jazz club in Chapter 4.
Vagabonds

A Brightness From Afar – on the table to the left of where you first talk to the woman in the green dress, Ruth Tallant, in the Mezzanine. You’ll need to leave the area after the cutscene and return to get the Lagniappe.
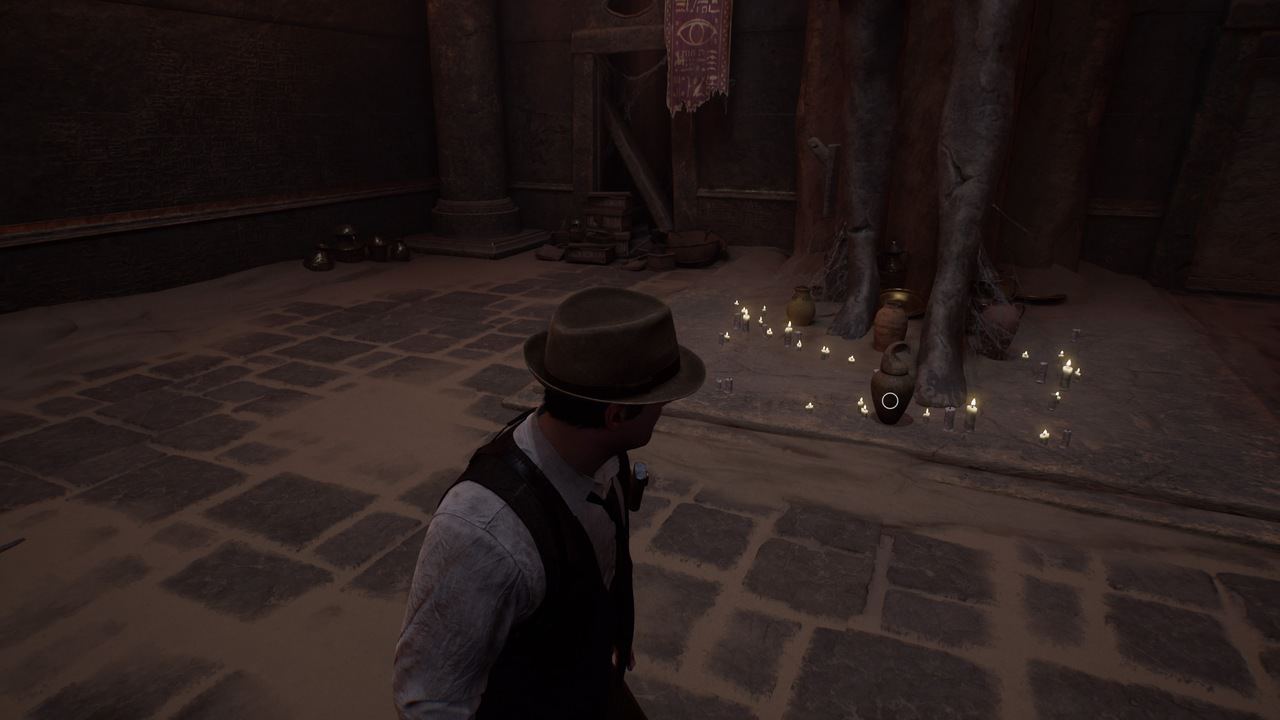
Canopic Jar – at the foot of the large statue in the Sunken Temple, visited during Chapter 3.
Broken Compass – on a crate just past the large red door on the lower floor on the steamboat during the A Place for Hiding memory in Chapter 4.
That’s all there is to finding all the Alone in the Dark Lagniappe. For more Alone in the Dark help, check out how all the Broken Plate locations, how to solve the talisman puzzle, the Clerk’s Office safe code, the Empty Room safe code, and how to figure out the Cassandra’s Room puzzle solution.
About the Author

Alone in the Dark
-
UnknownUnknown
- Platform(s): PC, PlayStation 5, Xbox Series S, Xbox Series X
- Genre(s): Action, Horror


