You can trust VideoGamer. Our team of gaming experts spend hours testing and reviewing the latest games, to ensure you're reading the most comprehensive guide possible. Rest assured, all imagery and advice is unique and original. Check out how we test and review games here
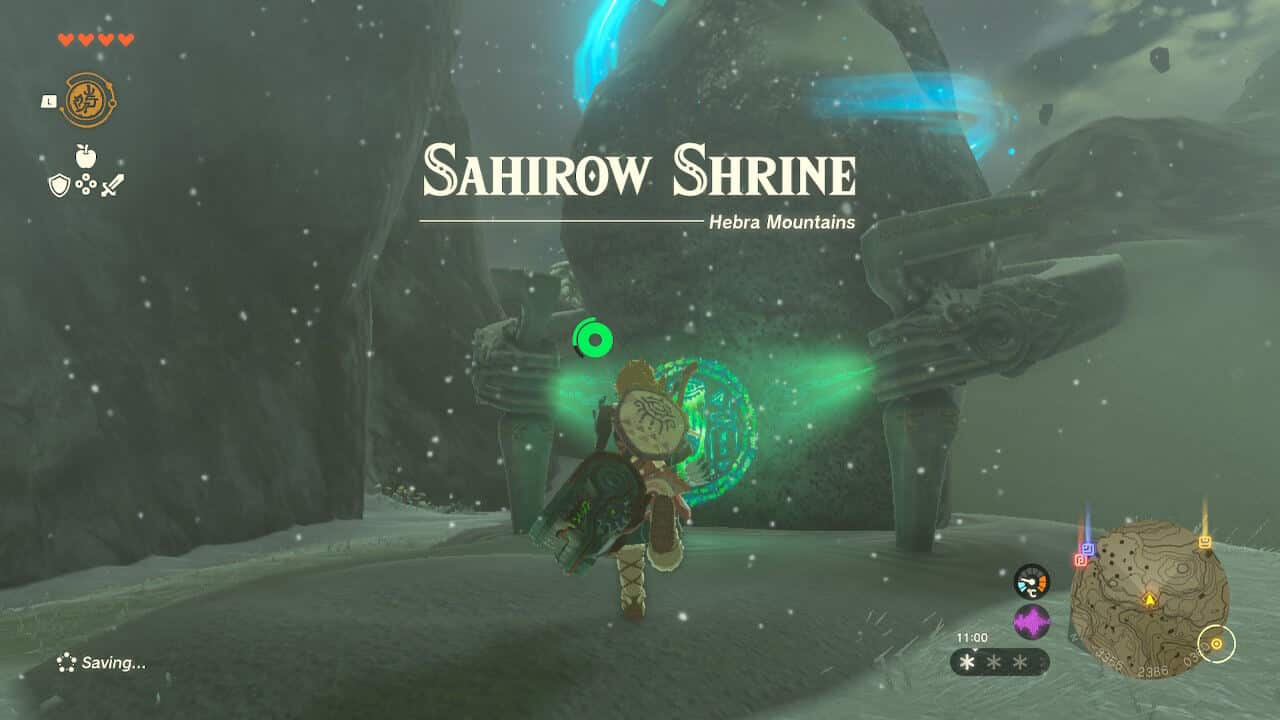
The Zelda Tears of the Kingdom Sahirow Shrine requires some on the fly thinking involving laser puzzles, and you might have found yourself being caught out by a trap you weren’t expecting. Luckily, we have a step-by-step guide to help you through the whole thing so you can get back to exploring in The Legend of Zelda TotK.
If you’re hunting for Tears of the Kingdom Skyview Towers or exploring the Tears of the Kingdom map and stumbled across this Shrine, we’ve got you covered.

Where is the Sahirow Shrine in Tears of the Kingdom?
The Tears of the Kingdom Sahirow Shrine location is in the Hebra Mountains area of the Hebra region, southwest of Hebra Peak. It’s found directly east of the Rospro Pass Skyview Tower, north-northeast of Rito Village, and north of Tabantha Frontier. The exact coordinates of the Sahirow Shrine are -3355, 2387, 0361.
Tears of the Kingdom Sahirow Shrine puzzle solutions and walkthrough
The Sahirow Shrine is full of lasers that you will have to avoid. In the first hallway, you’ll find a red laser which you’ll have to jump over. The next hallway has several more. Jump over the first laser, and then crouch down to walk underneath one parallel laser followed by three angled ones. If you touch a laser, a trap door will open below you.

Now, climb onto a small platform along the right wall, and use your paraglider to glide over the three lasers on the ground ahead of you. Walk to the end of the hallway and you’ll see a moving platform above you. Use Tears of the Kingdom Ascend to jump through it and proceed to the next section.

Walk into the room on your right, crouching under the laser as you go. Use Ultrahand to pick up one of the metal cubes you’ll find here and use it to block the laser in the first room. Be careful not to stand on the white flooring as you’ll fall through when the laser is blocked. Open the chest behind the big metal bars to receive a Spicy Elixir. Remove the metal cube to restore the floor and return to the main room.

This time head to the other side of the room and enter a long corridor. Jump over the moving laser as it approaches you and enter the next section. This time, crouch below the moving laser, before moving on to the final section. A grid of lasers that Link cannot fit through will start moving towards you.
Ready your Ascend ability, and as the final lasers approach you’ll notice a section of ceiling pokes out before them. Stand still and wait for the ceiling to pass over you before you use Ascend to climb through. After this, simply run up to the Shrine and interact with it to receive your Light of Blessing for your next heart container or stamina upgrade.

That’s the Sahirow Shrine done and dusted. If you’re looking for more Shrines, our Tears of the Kingdom Shrine locations guide is a good place to start and is regularly updated with more. And if you’re wondering what to do with a Tears of the Kingdom Bubbul Gem, we have a guide for that, too.
About the Author

The Legend of Zelda: Tears of the Kingdom
-
UnknownUnknown
- Platform(s): Nintendo Switch
- Genre(s): Action, Action Adventure, Adventure