
You can trust VideoGamer. Our team of gaming experts spend hours testing and reviewing the latest games, to ensure you're reading the most comprehensive guide possible. Rest assured, all imagery and advice is unique and original. Check out how we test and review games here
If you want to know how to use photo mode in Starfield, then we’ve got you covered. Bethesda’s critically acclaimed outer space RPG contains a wide array of breathtaking vistas that you’ll only be able to immortalize cleanly through the use of the in-game capture feature. Unfortunately, since the photo mode isn’t exactly a key mechanic, the initial tutorial doesn’t cover how you can utilize it during your adventure.
Of course, if you aren’t interested in capturing your trek through the Settled Systems, then you can always learn about the Starfield New Atlantis shops, Starfield planets, and Starfield Easter Eggs instead. But if you’ve been looking to leave your own artistic mark on the world of Starfield, then here’s how you can use the photo mode to do so.
How do you use photo mode in Starfield?
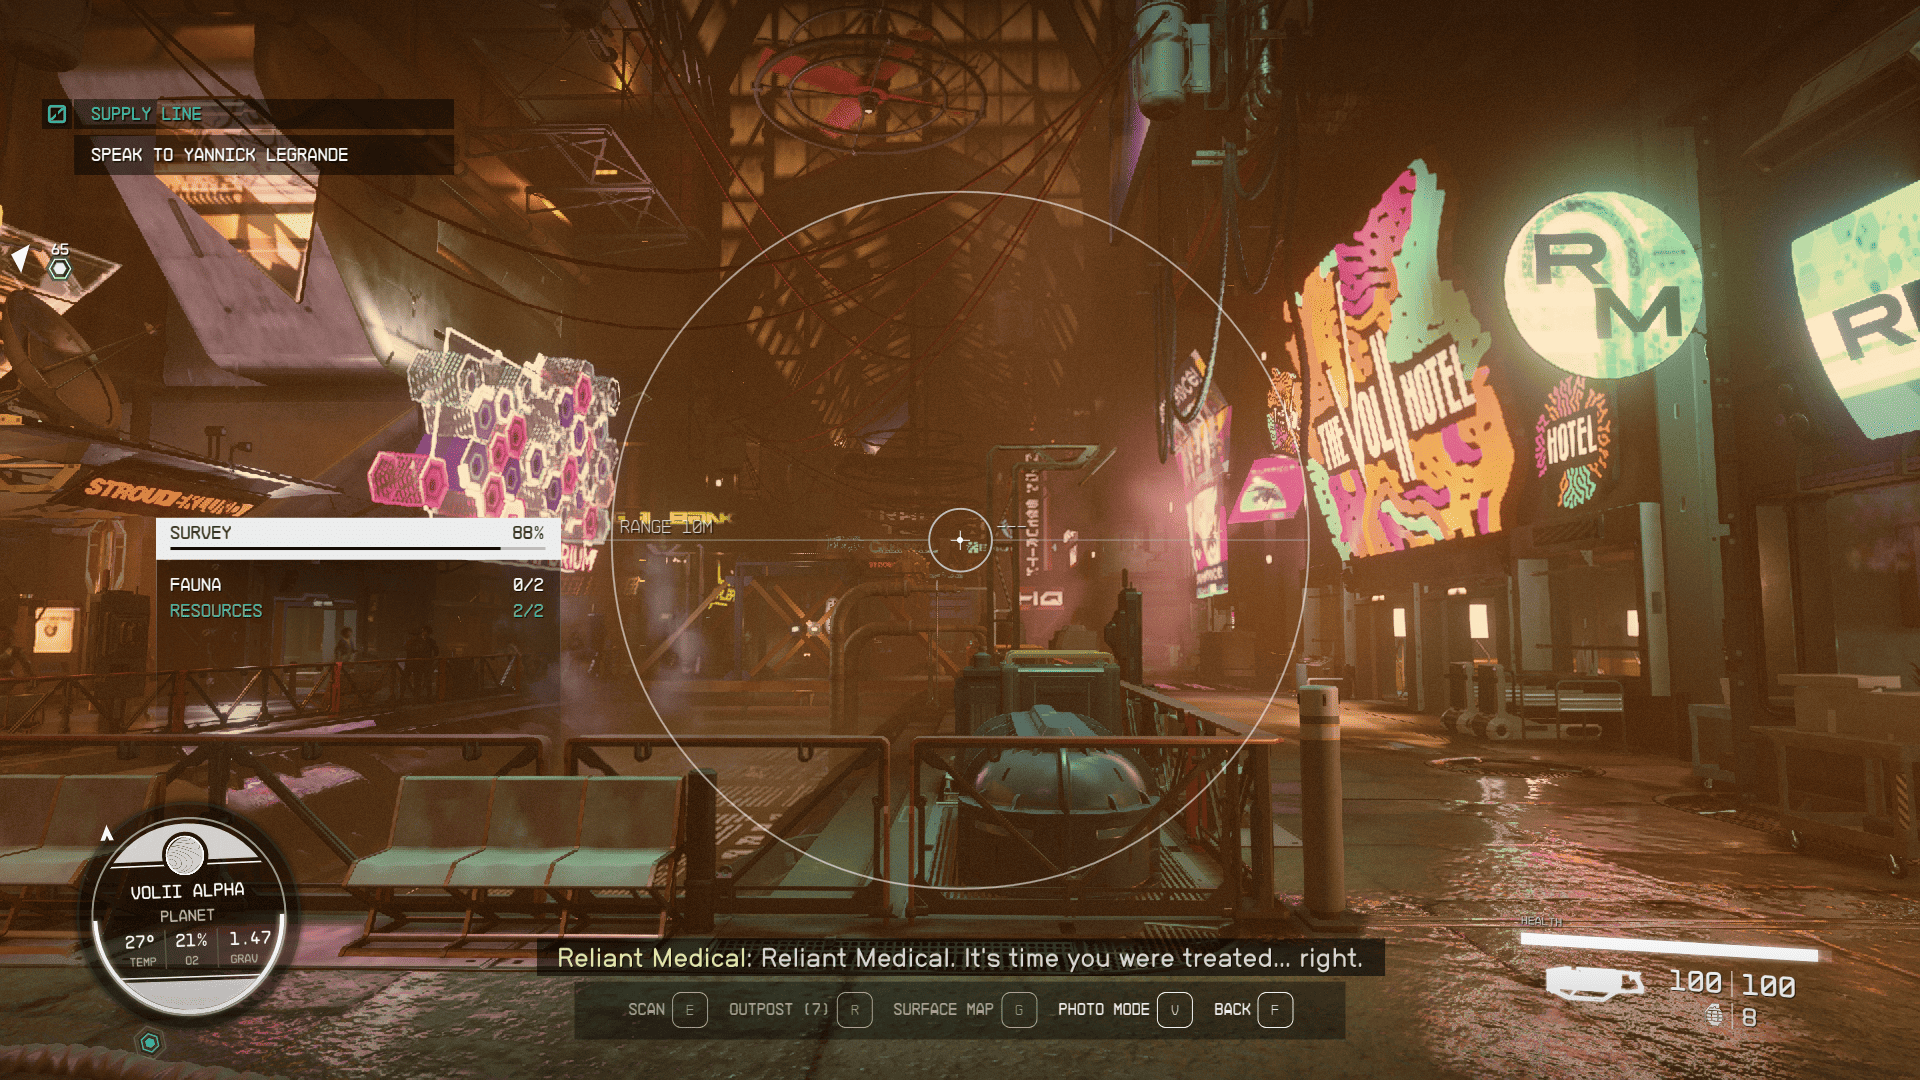
You can use photo mode in Starfield by bringing up your scanner using the F key on PC or RB on Xbox Series X|S. Once you’ve activated your scanner, you can enable “Photo Mode” by tapping the V key on PC or by pressing the right stick on console. Alternatively, you can also access this feature by heading to the System menu and selecting “Photo Mode” below “Settings.” Once Photo Mode is open, you’ll be able to capture an image by pressing the space bar on your keyboard or the A button on your controller.
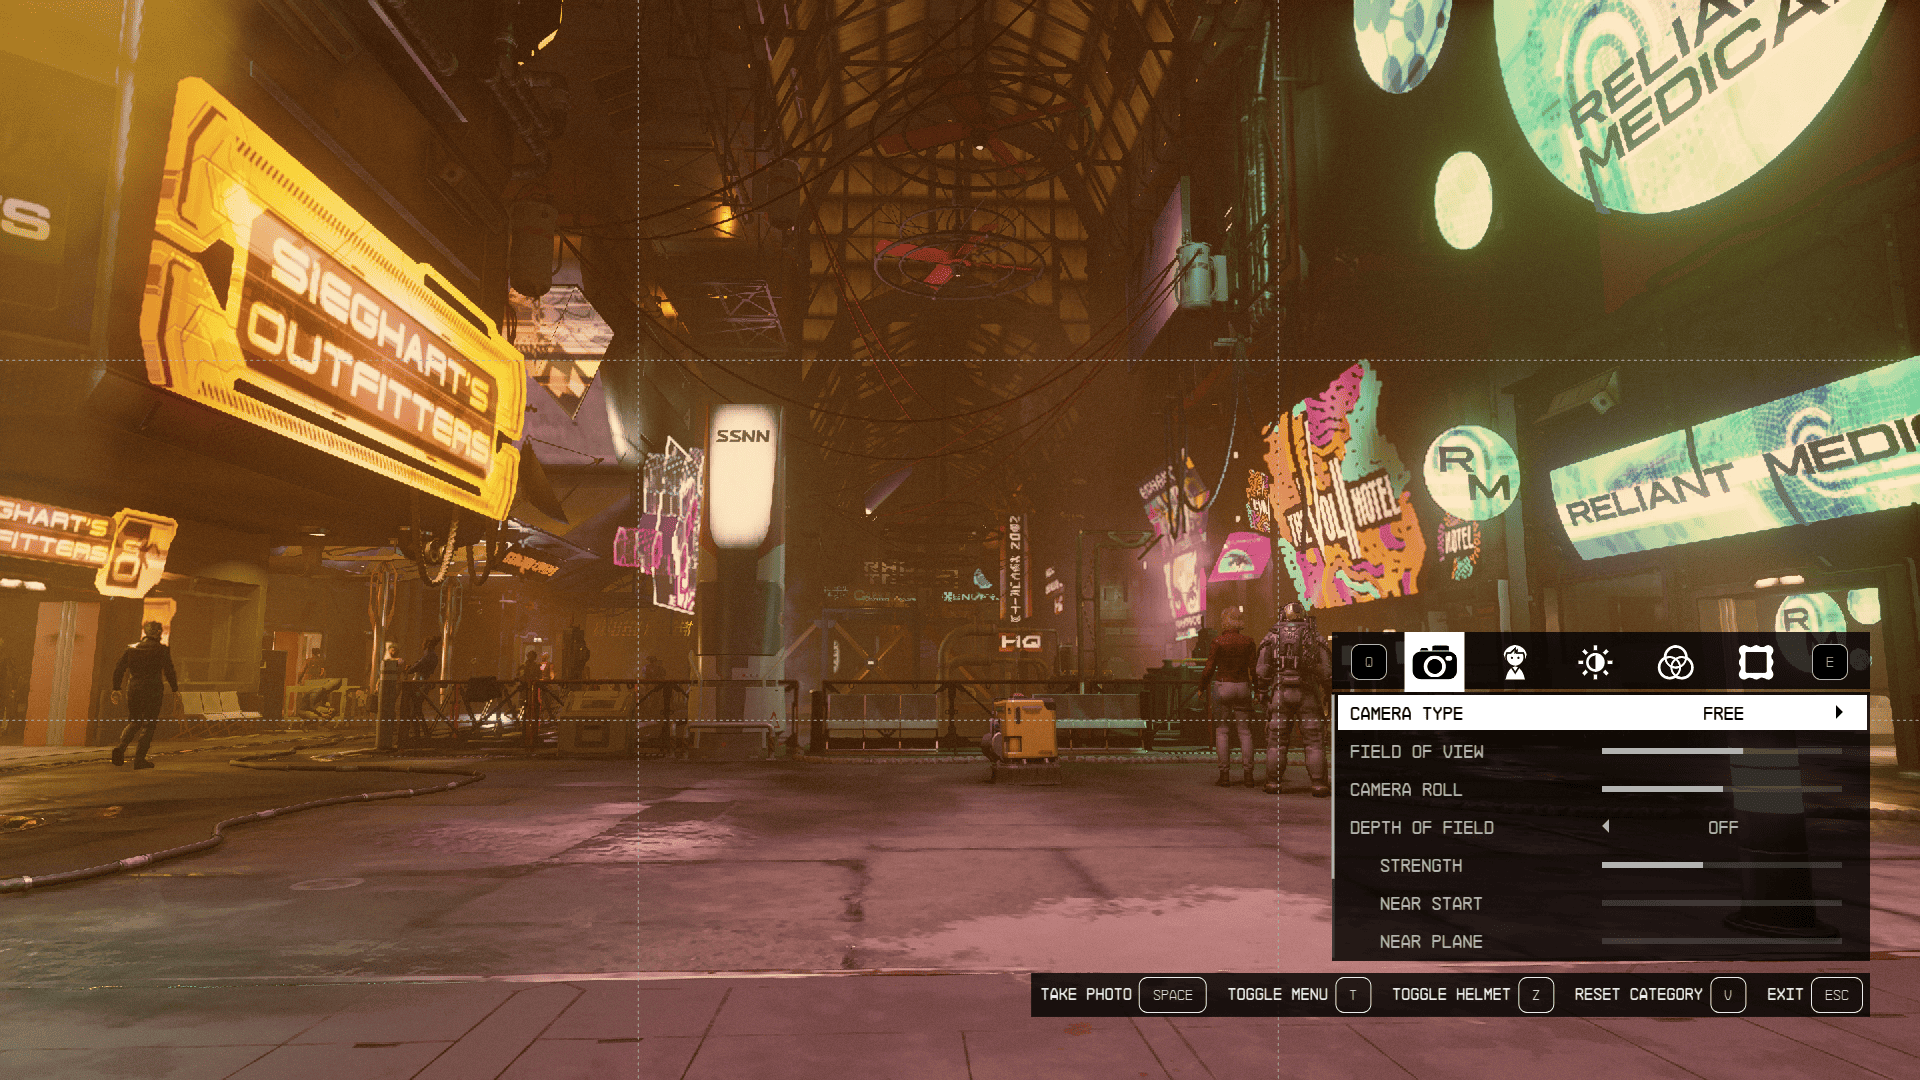
If you want to add some flair to your shots, you can always navigate through the menus to modify how the setting will look like. There’s five categories of settings to play around with, which we’ll class as the following:
- Camera
- Player
- Brightness & Contrast
- Filters
- Frames
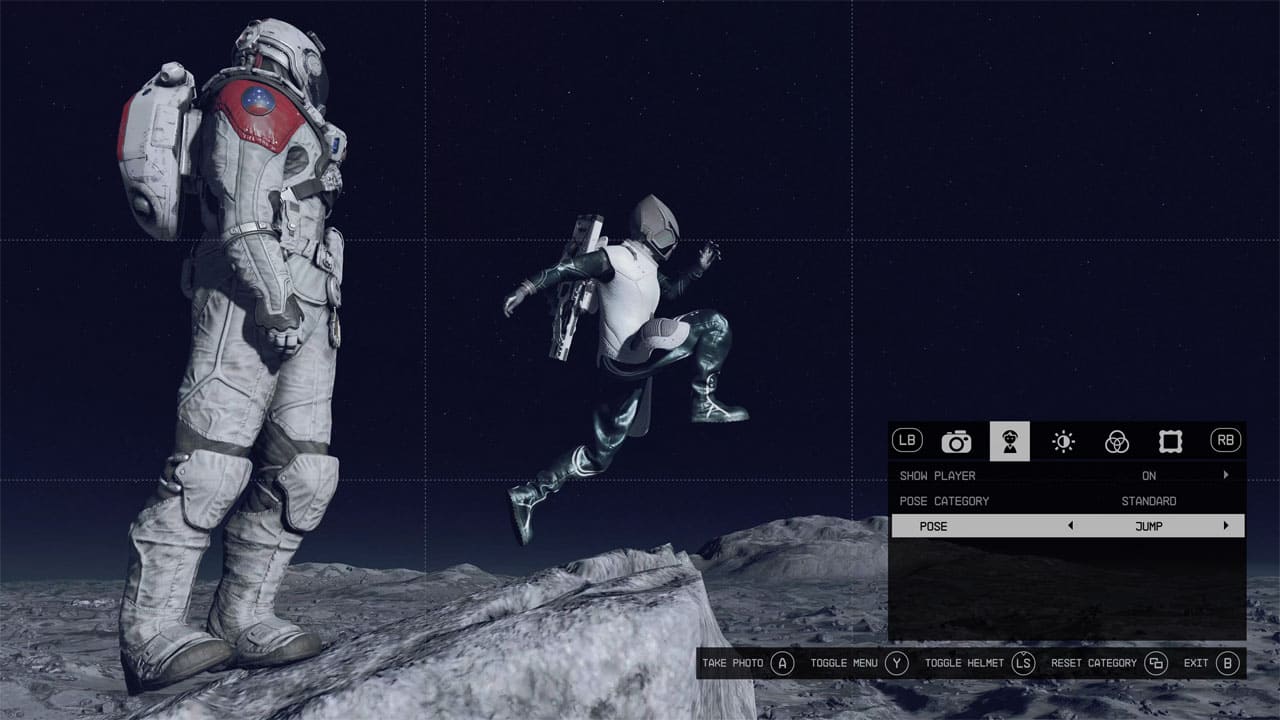
Some of these elements you can use to alter the look of the environment as you compose your shot, while the filters allow you add post-processing effects to give your shots a different feel. The Player options let you decide if your own character will be in the image, and what pose they’ll pull.
To take the photo, you basically have two options. Using the Take Photo button in the camera mode will save the image to the in-game Photo Album. A neat little tip here is that any images saved here the game will pull from and use in loading screens, so you can see your best shots there.
The second method is to toggle the menu using Y on Xbox or T on PC, which will remove the Photo options UI and allow you to take a shot manually using either the Xbox console’s in built screenshot button, or using your own capture software on PC (or simply the Print Screen function.)
Starfield Photo Mode Tips and Tricks – how and where to take the best photos
Here’s some handy hints on getting the most out of Starfield’s photo mode from our experience after spending many hours with the game.
Rule of Thirds
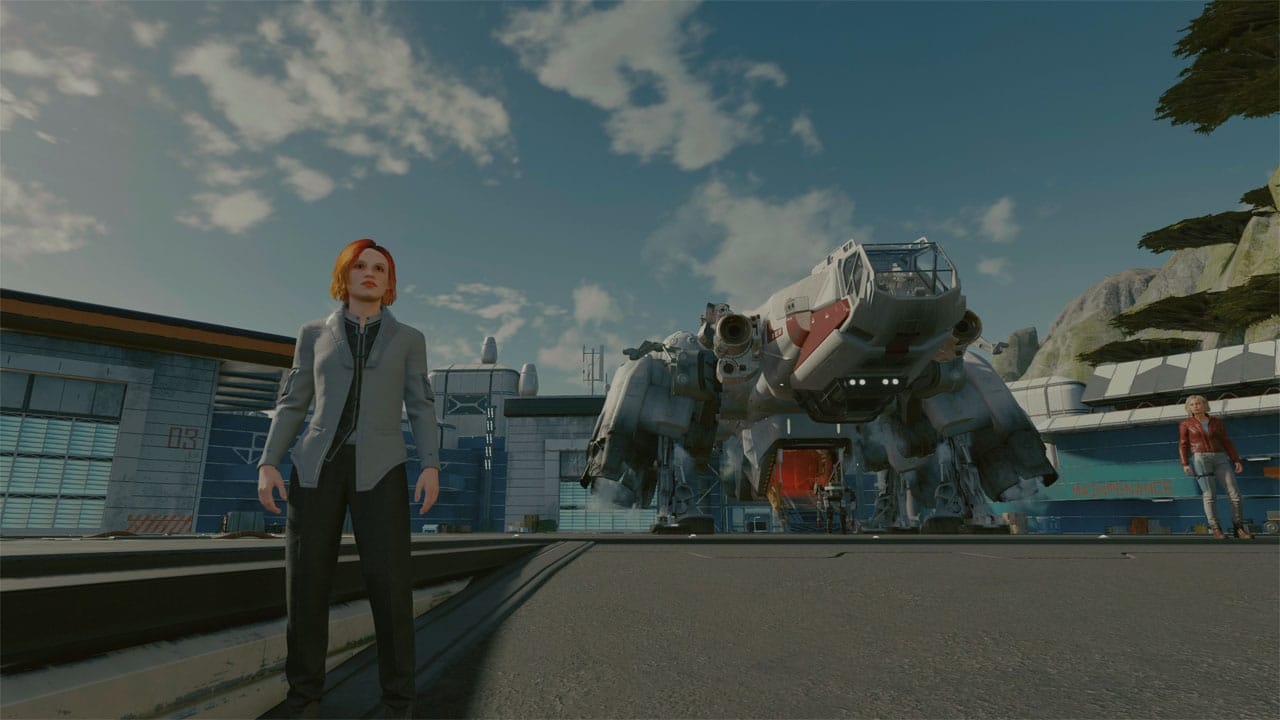
It’s an age old photography trick, but by default Starfield’s camera UI divides your shot up nicely into a 3×3 grid. Generally speaking, a good photo will divide an image up into thirds horizontally and vertically. Essentially, you want your main subject – or what you want the eye focused on – in one third of the shot. Usually this’ll be framing yourself in the middle third for a self portrait, but don’t be afraid to experiment.
Who needs patience?
They say patience is a virtue. But sometimes, the lighting on a planet won’t be quite so perfect for the shot you want – or maybe the weather is just not in your favour. Remember, you can use the wait function to move time until the light and weather is more to your liking. If you’re unsure how to do this, check out our Starfield how to wait guide.
Starfield photo mode best planets
Some planets will be better for photos than others, that’s just a fact. There’s a lot of planets in Starfield to explore, so expect us to update this as we discover more of them, but a great early location for pictures is a traditional classic that nonetheless offers some stunning views. Head to the Sol system, and head to Luna, otherwise known as Earth’s Moon. The landscape is relatively peaceful for exploring, and still has some stunning views, so we heartily recommend it in the early game to get some stunning shots.
Starfield Photo Mode FAQ
Where are Starfield screenshots saved?
On PC, to find your screenshots, head to your Documents > My Games > Starfield > Data > Textures > Photos.
That covers all you’ll need to know on how to use photo mode in Starfield. If you’re having trouble getting past certain portions of the story, take a look at our pages on how to remove a bounty in Starfield, the best Starfield spacesuits, and the best Starfield ship designs instead.
About the Author


Starfield
-
UnknownUnknown
- Platform(s): PC, Xbox Series S, Xbox Series S/X, Xbox Series X
- Genre(s): Adventure, RPG, Science Fiction, Space