You can trust VideoGamer. Our team of gaming experts spend hours testing and reviewing the latest games, to ensure you're reading the most comprehensive guide possible. Rest assured, all imagery and advice is unique and original. Check out how we test and review games here
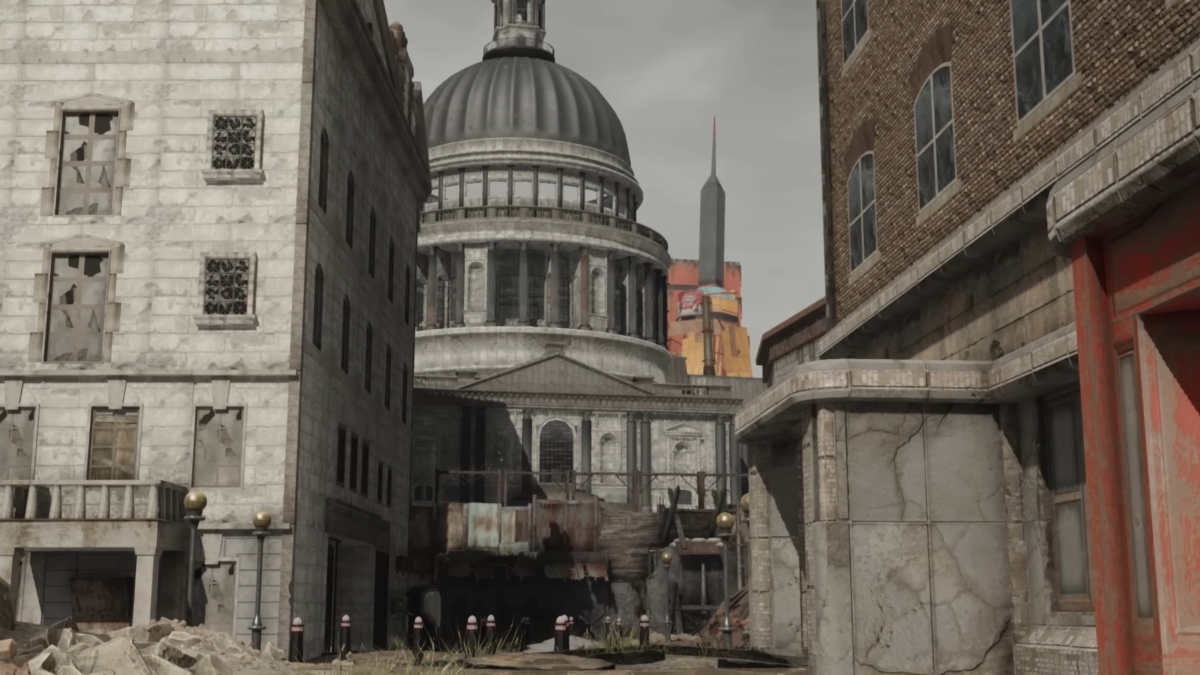
Diving into post-apocalyptic London is no walk in the part. Factions, wasteland-mutated enemies, limited resources, and plenty more obstacles mean surviving in the rain-soaked streets of the English capital is a challenge. It’s by design but can be daunting for beginners diving into the conversion mod for the first time. To help you hit the ground running, we’ve pulled together a section of useful Fallout London tips and tricks.
Early SPECIAL skill checks
Prioritising a chosen SPECIAL stat early on is very helpful. Strength smooths out the early game by making you better equipped to handle enemies. There’s also a door at the top of the Shard elevator, the building you emerge into at the end of the tutorial, that requires 7 Strength.
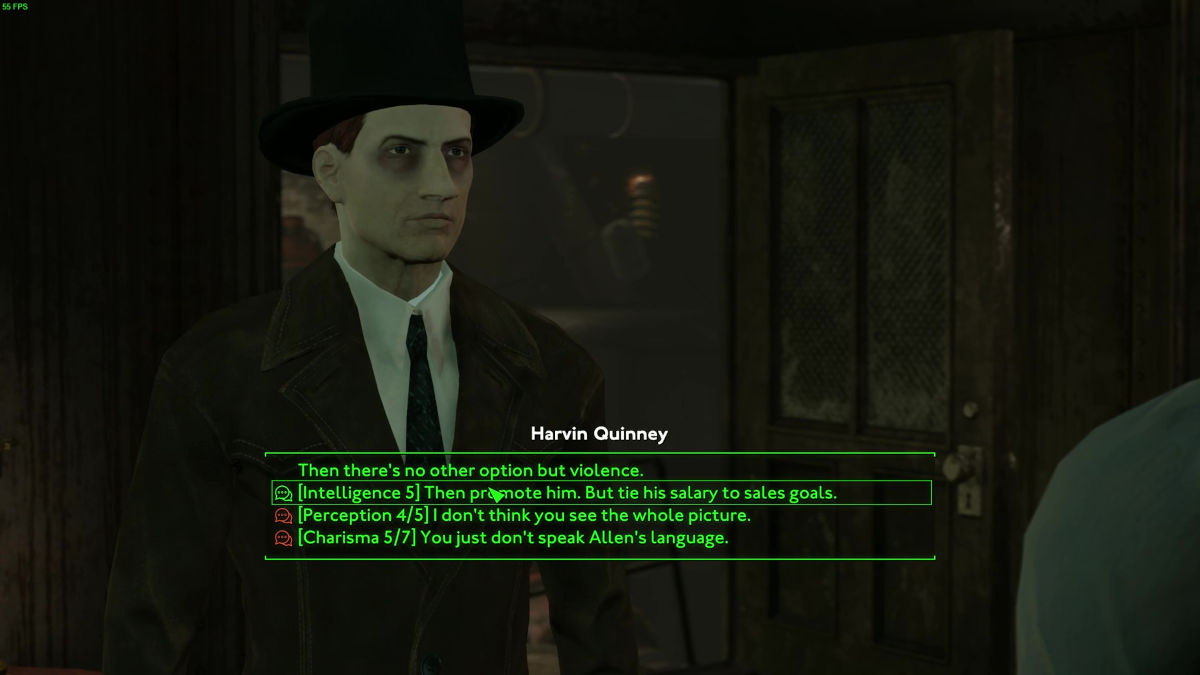
As for other stats, be aware that there are Charisma and Intelligence checks in early game dialogue that 6 points. Try to reach 6 or 7 for either of these if you want to take advantage of those early SPECIAL skill checks.
Strength is OP
Strength is very strong in the early game where you’re going to encounter enemies that you can only defeat with your fists. Even when you do get your first gun, ammo is extremely limited. We highly recommend prioritising Strength early on to make it easier to dispatch annoying foes when you’re out of the tutorial.
In addition, when you leave the tutorial, you do get a debuff due to an event that leaves you wounded. This makes you take 10% more damage until it is healed making handling Bloatfly ambushes a challenge, so the bonus HP afforded by Strength is extremely handy on any difficulty.
Melee weapons abundance
Melee weapons are extremely common in Fallout London, ranging from walking cane you’ll get early on to the switchblade you’ll get from a quest. Guns are much rarer with missions designed a lot more on being able to play melee. Taking strength is very handy for weapon scarcity. It’s also nice for the general HP you need dealing with lots of annoying critters and the debuff you start the game with.
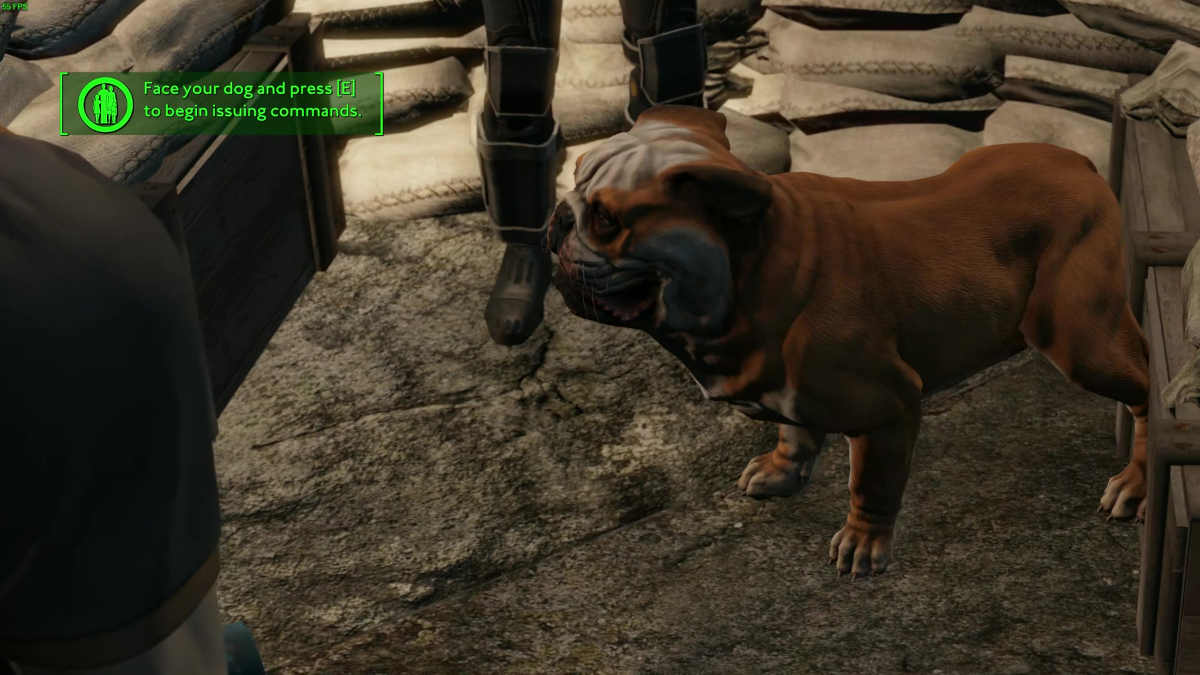
You get Churchill early on
If you want your Dogmeat replacement, then you’ll be happy to know you can get an English bulldog companion very earl yon. As you’re walking from the events at the end of the tutorial, you will encounter the dog organically. It’s impossible to miss. Save the dog from the stray mutant beasts, speak to the security guard by the dog food plant, and you’ll get your dog companion.
Crashes
Fallout 4 being downported back to the pre-next gen update has put the game into an unstable mess. You may need to get some mods to stop the awkward crashes that randomly happen from time to time. There’s a pretty in-depth thread on Reddit about how to resolve the crashes by downloading other mods. It seems guaranteed that you’ll encounter at least some crashes based on our experience and reading everyone else’s experiences so far.
Recommended first steps when starting out
Tickets, please
The iconic Bottlecaps are a thing of the past. In Fallout London, you will be trading Tickets. This is the game’s main currency and you’ll be able to start collecting even before the first train ride. After successfully escaping the lab, you will have to make your way from The Shard Hotel and through the London Underground. Keep an eye out for Tickets, represented by large orange tokens. This currency is the most abundant in the game and you will use it to barter for items down the line. Stocking up early is worth the extra time effort.
Rush to get Churchill
As we mentioned above in our tips, you will be able to find Churchill the bulldog fairly early on. We recommend going straight to get him. After surviving the train crash at the start of the game (and hopefully not the literal one), you’ll be able to speak with Sebastian Gaunt, leader of the Vagabonds. He points you towards Thamesfolk, if you ask him for directions. Head north, then west, and you’ll come upon their camp.
Head north following the path until you reach the Prilladog Food Factory. You’ll hear a ruckus, with one guard shouting and sounds of fighting animals. Rush over and help the bulldog fend off the mutant beasts.
Speak to the guard who will propose you take the dog with you. Accept his offer and you’ll have your very canine comapanion, Churchill. Just like Dogmeat, he’s able to help you during exploration and combat, as well as keeping you company in bombed-out London.
Get an early gun
Guns are far more rare in Fallout London, so you will have to rely on melee weapons for the most part, especially during the early game. But if you’re a gun aficionado and need one as soon as possible, there’s a gun you can get fairly early in the game.
Follow the main quest that requires you to reach Thameshaven. Head north-west past Fesco until you find a group of guards. Talk to them and they will suggest that you find an entrance to an old Underground station.
These tunnels are flooded and have pockets of radiation. Follow the path through them until you find a tin-can trap. Avoid it and head to the room on the right where you’ll find a cooking station and a bed. Go to the bed and scavenge through the bedside table. You’ll find a Flare Gun there, as well as a few flares for ammo. This gun is slow and cumbersome but you can use it at range until you find a better option.
About the Author