You can trust VideoGamer. Our team of gaming experts spend hours testing and reviewing the latest games, to ensure you're reading the most comprehensive guide possible. Rest assured, all imagery and advice is unique and original. Check out how we test and review games here
Payday 3’s Gold and Sharke heist is going to let the Payday Gang have another go at a classic bank robbery.
One of the biggest heists in this game, it’s going to take the player through a series of mini-games in order to net the payload at the end. You’re not really going to need one of the best stealth builds for this level, though it will certainly help when you’re on the upper levels.
This level has many similarities to the Dirty Ice which can be beaten without having to kill anybody.
Payday 3 Gold & Sharke stealth heist guide
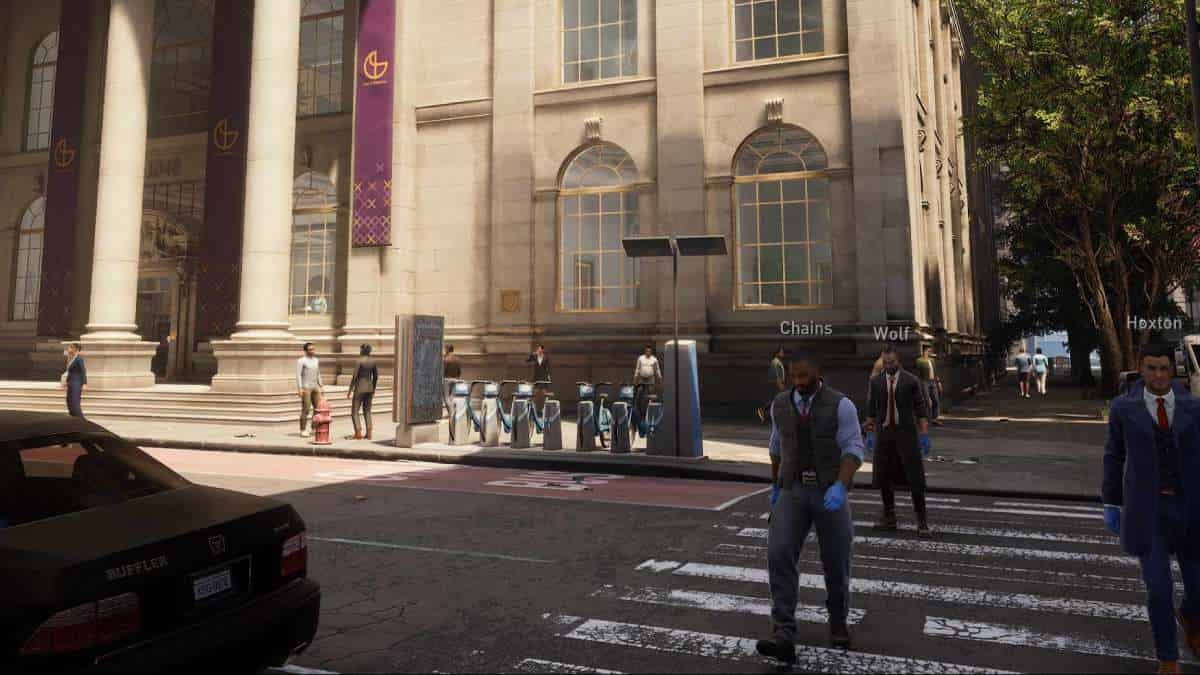
You’re going to want to stay in casing mode for the first few phases of this heist. Begin by walking round to the lower car-park on the left of the bank. Inside, you’re going to be able to break into the back of the bank through a poorly secured doorway. There’s going to be a little landing with two doorways. One on the left, another on the right. Neither is locked, so you’re best off going for the one closest to the first security camera.

Once you’re inside, there’s going to be a staff store-room on the right. Inside here, you’re going to be able to rummage around the lockers and find a couple of wads of cash, alongside a phone with a QR code on it. You’re going to use this to get inside the back of the bank.
Payday 3 Gold & Sharke Red Keycard locations

Next to the first door you came through, there’s a QR code entry spot which will open a stairwell leading up the back of the bank. Head on up there, then hug the right wall of the hallway (careful of security cameras on your right) and open up the door ahead of you to Human Resources. Worm around on the computers – one of them will tell you which room you need to go to. Erik Yaeger, not to be confused with the main character from Attack on Titan, is going to have what you’re looking for – the red key card. There’s also going to be a phone with a QR code on one of the desks – scan that. On your way back, we can pick up a few more.

Locate the Assistant’s Office, which is next to a Store Room with a QR code in it. Use a QR code from a phone you’ve phone to bust through the office doors. You have options here. You can either mask up, take Erik Yaeger hostage, and find the Red Key Card, or you can wait for the dopey idiot to start rummaging through his drawers. While his back is turned, you can run over to his cabinet and find the key card in one of the drawers. He’s not the sharpest tool in the shed, so sneaking behind him is fairly easy. We’d recommend against taking a hostage so soon as it will make stealthing the map significantly harder.
Before you head into the second floor, have a long rummage around the lower floor rooms. You’re going to be able to find wads of cash, QR codes, and more.
Payday 3 Gold & Sharke Vault Codes
Now you have the Red Key Card, you can go to the upper floors by entering through the big gate in the main lobby. The second floor is going to be a little trickier than the first. You’re on the lookout for the Vault Code, which is going to be found in the server room.

On the upper floor, there’s going to be quite a few different rooms that you’re going to be running in and out of. The server room is located in the upper far left, and you can initiate the hack in there. Be careful of civilians or guards entering, in which case you’re better off just restarting to get to the same point.
Once the hack has started, verify it by heading over to the IT rooms. Then, head back to the server room to finish it off. You’re going to be given four possible keycodes, only one of which will work. You’ll decipher the right code by using your UV light. However, before we proceed, we’re going to find the Blue Keycard.
Payday 3 Gold & Sharke Blue Keycard locations
There’s a few possible locations for this – the first being in the Manager’s Office on the second floor. The other location is on the back of the Manager’s belt. He is wearing a blue suit wandering around the second floor. Have a look around until you find what you’re looking for – this only begins to spawn once you’ve arrived on the second floor, so good luck. In one of my playthroughs of this level – it either didn’t spawn entirely, or there’s a third location that’s as of yet undiscovered.
Gold & Sharke Vault Laser switches

Next, head over to the Vault Door and enter the Vault Codes that your UV light are claiming will work. This will open the Vault Room which is protected by lasers. You’re going to need to disable these in order to get to the goods, which you’re going to do by using the control panels on the walls.
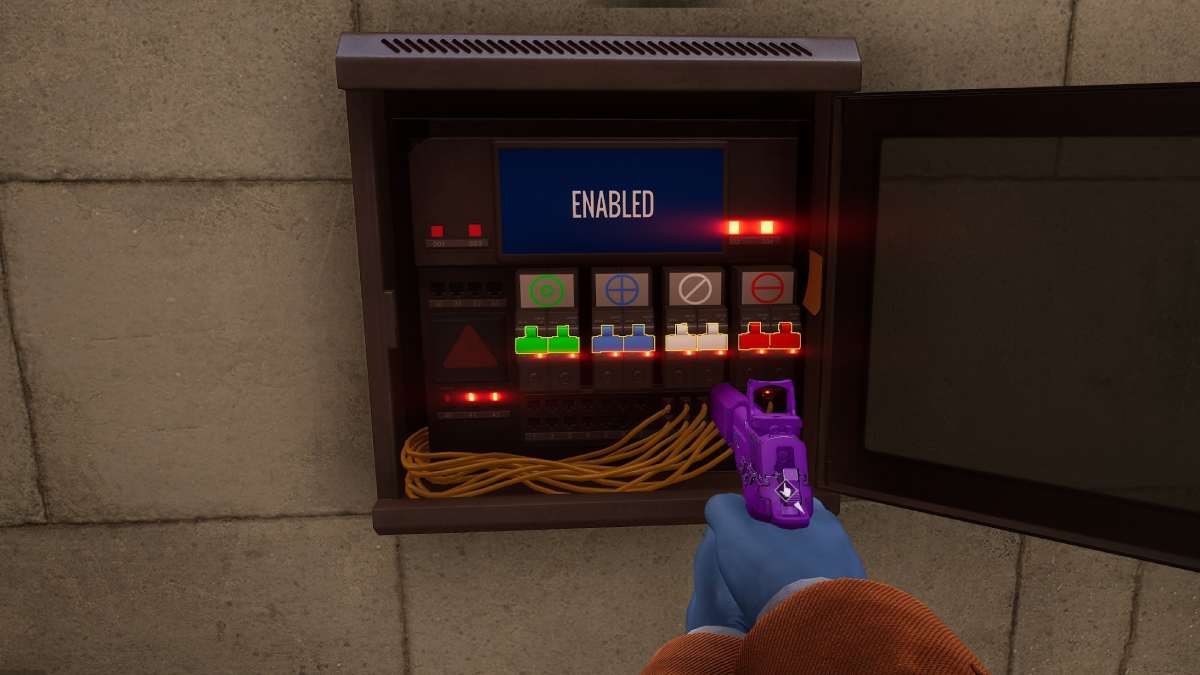
You’re going to need to hit the corresponding color cable on the switch that you saw on the main activation panel. It will look like one of the shapes above the switches. Hit them all, and the lasers will disappear.
After this, you’re going to need to use the Blue Keycard to open the Manager’s Office. inside here, you’re going to be able to activate a remote signal to open the vault door. If you’re playing solo, you’re going to need to activate the signal then run over to the vault and use the keycard to unlock it. You won’t have long at all, so make sure your route is clear before you run away.
Gold & Sharke escape van
At this point, it is still possible that you haven’t used your pistol yet. This means you’re going to be able to take the gold back to the Van in the parking lot without being spotted. If you have had to draw your weapon, you’re going to need to use the elevators which you can only do with access to them. You can gain elevator access through the use of favors. You can get these before the round starts by purchasing them from Gage. They are consumables, and will only set you back $10K or so.

Once you’re finished with this level, you’re going to be ready for the next. As you approach the later stages of the game, you’re going to want to consider the best way to get rich quick – the Road Rage heist is perfect for that. After that, consider rigging yourself with the best assault build or the best graphics settings for Payday 3.
About the Author


