

Video Gamer is reader-supported. When you buy through links on our site, we may earn an affiliate commission. Prices subject to change. Learn more
Wanting to know how to take photos in Tears of the Kingdom? Then you have come to the right place. Just like in 2017’s Breath of the Wild, there’s a fantastic photo mode in The Legend of Zelda: Tears of the Kingdom, which with a few helpful hints, can ensure you take awesome in-game screens every time.
Here, we go into how to use it, then some hints and tips we’ve picked up as we play the game and capture screenshot from Hyrule. Before kicking off, you may want to learn how to disable the HUD in Legend of Zelda Tears of the Kingdom – which helps make pictures cleaner and less busy,
How to take photos in The Legend of Zelda: Tears of the Kingdom
It’s worth noting that you won’t be able to take photos right away. In fact, you’ll need to wait a while until your Purah Pad has that feature installed. To get the ability to take pictures, you first need to complete the Great Sky Island tutorials.
From there, head to Robbie who’ll give you the ‘Camera Work in the Depths’ quest. You’ll then have to use your paraglider to glide down safely into the Chasm. After activating a Lightroot, you’ll need to head further into the Depths to find Robbie – who then upgrades your Purah Pad to take photos. To take a picture please follow these steps:
- Open the Purah Pad and select the Camera function
- The game will freeze and you’ll be able to take a snap
- Take a picture by pressing A or press X to flip the camera and take a selfie
- If you tilt the left thumbstick, Link will go through a variety of poses
- You can zoom with d-pad
Photo mode hints and tips
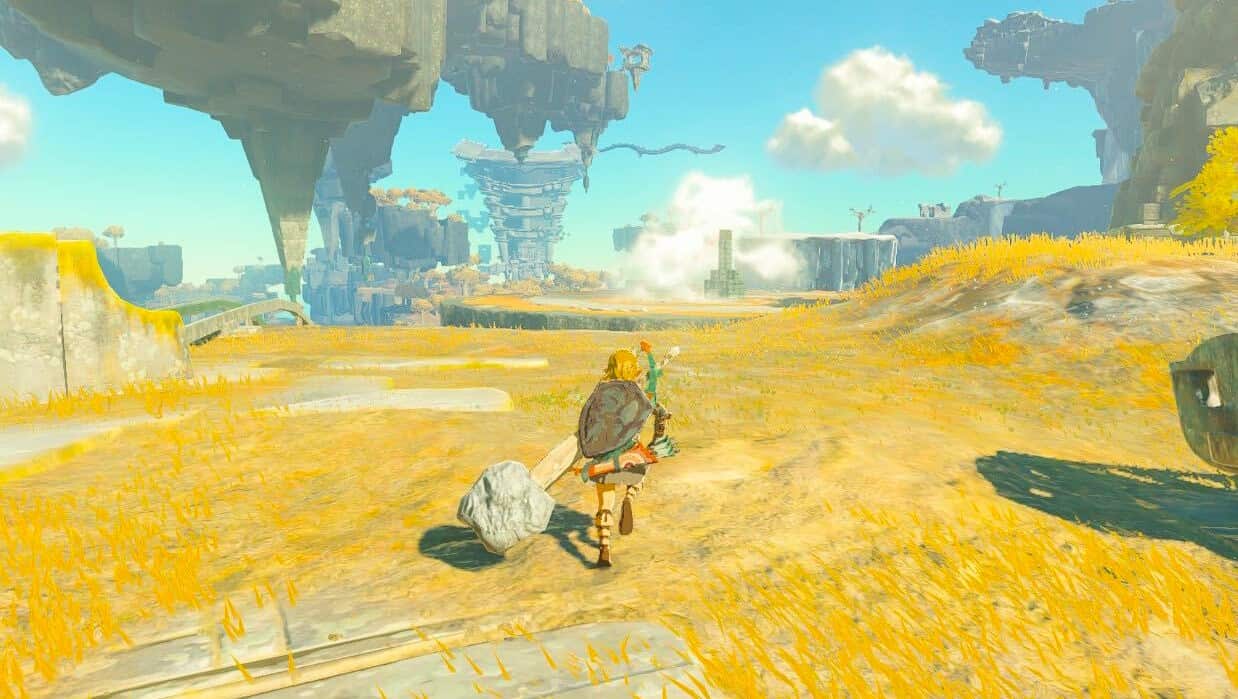
Now that you have the ability to take photos, what makes a great one? The first thing we recommend is disabling your HUD. As mentioned, this will really help clean up the image and allow you to fully appreciate the cel-shaded beauty. We’ve put an example below of what the game looks like without the HUD, which we’re sure you’ll agree is far better for photo mode.
Next, you’re going to want to try to make it is vibrant as possible. The best photos in our view are the ones in the Sky Island. A good place to start is try to get as high as possible, and then stand new the edge of a cliff. Try to get as many sky islands in as possible – it’s far more effective from a photo point of view to have sky islands below you rather than above you. If you’re struggling, you check out how to fly in Tears of the Kingdom for help.
While the Chasm offers a breath of fresh air to the general lightness of the game, it’s not the best area for photos, so venture down there once you’ve exhausted the sprawling landscapes of Hyrule from the land and skies above. That’s all you need to know about Tears of the Kingdom’s photo mode. Scroll down for a detailed look at disabling the HUD in TOTK.