Video Gamer is reader-supported. When you buy through links on our site, we may earn an affiliate commission. Prices subject to change. Learn more
- The best stratagems are Quasar Cannon, Orbital Laser, Railgun, Patriot Exosuit, Grenade Launcher, Expendable Anti-Tank, Eagle 500kg Bomb, Recoilless Rifle.
- Use Super Credits to unlock Stratagems.
The best stratagems can mean the difference between a close escape and certain doom against many enemies. We’ve rounded up a tier list of our top picks and have listed out every single stratagem code in the game.
Our best stratagems tier list – played and tested
After playing hours of HD2, we have complied our list of the best stratagems and created the below tier list.
| Tier | Stratagems |
|---|---|
| S | Quasar Cannon, Orbital Laser, Railgun, Patriot Exosuit, Grenade Launcher, Expendable Anti-Tank, Eagle 500kg Bomb, Recoilless Rifle. |
| A | EMS Mortar Sentry, Autocannon, Eagle Cluster Bomb, Autocannon Sentry, Guard Dog Rover, Eagle Napalm Airstrike, Arc Thrower, Flamethrower, Eagle Airstrike, Shield Generator Pack, Rocket Sentry, Orbital Railcannon Strike, Laser Cannon. |
| B | Orbital Precision Strike, Stalwart, Jump Pack, Gatling Sentry, Mortar Sentry, Anti-Materiel Rifle, Supply Pack, Heavy Machine Gun. |
| C | Orbital Gatling Barrage, Machine Gun Sentry, Shield Generator Relay, Eagle 110mm Rocket Pods, Orbital EMS Strike, Orbital Walking Barrage, Incendiary Mines, Anti-Personnel Minefield, HMG Emplacement, Eagle Strafing Run, Machine Gun, Airburst Rocket Launcher, Spear, Eagle Smoke Strikes, Orbital Airburst Strike, Orbital 380mm HE Barrage, Orbital 120mm HE Barrage, Orbital Gas Strike. |
| D | Guard Dog, Tesla Tower, Ballistic Shield. |

How to unlock all stratagems
Stratagems are powerful abilities that can be called down from your Destroyer ship. As for using these powerful items, you’ll need Super Credits, also known as Requisition that can be earned from Orders and operations. You’ll also need to be at a certain level to unlock them. Pick between these buffs at the Ship Management console in your ship:
- Mission: These are unlocked for all players but are restricted to certain mission types.
- Patriotic Administration Centre: This focuses on heavy weaponry that is great against armored targets.
- Orbital Cannons: Watch out for artillery fire from your Destroyer. And yes, they can hurt you.
- Hangar: These deal explosive damage and focus on bombs.
- Bridge: Adopt these if you prefer dishing out elemental damage.
- Engineering Bay: A mix of offensive and defensive equipment.
- Robotics Workshop: The automation side of things, from drones to turrets.
Best S-tier stratagems
While it can be hard to pick the best ones because of the variety of enemies, some stratagems stand out from the rest. Here are our top picks for the best stratagems in Helldivers 2.

Quasar Cannon – the best Engineering Bay stratagem
- Stratagem code: Down, Down, Up, Left, Right
- Cost: 7500 Requisition credits at Level 18
- Traits: Support Weapon, Hellpod
- Call-In Time: 3 Seconds
- Uses: Unlimited
- Cooldown Time: 480 Seconds
While it does take 10 seconds between reloads and has a 3-second charge time, the Quasar Cannon is easily the best support weapon in the game. It can take down all sorts of armored foes like Chargers and objectives like Cannon Towers from a decent range. You can even knock down a Dropship packed with Automaton reinforcements if you land a shot at one of the ship’s engines. It’s also featured in our best weapons guide.

Orbital Laser – the best Orbital Cannons stratagem
- Stratagem code: Right, Down, Up, Right, Down
- Cost: 10000 Requisition credits at Level 15
- Traits: Orbital
- Call-In Time: 2 Seconds
- Uses: 3
- Cooldown Time: 300 Seconds
This stratagem is great against both Terminids and Automatons. You can use this to either fight off strong targets or mobs of weaker ones. Its versatility means that it’ll help you with most enemies in the game. It might not be able to take out a Bile Titan but it can take out smaller hordes easily.

Railgun – the best Patriotic Administration Centre stratagem
- Stratagem code: Down, Right, Left, Down, Up, Left, Right
- Cost: 10000 Requisition credits at Level 20
- Traits: Support Weapon, Hellpod
- Call-In Time: 3 Seconds
- Uses: Unlimited
- Cooldown Time: 480 Seconds
This stratagem can be found in the Patriotic Administration Center Stratagems at level 20. You can take down even the most powerful threats like the Bile Titan and Hulk with this weapon in a couple of shots. Just be wary of its ‘Unsafe Mode’ because it can kill the user. While the weapon did get a nerf, it’s still one of the most reliable in the game.

Eagle 500KG Bomb
- Stratagem code: Up, Right, Down, Down, Down
- Cost: 10,000 Requisition credits at Level 15
- Traits: Explosive, Eagle
- Call-In Time: 0 Seconds
- Uses: 1
- Cooldown Time: N/A
The Eagle 500KG Bomb is part of the Hangar Stratagems and is the perfect Stratagem to use when you need to clear out a large group of enemies of all types, this does a lot of damage. It is also useful for destroying Fabricators and Bug Holes, and can even destroy objectives such as Ammunition Supplies and Dropships.

Shield Generator Pack
- Stratagem code: Down, Up, Left, Right, Left, Right
- Cost: 10000 Requisition credits at Level 20
- Traits: Hellpod, Backpack
- Call-In Time: 5 Seconds
- Uses: Unlimited
- Cooldown Time: 480 Seconds
This Engineering Bay Stratagem is incredible at defending you from projectiles. It’s almost a must-have at higher difficulties, especially since it recharges over time. While a recent nerf slowed its recharge rate, it does regenerate and protect you from extended firefights. The stratagem straight-up turns you into a Halo: ODST trooper.

Patriot Exosuit – the best Robotics Workshop stratagem
- Stratagem code: Left, Down, Right, Up, Left, Down, Down
- Cost: 20000 Requisition credits at Level 25
- Traits: Explosive, Vehicle
- Call-In Time: 0 Seconds
- Uses: 2
- Cooldown Time: 600 Seconds
With a machine gun and rockets, you can dish out some serious damage against other armored targets. You can protect your teammates and clear objectives with the help of this hulking mech. Remember that explosives can take your Patriot Exosuit out in a couple of hits so try to avoid them as much as possible. And yes, it even has a melee attack.

Grenade Launcher
- Stratagem code: Down, Left, Up, Left, Down
- Cost: 6000 Requisition credits at Level 5
- Traits: Support Weapon, Hellpod, Explosive
- Call-In Time: 3 Seconds
- Uses: Unlimited
- Cooldown Time: 480 Seconds
It can be found in the Engineering Bay Stratagems. It’s an incredibly versatile weapon because it can take down both enemies and nests/structures like bug holes and breaches. Armored opponents can be damaged with this as well. Just be mindful of where you’re aiming as these grenades can ricochet and hit you instead.

Expendable Anti-Tank
- Stratagem code: Down, Left, Up, Left, Down
- Cost: 3000 Requisition credits at Level 3
- Traits: Support Weapon, Hellpod, Explosive
- Call-In Time: 2 Seconds
- Uses: Unlimited
- Cooldown Time: 60 Seconds
It’s one of the Patriotic Administration Center Stratagems. While its ammo may be on the low side, its quick recharge time lets you drop them often. Pick it up and you’ll be able to deal solid damage against armored targets before dropping the weapon. Its buff makes it particularly lethal against Chargers and other armored enemies.
List of all Helldivers 2 stratagem codes and how to unlock them
Read on for tables that cover every single stratagems, their effects, and how to unlock them. We’ve also listed all of the stratagem codes for you to input. Note that the first set is available to all players irrespective of their player level and the others have to be unlocked.
All Mission Stratagems
| Stratagem | Code | Description | How to unlock | Traits |
|---|---|---|---|---|
| Reinforce | Up, Down, Right, Left, Up | Lets you revive dead teammates. | Level 1 | Mission |
| SOS Beacon | Up, Down, Right, Up | Lets you call in allied Helldivers who are not currently in the mission. | Level 1 | Mission |
| Super Earth Flag | Down, Up, Down, Up | Lets you plant a flag of Super Earth. | Level 1 | Mission |
| Upload Data | Left, Right, Up, Up, Up | Upload data to a terminal. | Level 1 | Mission |
| Hellbomb | Down, Up, Left, Down, Up, Right, Down, Up | Drops a Hellbomb into a mission area. Needs to be activated for detonation. | Level 1 | Mission |
| Heavy Machine Gun | Down, Left, Up, Down, Down | A very powerful but difficult-to-wield machine gun with intense recoil. | Level 12 | Support Weapon, Hellpod |
| Airburst Rocket Launcher | Down, Up, Up, Left, Right | Fires a rocket that detonates within proximity of a target, and deploys a cluster of explosive bomblets. | 8,000 Requisition | Support Weapon, Hellpod |
All Patriotic Administration Centre Stratagems
| Stratagem | Code | Description | How to unlock | Traits |
|---|---|---|---|---|
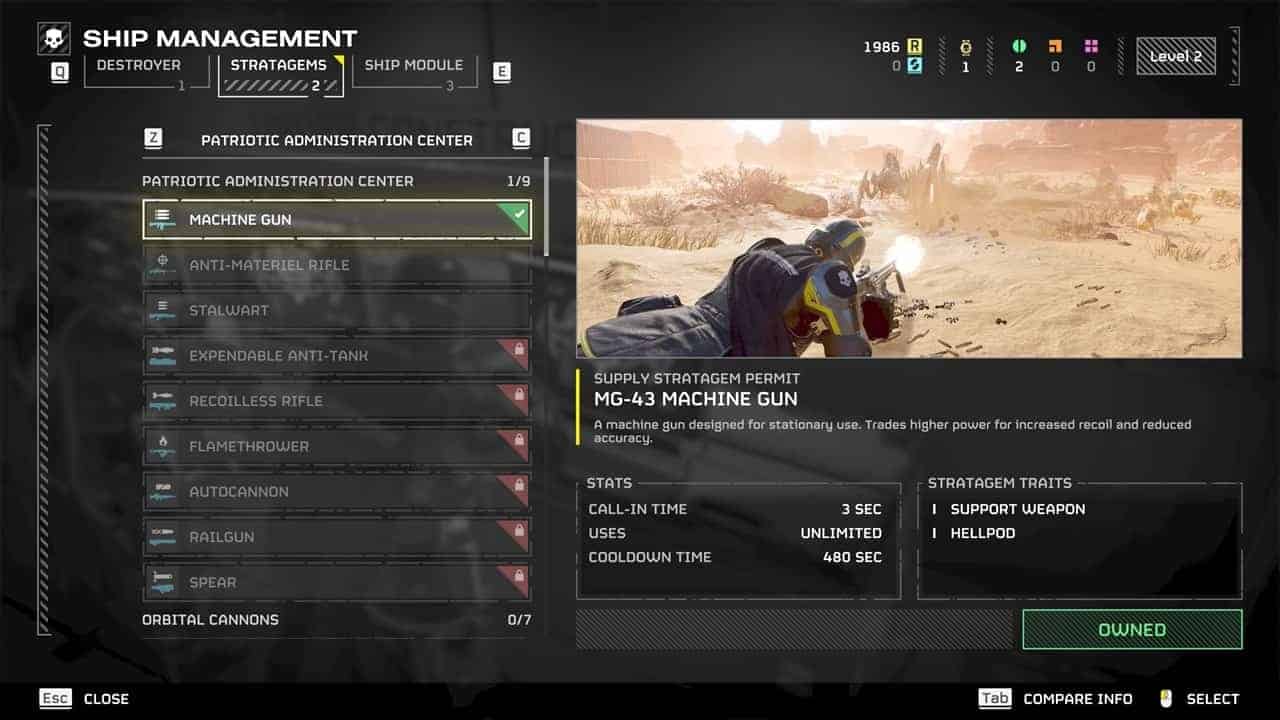
| Machine Gun | Down, Left, Down, Up, Right | This powerful machine gun can knock out weaker foes with one hit but you’ll need its sustained fire against bigger targets. It takes a while to reload. | Level 1 | Support Weapon Hellpod |
| Anti-Materiel Rifle | Down, Left, Right, Up, Down | This sniper rifle is devastating to light armor. Remember that you have to aim down your sights to use it. | Level 2 5000 credits | Support Weapon Hellpod |
| Stalwart | Down, Left, Down, Up, Up, Left | This light machine gun is a step up from the basic one as it’s easier to reload. But it doesn’t hit as hard as the Machine Gun. | Level 2 3500 credits | Support Weapon Hellpod |
| Expendable Anti-Tank | Down, Down, Left, Up, Right | This single-use rocket launcher can destroy armor. Its low cooldown lets you call it often in combat. | Level 3 3000 credits | Support Weapon Hellpod Explosive |
| Recoilless Rifle | Down, Left, Right, Right, Left | A rocket launcher that can fire multiple shots before reloading and is great against armored aliens. | Level 5 6000 credits | Support Weapon Hellpod Explosive |
| Flamethrower | Down, Left, Up, Down, Up | Sets enemies and the environment on fire. But remember that friendly fire can eliminate allies if you’re not careful. | Level 10 6000 credits | Support Weapon Hellpod Incendiary |
| Autocannon | Down, Left, Down, Up, Up, Right | This automatic cannon deals solid damage against armored targets. | Level 10 7000 credits | Support Weapon Hellpod |
| Railgun | Down, Right, Left, Down, Up, Left, Right | Charged armor-piercing shots that can take down large foes quickly. It can be used with an ‘Unsafe Mode’ for more damage. | Level 20 10000 credits | Support Weapon Hellpod |
| Spear | Down, Down, Up, Down, Down | This homing missile must lock onto armored targets before being unleashed. | Level 20 9000 credits | Support Weapon Hellpod |
All Orbital Cannons Stratagems
| Stratagem | Code | Description | How to unlock | Traits |
|---|---|---|---|---|
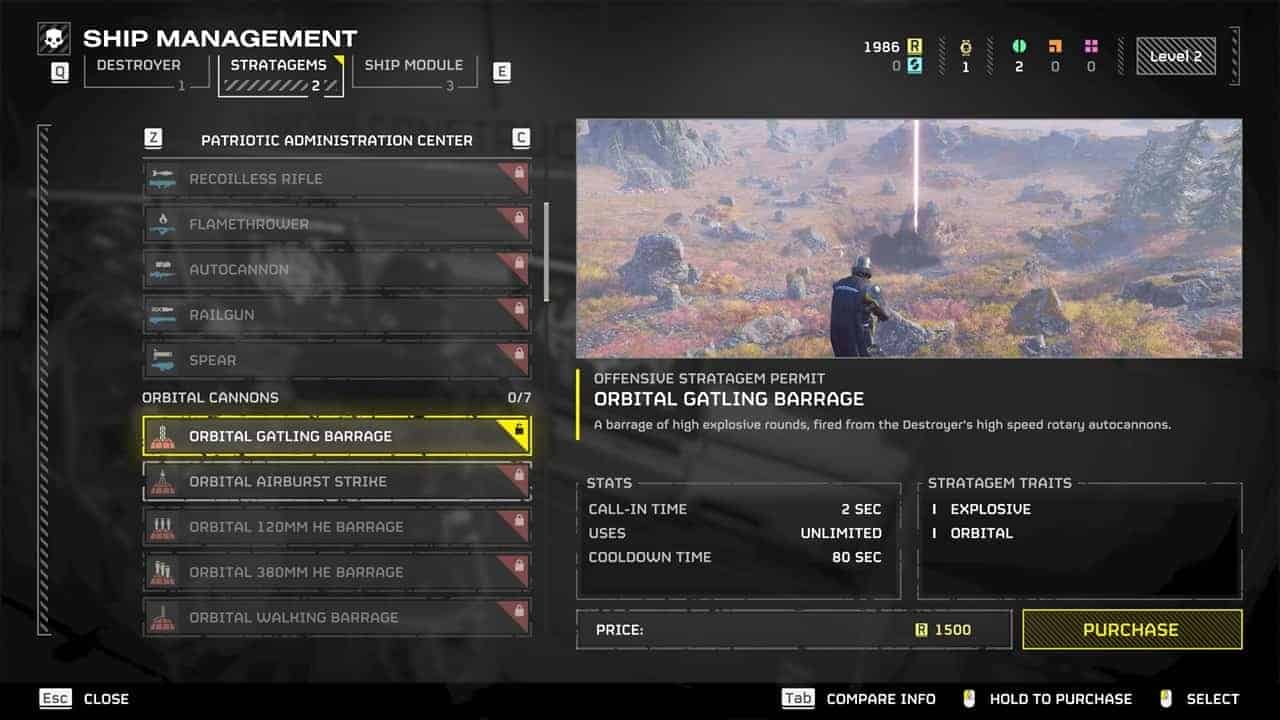
| Orbital Gatling Barrage | Right, Down, Right, Left, Up, Up | Launch high-explosive rounds from the Destroyer ship. | Level 2 1500 credits | Explosive Orbital |
| Orbital Airburst Strike | Right, Right, Right | These shrapnel rounds can bury weaker enemies quickly. | Level 5 4000 credits | Explosive Orbital |
| Orbital 120MM HE Barrage | Right, Down, Left, Right, Down | This missile is great against areas densely packed with monsters. | Level 5 4000 credits | Explosive Orbital |
| Orbital 380MM HE Barrage | Right, Down, Down, Up, Up, Left, Down, Down | Multiple airstrikes dished out across a massive radius from your ship above the planet. | Level 8 7500 credits | Explosive Orbital |
| Orbital Walking Barrage | Right, Right, Down, Left, Right, Down | This barrage moves forward with multiple artillery strikes. | Level 10 7500 credits | Explosive Orbital |
| Orbital Laser | Right, Down, Up, Right, Down | This laser targets any enemies within its attack radius. | Level 15 10000 credits | Orbital |
| Orbital Railcannon Strike | Right, Up, Down, Down, Right | The railcannon strike automatically targets the largest enemy nearest to the beacon that you place. | Level 20 10000 credits | Orbital |
All Hangar Stratagems
| Stratagem | Code | Description | How to unlock | Traits |
|---|---|---|---|---|
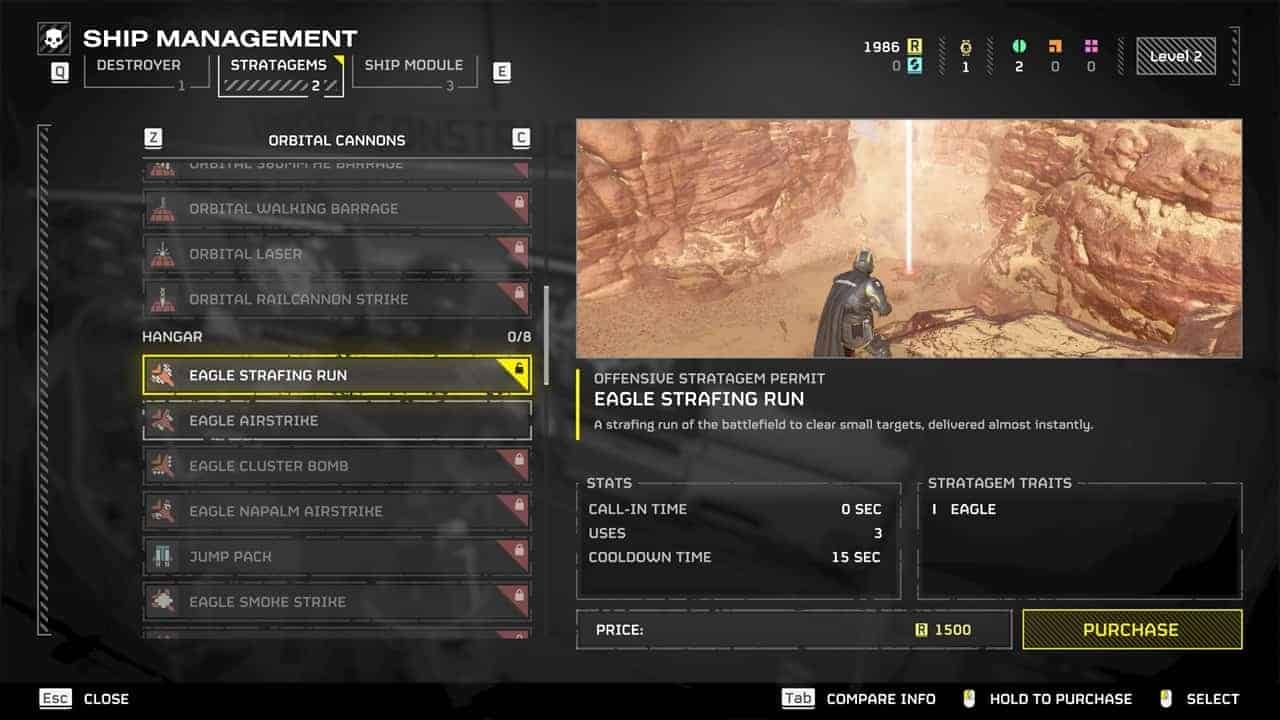
| Eagle Strafing Run | Up, Right, Right | This fast-shooting artillery attack makes short work of light enemies. | Level 2 1500 credits | Eagle |
| Eagle Airstrike | Up, Right, Down, Right | Drops a group of bombs in a row. Note that this isn’t automatically targeted at enemies. | Level 2 4000 credits | Explosive Eagle |
| Eagle Cluster Bomb | Up, Right, Down, Down, Right, Down | This air strike can finish off weaker foes. | Level 3 4000 credits | Explosive Eagle |
| Eagle Napalm Airstrike | Up, Right, Down, Up | Napalm bombs create a wall of fire that damages both foes and players. | Level 5 5000 credits | Explosive Eagle |
| Jump Pack | Down, Up, Up, Down, Up | Charge the Jump Pack to leap over armored enemies and walls and avoid incoming damage from nearby enemies. | Level 8 6000 credits | Hellpod Backpack |
| Eagle Smoke Strike | Up, Right, Up, Down | Multiple smoke grenades block the line of sight from enemies and let your squad reposition. Can take out enemy nests too. | Level 8 4000 credits | Explosive Eagle |
| Eagle 110MM Rocket Pods | Up, Right, Up, Left | This cluster of bombs targets the largest enemy closest to the beacon. | Level 10 7500 credits | Explosive Eagle |
| Eagle 500KG Bomb | Up, Right, Down, Down, Down | A large bomb that kills anything (even Automatons) within its designated radius. Run to safety. | Level 15 10000 credits | Explosive Eagle |
All Bridge Stratagems
| Stratagem | Code | Description | How to unlock | Traits |
|---|---|---|---|---|
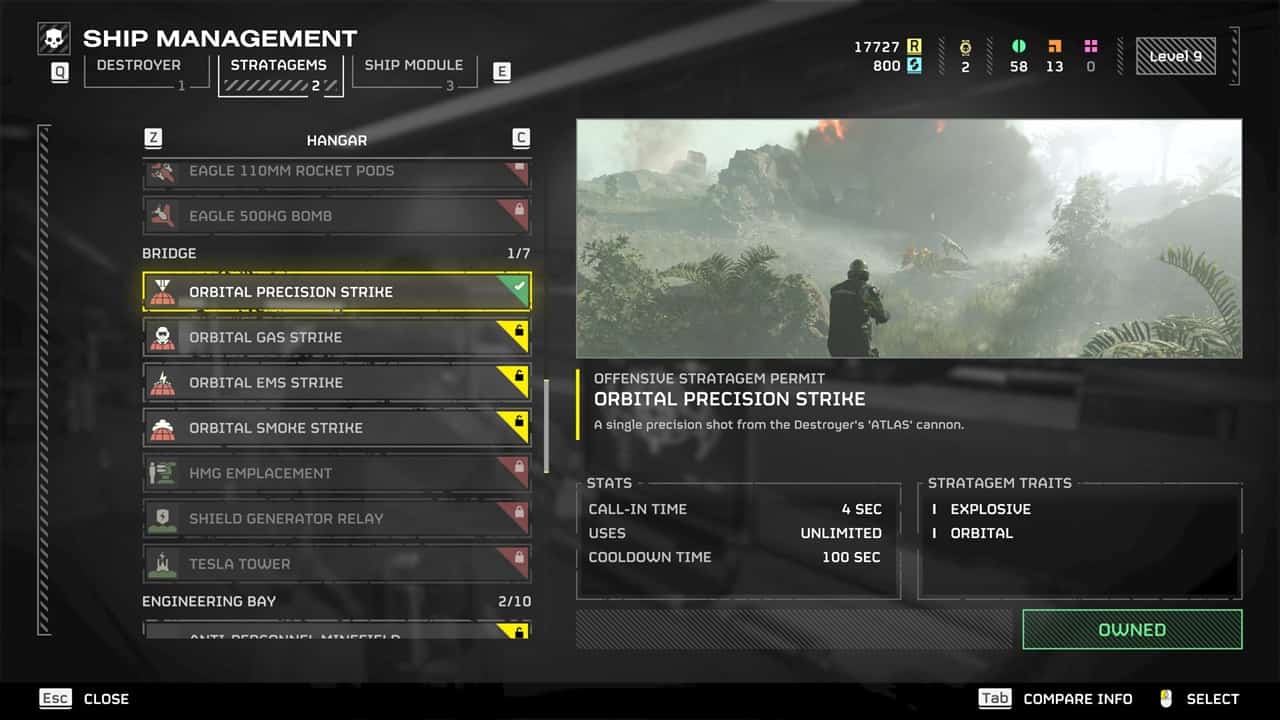
| Orbital Precision Strike | Right, Right, Up | A precision shot sent from the skies. Useful against single targets. | Level 1 | Explosive Orbital |
| Orbital Gas Strike | Right, Right, Down, Right | A projectile that releases corrosive gas that damages both foes and friends. | Level 3 4000 credits | Explosive Orbital |
| Orbital EMS Strike | Right, Right, Left, Down | Stuns and halts enemy movements with the help of an electrical blast field. | Level 5 6000 credits | Orbital |
| Orbital Smoke Strike | Right, Right, Down, Up | Creates a smoke screen, reducing enemies’ line of sight. | Level 8 4000 credits | Explosive Orbital |
| HMG Emplacement | Down, Up, Left, Right, Right, Left | A manned and stationary turret that deals a ton of damage. Can run out of ammo. | Level 10 10000 credits | Hellpod |
| Shield Generator Relay | Down, Up, Left, Down, Right, Right | Deploys an energy shield that protects your squad. Useful against projectiles. | Level 10 9000 credits | Hellpod |
| Tesla Tower | Down, Up, Right, Up, Left, Right | An electrical pylon that can shock enemies. | Level 15 8000 credits | Hellpod Sentry |
Use elemental attacks to weaken enemies
Some elemental attacks can cause other effects on enemies. For instance, fire damages foes over time while electricity can slow enemies in some cases.
All Engineering Bay Stratagems
| Stratagem | Code | Description | How to unlock | Traits |
|---|---|---|---|---|
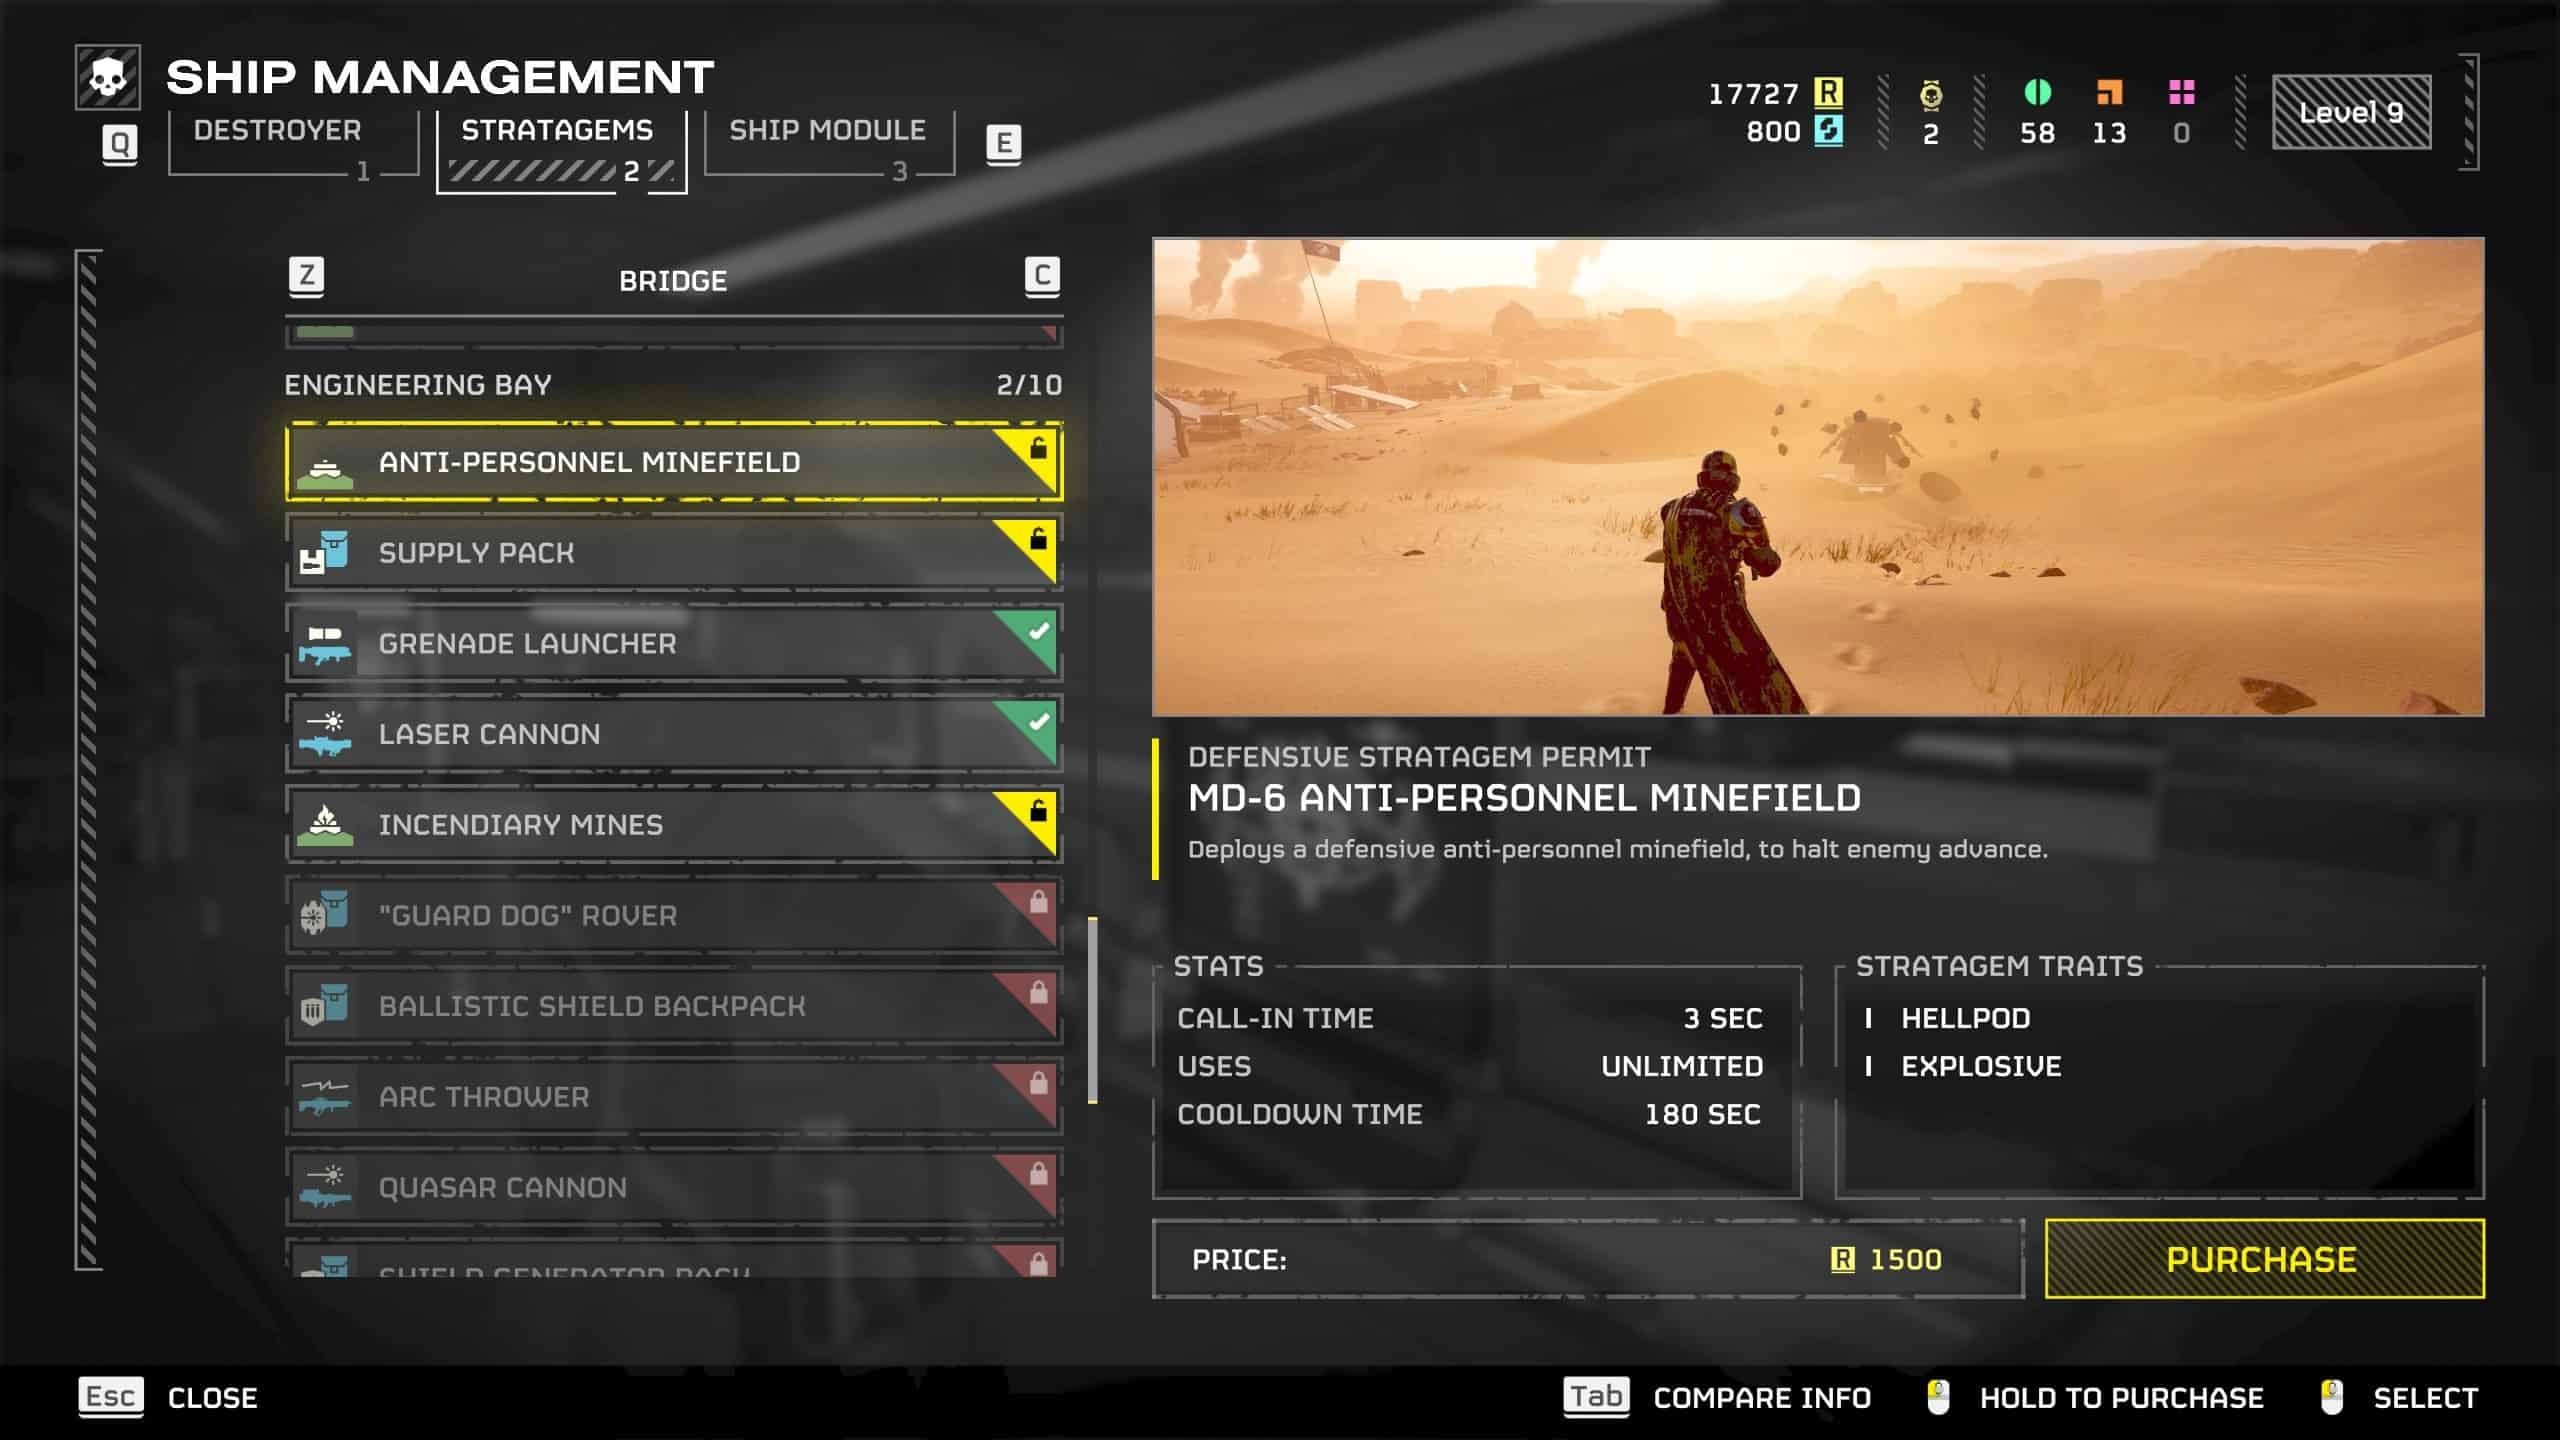
| Anti-Personnel Minefield | Down, Left, Up, Right | This stationary structure releases minefields in a large radius. | Level 2 1500 credits | Hellpod Explosive |
| Supply Pack | Down, Left, Down, Up, Up, Down | This backpack gives ammo to other Helldivers. Resupply your allies to keep the fight going. | Level 3 4000 credits | Hellpod Backpack |
| Grenade Launcher | Down, Left, Up, Left, Down | A grenade launcher that can take out multiple weaker enemies and clear bug nests. | Level 5 6000 credits | Support Weapon Hellpod Explosive |
| Laser Cannon | Down, Left, Down, Up, Left | Fires a continuous laser beam and can overheat. | Level 5 4000 credits | Support Weapon Hellpod |
| Incendiary Mines | Down, Left, Left, Down | This deploys mines in its radius too but with incendiary effects. It can harm friendly units too. | Level 8 4000 credits | Hellpod Explosive |
| “Guard Dog” Rover | Down, Up, Left, Up, Right, Right | A drone with a laser rifle, perfect for guarding your back. | Level 10 7500 credits | Hellpod Backpack |
| Ballistic Shield Backpack | Down, Left, Up, Up, Right | A shield effective against small incoming damage from enemies or friends. | Level 12 6000 credits | Hellpod Backpack |
| Arc Thrower | Down, Right, Up, Left, Down | A weapon that shoots an arc of lightning. A close-range weapon. | Level 15 7000 credits | Support Weapon Hellpod |
| Quasar Cannon | Down, Down, Up, Left, Right | Use this deadly laser to destroy armored opponents. It takes 10 seconds between reloads and has a 3-second charge time. | Level 18 7500 credits | Support Weapon Hellpod |
| Shield Generator Pack | Down, Up, Left, Right, Left, Right | A shield that protects the Helldiver from projectiles. Recharges with time. | Level 20 10000 credits | Hellpod Backpack |
All Robotics Workshop Stratagems
| Stratagem | Code | Description | How to unlock | Traits |
|---|---|---|---|---|
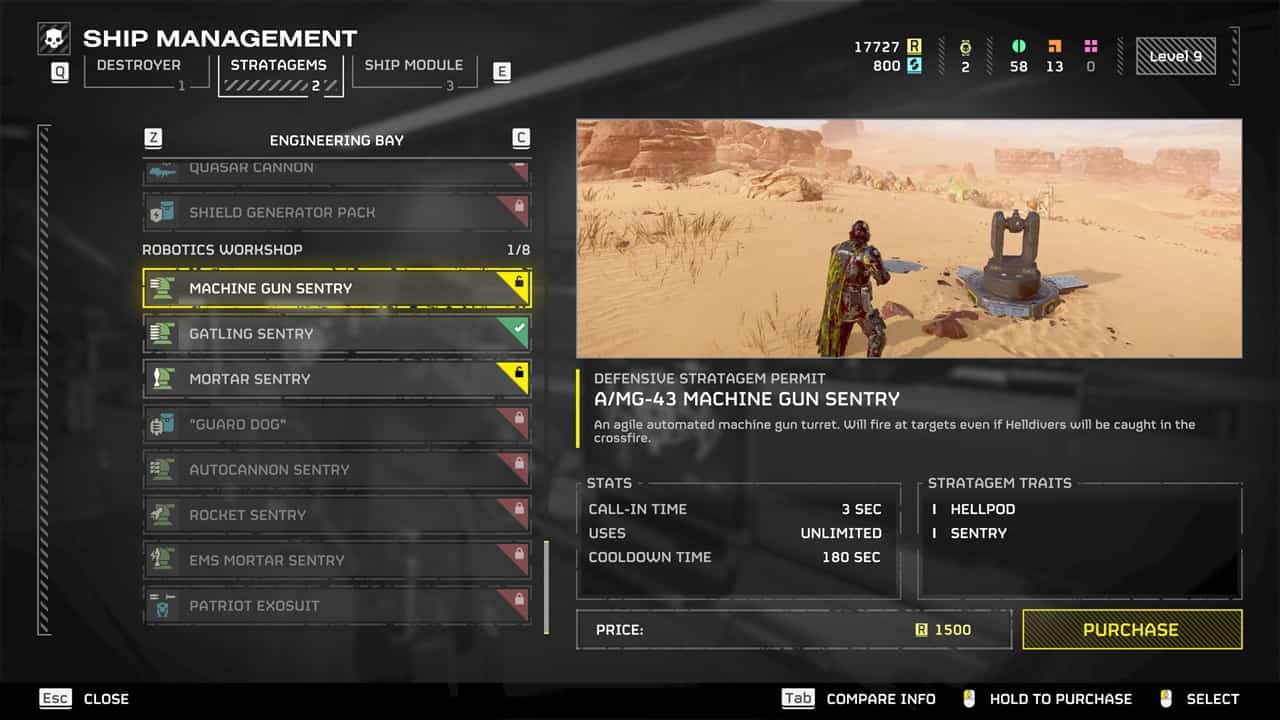
| Machine Gun Sentry | Down, Up, Right, Right, Up | A machine gun turret that can take down low-tier foes. | Level 3 1500 credits | Hellpod Sentry |
| Gatling Sentry | Down, Up, Right, Left | An automatic turret with a high fire rate against foes. | Level 5 4000 credits | Hellpod Sentry |
| Mortar Sentry | Down, Up, Right, Right, Down | A turret that shoots shells with incredible range. | Level 8 7000 credits | Hellpod Sentry Explosive |
| “Guard Dog” | Down, Up, Left, Up, Right, Down | A drone with an assault rifle equipped. This one’s great at defending your back. | Level 10 7500 credits | Hellpod Backpack |
| Autocannon Sentry | Down, Up, Right, Up, Left, Up | Anti-tank cannon that auto-fires against targets. | Level 13 6000 credits | Hellpod Sentry |
| Rocket Sentry | Down, Up, Right, Right, Left | Automated turret that is powerful against all sorts of armored enemies. | Level 15 7500 credits | Hellpod Explosive Sentry |
| EMS Mortar Sentry | Down, Down, Up, Up, Left | A turret that fires electrical generators that slow enemies. | Level 20 8000 credits | Hellpod Explosive Sentry |
| EXO-45 Patriot Exosuit | Left, Down, Right, Up, Left, Down, Down | A mech with a rocket launcher and heavy machine gun. You can only call this down twice per match. | Level 25 20000 credits | Explosive Vehicle |
Do you need to memorize stratagem codes?
No, you don’t need to memorize them. When you select the stratagem before deploying, you will get the code on the top left of the screen whenever you want to check them. But in the heat of battle, it might be difficult to perfectly execute the button combo without knowing it beforehand. Even then, it isn’t necessary to memorize stratagem codes in HD2 unless they’re your favorites.
What are the best early game stratagems?
If you are in the early stages of the game, make sure to keep an eye out for the following stratagems.
Stalwart
Thanks to its strong rate of fire, this weapon is great against enemy hordes until the Challenging difficulty where armored enemies appear more frequently. It’s got a better reload time than the Machine Gun but doesn’t hit as hard.
EAT-17 Expendable Anti-Tank
This is great against armored foes and has a fairly short cooldown. Thanks to a recent update, it can take down Chargers in one shot. It’s great even at higher difficulties.
Orbital Gatling Barrage
This orbital stratagem can help with large groups of enemies. And it can be unlocked fairly early as well.
Eagle Airstrike
This reliable damage dealer is relevant throughout the game. So unlock it right away.
Gatling Sentry
While other sentries are more lethal, this one’s pretty good at clearing waves of enemies without instantly killing you via friendly fire.
So which stratagems are good against bugs?
We’ve listed below our picks of Stratagems that are best for destroying bugs, chargers and bile titans.
Railgun
This weapon can dish out some serious punishment against Chargers and Bile Titans. Weaker foes like Bile Spewers and Hive Guards will only need one shot to be put down. You can consider the Quasar Cannon instead if you want to have unlimited ammo. The Flamethrower is another excellent pick as bugs are susceptible to fire damage.
Orbital Laser
This choice is great against both weak and strong bugs. It can handle objectives like bug nests too. Consider the Orbital Gatling Barrage if you want to handle a bug breach.
Gatling Sentry
This sentry’s rapid fire rate will serve you well against enemy hordes. But don’t expect it to crack the armor of a Bile Titan.
Expendable Anti-Tank
This is a reliable addition to your armory as it has a short cooldown. While it might be a single-use weapon, it can knock out medium-sized foes like Chargers in a single shot.
What are the best stratagems for automatons?
Quasar Cannon
With the robots focusing on armor, step up your offensive with the Quasar Cannon. Firing and reloading with this gun might take a while but few weapons punch through armor like it. Unlimited ammo is another neat perk to have against hordes of Hulks and Tanks.
Shield Generator Pack
If you don’t want to be drowned in laser fire, get this stratagem. Use it to withstand enemy projectiles, making it easier on your stims and reinforcements.
Mortar Sentry
While it can destroy your allies just as effectively, the Mortal Sentry is great against armored opponents who aren’t near you.
Eagle Airstrike
You can use this to clear outposts and even enemy squads of Automatons. Just remember to use Eagle Rearm whenever possible.
Helldivers 2
- Release Date: February 8, 2024
- Platform(s): PC, PlayStation 5
- Genre(s): Action, Shooter, Third Person


