You can trust VideoGamer. Our team of gaming experts spend hours testing and reviewing the latest games, to ensure you're reading the most comprehensive guide possible. Rest assured, all imagery and advice is unique and original. Check out how we test and review games here
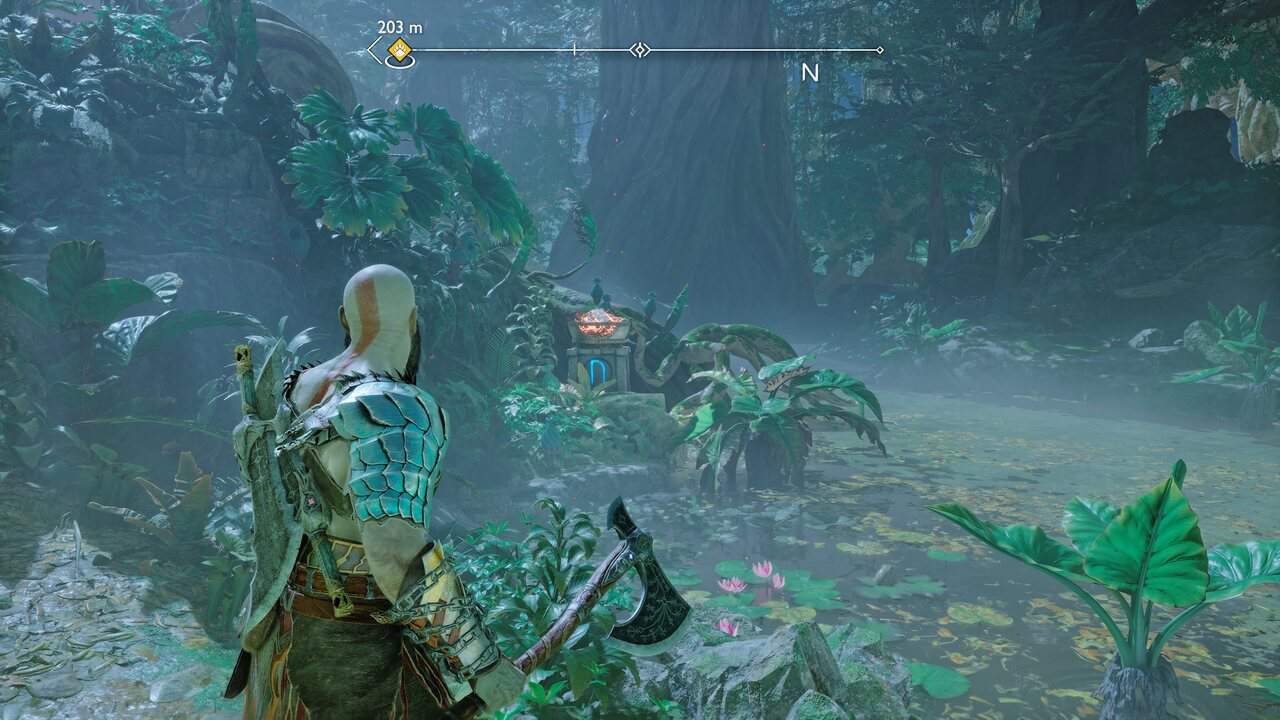
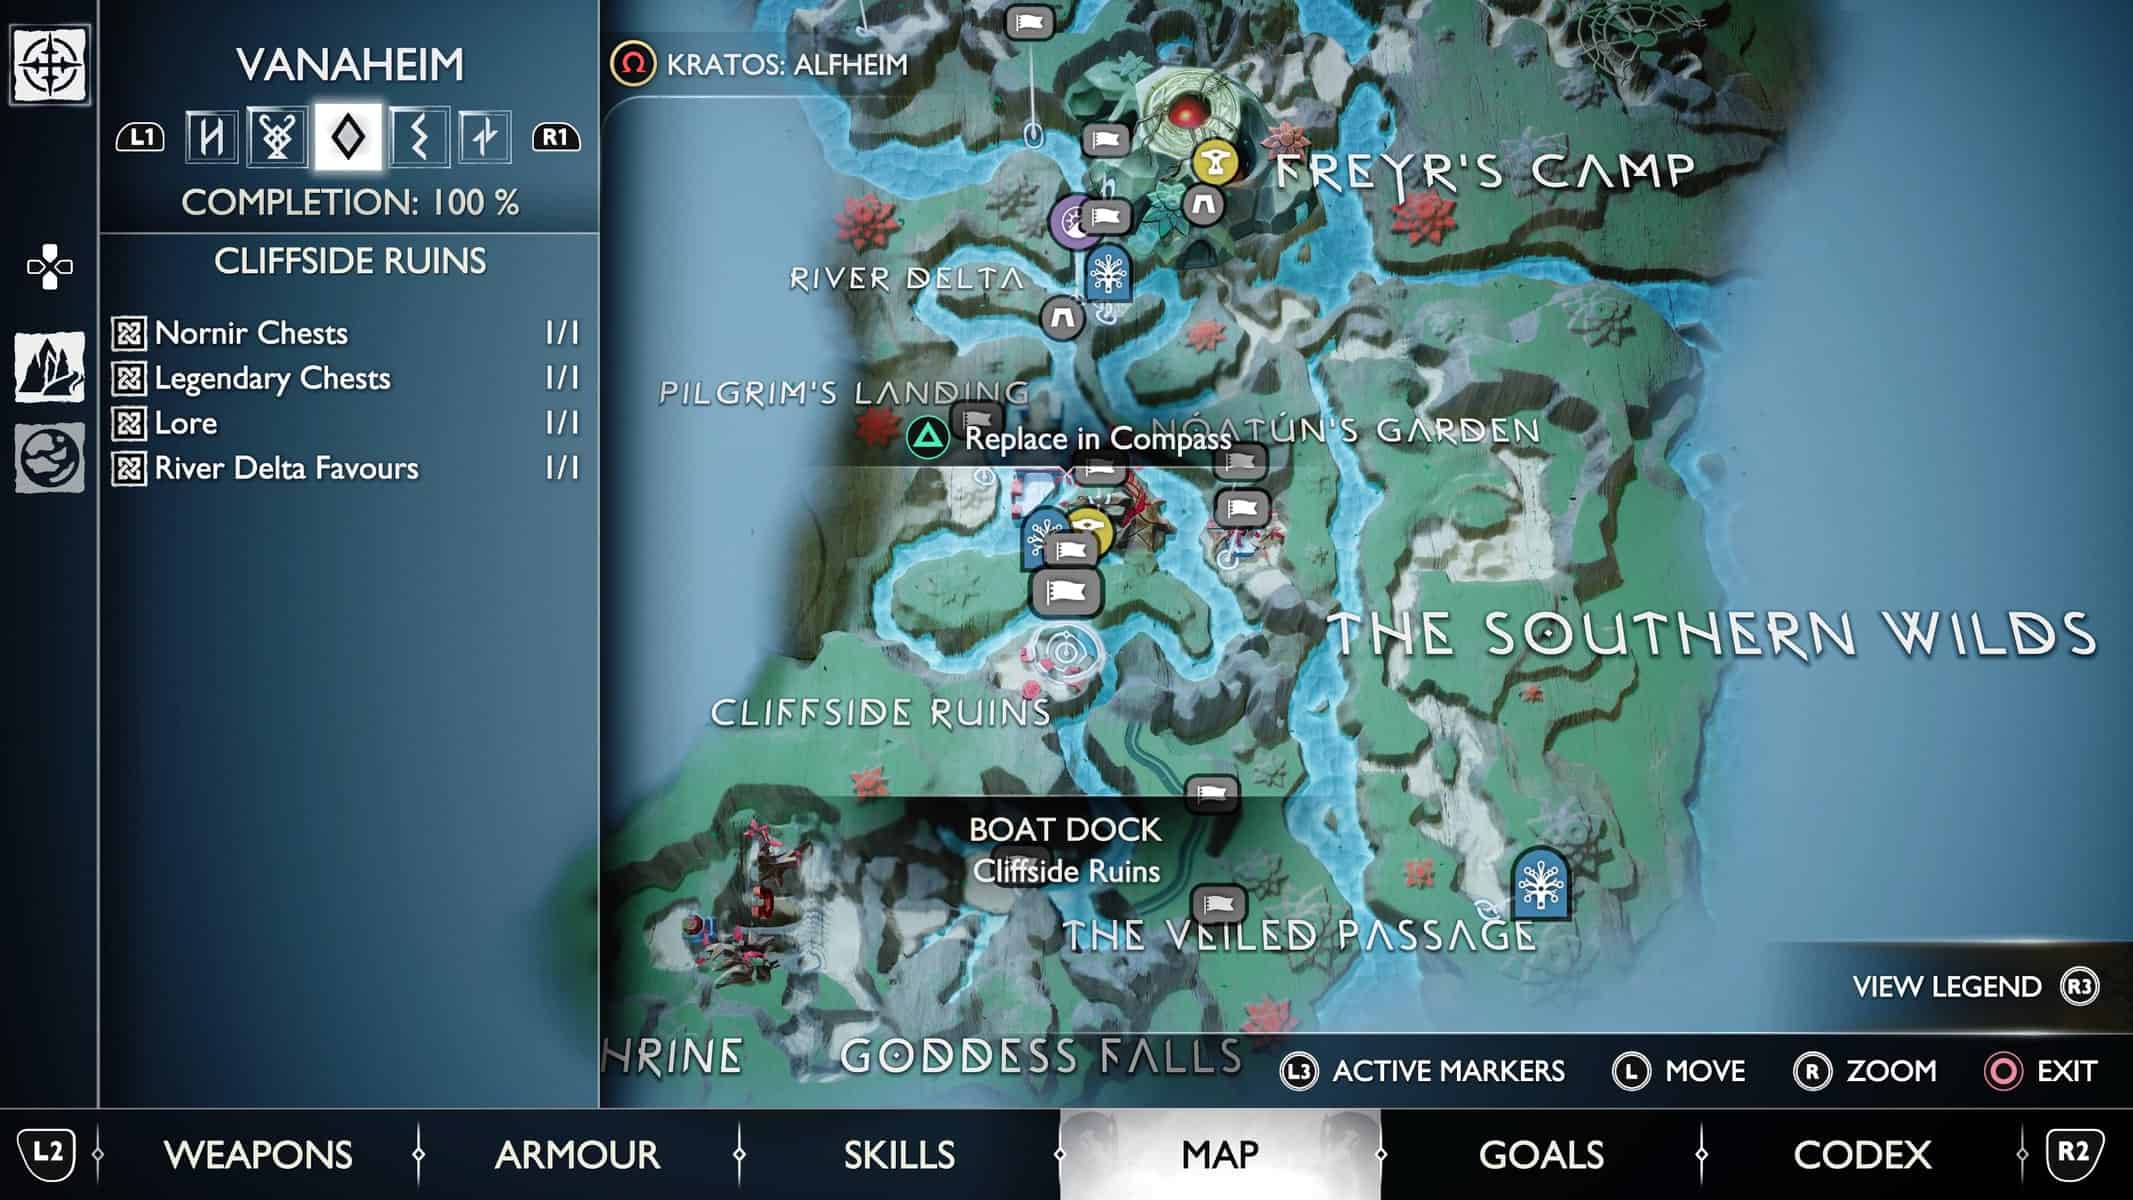
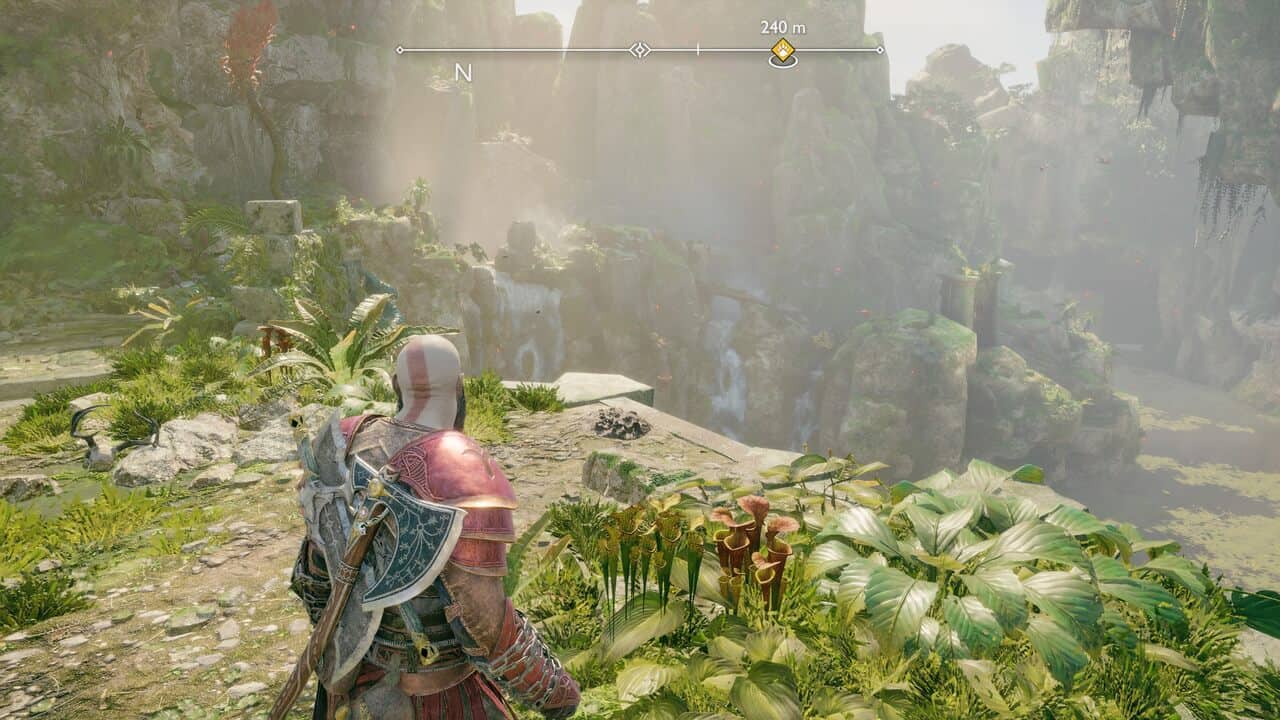
Alongside Svartalfheim and Midgard, Vanaheim is one the most expansive realms you’ll come across during your time with God of War Ragnarok. A lush jungle realm teeming with wildlife and the vestiges of long-gone civilization, Vanaheim is home to Freya and Freyr.
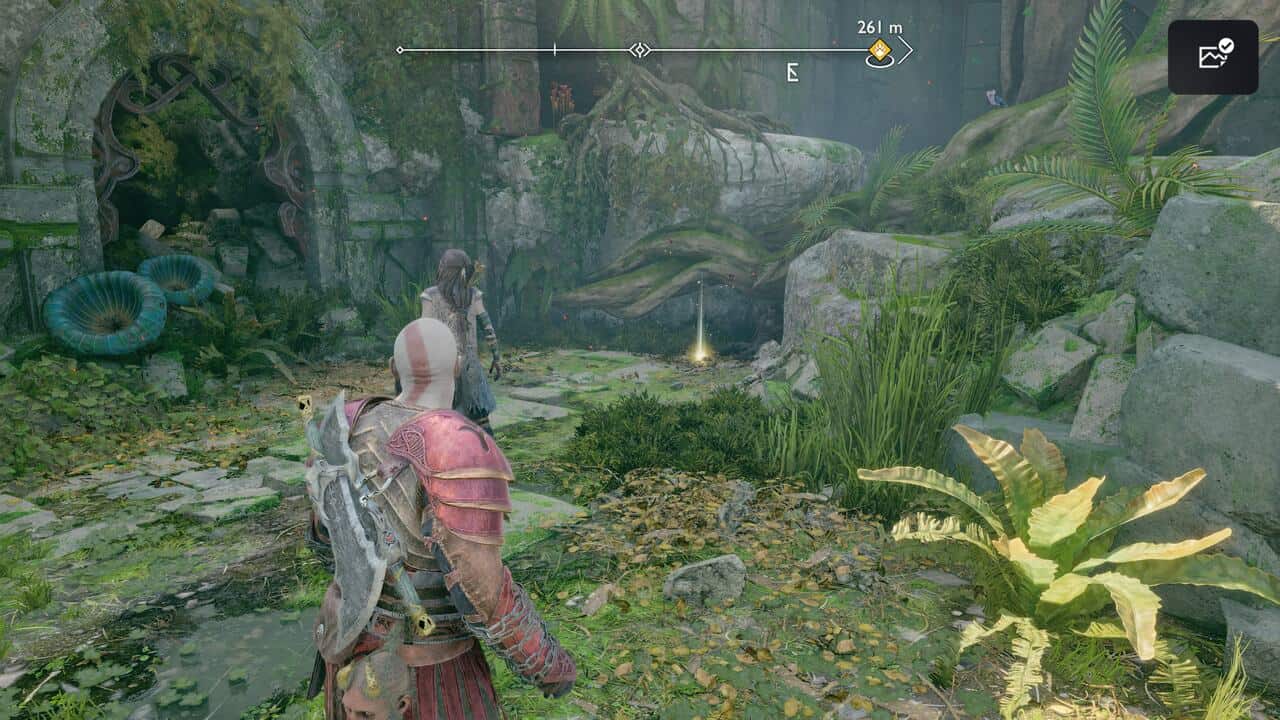
In this guide, we’ll walk you through reaching 100% realm completion with the location of all the chests, ravens, artifacts, lore pieces, and more to be found as your journey across Vanaheim. As is almost customary for a God of War game by this point, you won’t be able to collect everything during your first visit, with a special weapon accessible about mid-way and a second story visit opening up the realm even further.
Before we begin – spoiler warning. We’ve done our best to keep spoilers to a minimum, but Vanaheim is unique in the sense that it conceals many secrets, so there are some in there. For the purposes of 100% realm completion, we’ve included some late game nuggets you may want to avoid until you’ve pushed the story forward a bit more.
The Southern Wilds

Odin’s Ravens 1/1

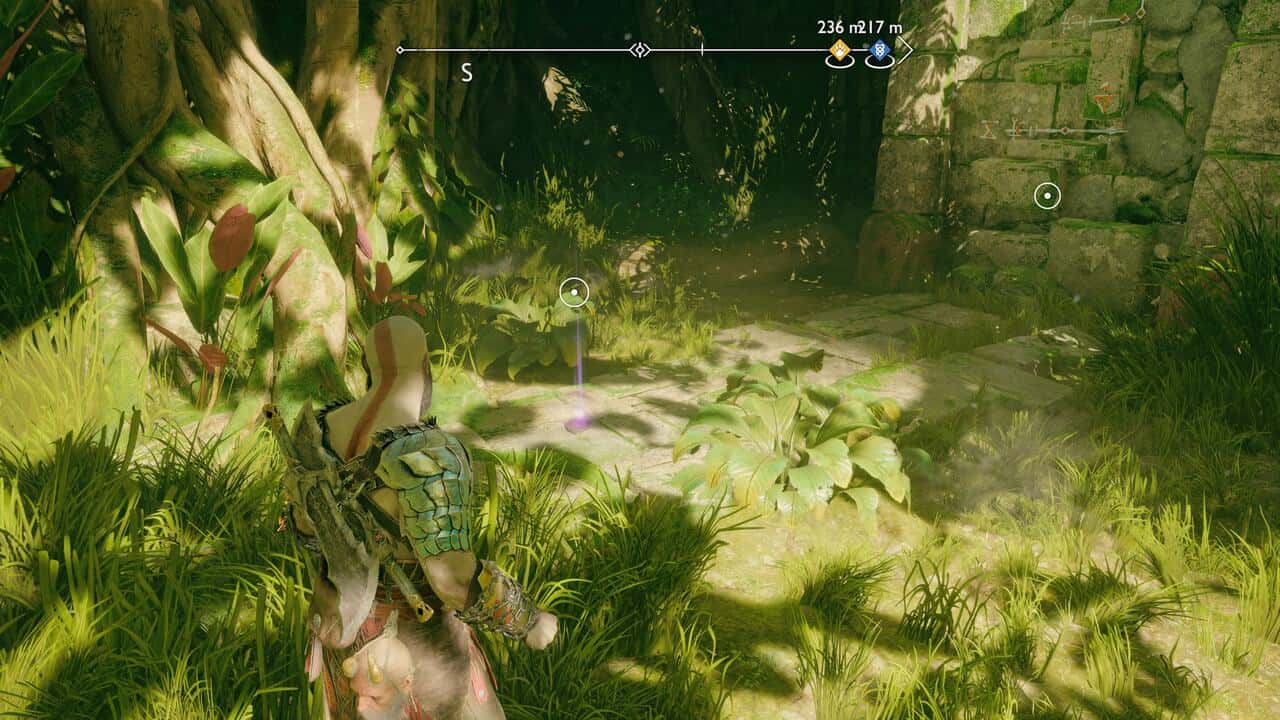
From the mystic gateway, push forward until you come to a fork in the road with a large tree. Go left to find an Odin’s Raven circling a small pond.
Legendary Chests 1/1

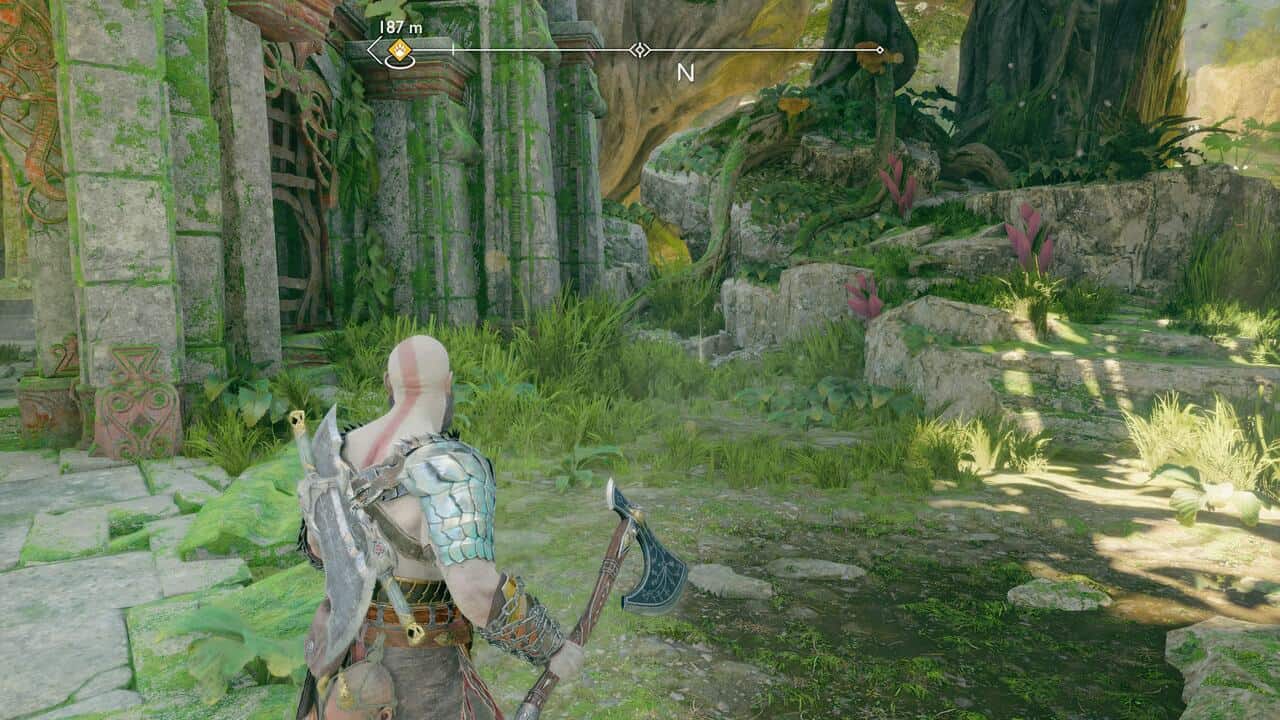
Press on from the raven until you come to the ruins of a market square. On the left is a crawl space that leads to a Legendary chest with the Wrath of the Frost Ancient light runic attack inside.
Artifacts 1/1
In the market square, climb up the platform in the center. Jump down to break the floor and grab the Kvasir’s Poem – Upon Pursuing a Place Not Marked On Maps artifact.
Nornir Chests 1/1

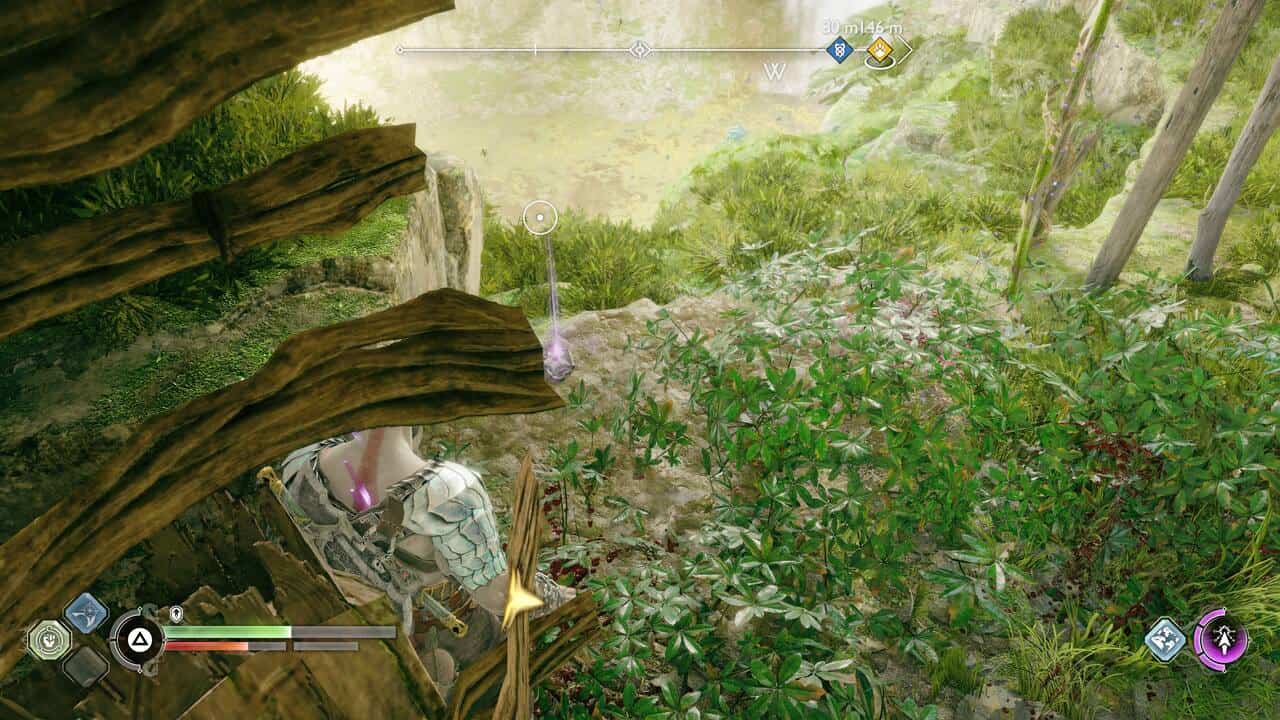
Press on out of the ruins, under the bundle of roots to find a Nornir chest.

The first rune is blocked by bramble on your right. Free it with the Blades then axe the spinner twice until it’s on the N-like symbol.

The second is to the right, up high on a ledge. Hit it once to get it on the C-like symbol.

The final ruin is behind you. Turn around backtrack a little and look up left for a spinner wrapped in bramble. Aim the Blades at the clump on the left – it will burn its way to the spinner. Hit it twice with the axe so that it lands on the R-like symbol. Loot the chest for a Horn of Blood Mead.
Hel Tears 1/1
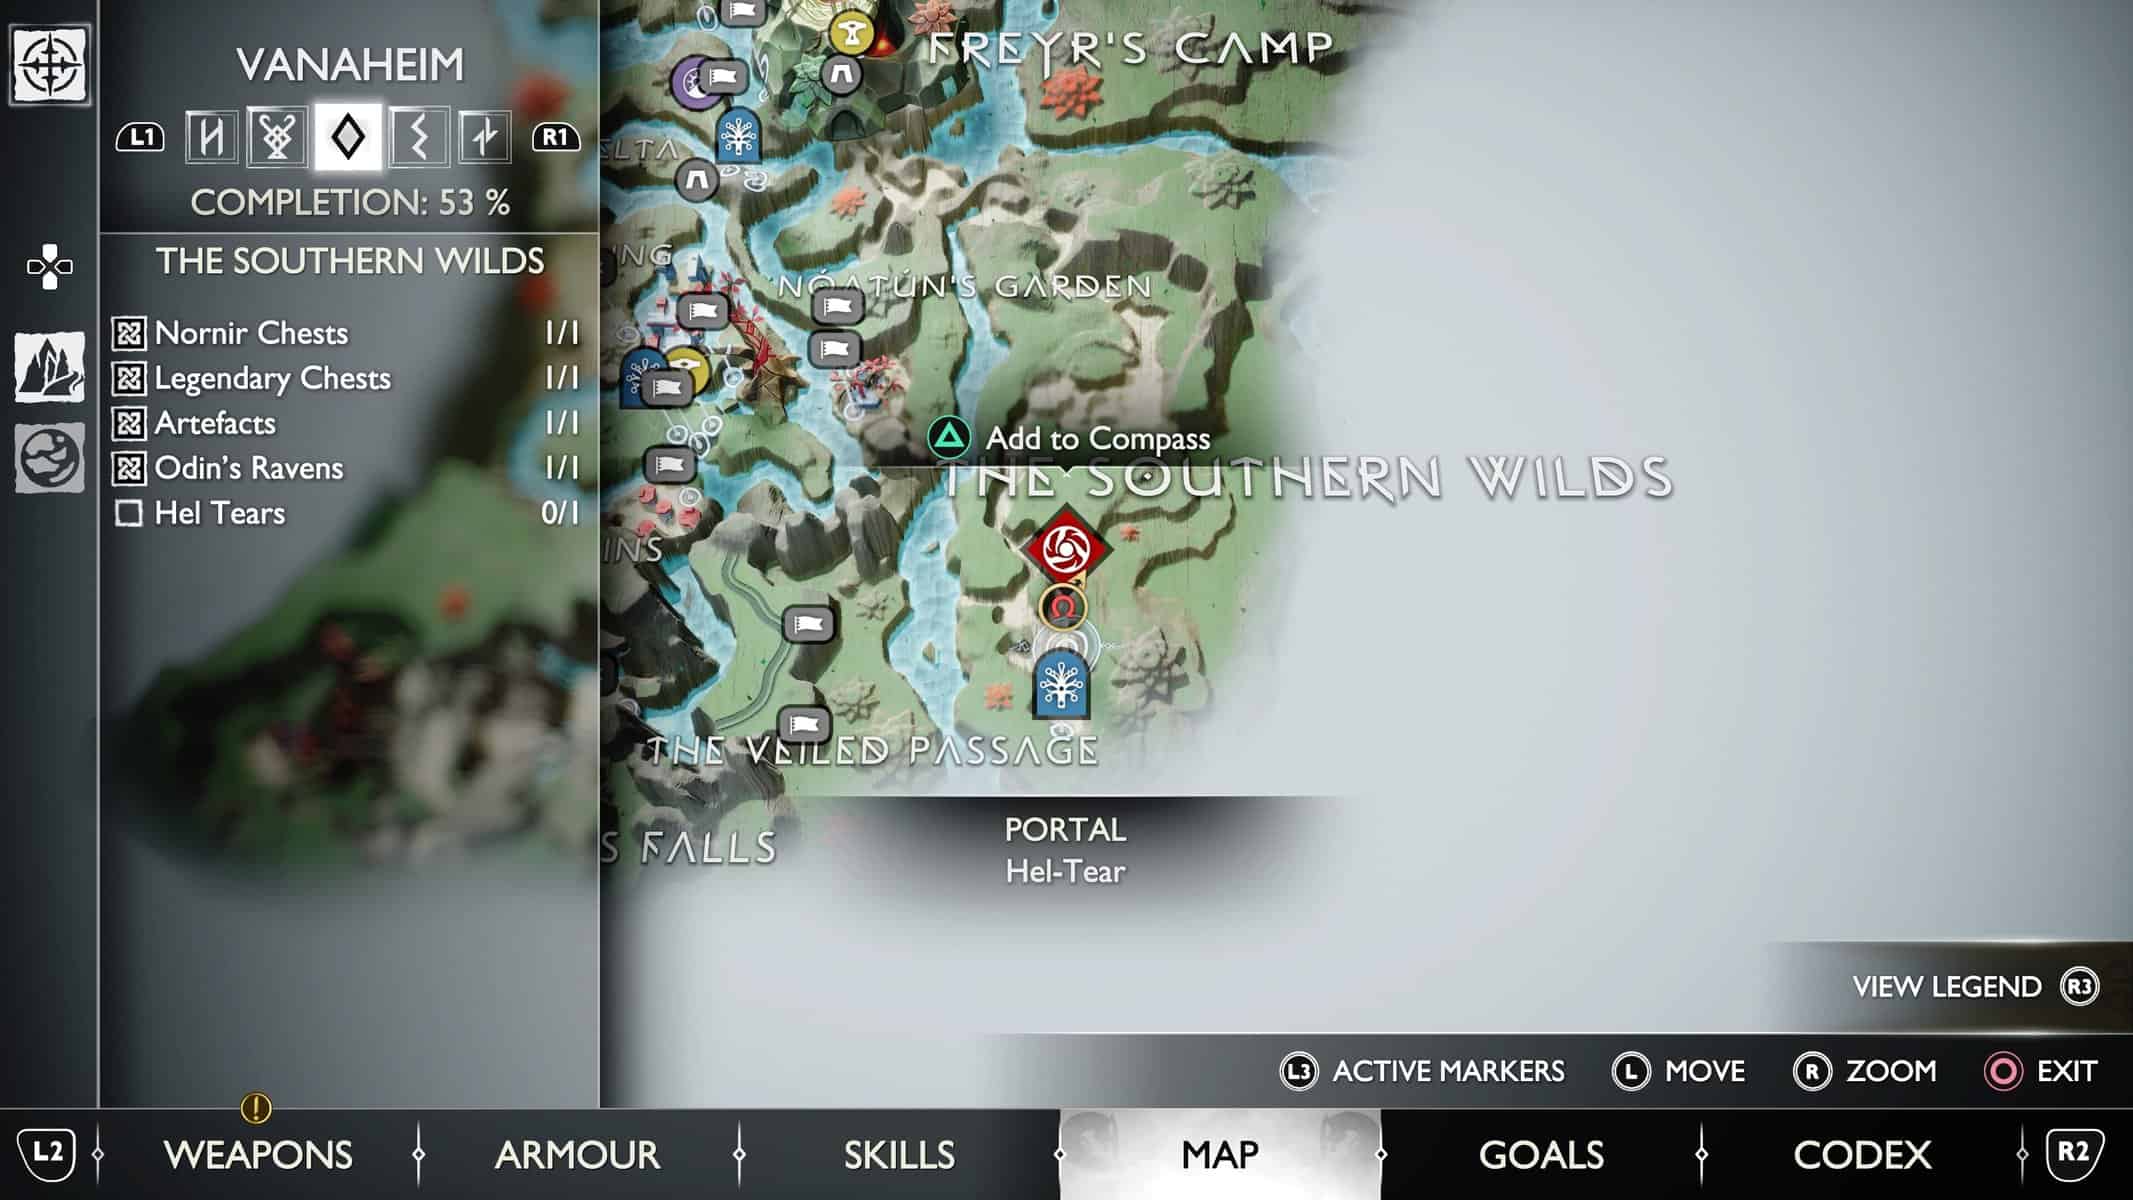
After freeing Garm in Helheim, return to The Southern Wilds mystic gateway. A Hel Tear is a short jog ahead from the gateway.
Freyr’s Camp

Lore 1/2

At Freyr’s Camp, head to the fire pit to the right of the crane at the back of the area to find the Freyr’s Lament Lore Scroll.
Lore 2/2

Still in the camp, take the left path leading out, turn right and turn around to find the Vanaheim Lullaby Rune Read.
Odin’s Ravens 1/1

Leave the camp through the wood gate. When exiting the cave, enter the clearing on your left. Axe the Odin’s Raven perched on a tree above the water.
Artifact 1/1
Next to the Freyr’s Camp mystic gateway is Skirnir’s Crest, part of the Family Crests artifact collection.
Remnants of Asgard 1/1

After beating the story, go to the boat dock at Freyr’s Camp to find a Remnants of Asgard spot.
Legendary Chest 1/1

After picking up the spear at The Forge, head back to Freyr’s Camp. From the central fire pit, head left and take a right along the water. Jump across the gap and pin the spear into the weak point and detonate to find a Legendary chest.
Legendary Chest 2/2

From the start of Creatures of Prophecy main path mission, follow the path and squeeze through the crawl space. Take down the enemies in the clearing then crawl under the wood structure on the right. Jump across the gap, up to the ledge and down to take on a group of Nokken and Gulon. Spear the weak point on the structure on the left, then climb up and across to reach a Legendary chest containing the Leviathan’s Roar heavy runic attack for the axe.
Eastern Barri Woods

Odin’s Ravens 1/1

When you return to the Eastern Barri Woods during the Creatures of Prophecy main path chapter, continue forward until you come to a weak point in a rock. Spear it and head forward a few steps, then look back to find one of Odin’s Ravens perched in a tree on your left.
Lore 1/2

Continue on from the raven and take a left at the crossroads to find The Aesir Promise Lore Scroll.
Nornir Chest 1/1

Up the path from the scroll is a Nornir chest.The first rune spinner is just left of the runes containing the chest and wrapped in vines. Burn them then axe the spinner so that it shows the p-like rune.

The second rune spinner is immediately left of the chest itself – turn it to the f-like rune.

The third spinner is down the path left of the chest and in the distance in another ruin. Take out the Wulver then spin it to the c–like rune. Return to the chest to grab a Horn of Blood Mead.

Lore 2/2

Push on past the Celestial Wolves and until you have to pull down a barricade with the Blades. Enter the ruin and grab the Verdant Rune Read on the left-hand wall.
Remnants of Asgard 1/1

After completing the story, return to the location marked on your map in the Eastern Barri Woods to find a Remnants of Asgard location.
The Abandoned Village

Lore 1/1

Push through The Abandoned Village from the Eastern Barri Wood until you reach the abandoned grand hall. In the entrance porch is Prayer to the Freya Rune Read.
Legendary Chest 1/3

From the grand hall, push forward to where the path is barred by a plant spewing blue mist. Axe the plant to remove the mist, burn the bramble ahead and climb the chain. There’s a Legendary chest on the right with the Shatter Star Shield inside. Shoot the plant first to clear the blue mist. Pull the chain and slide down the rope.
Nornir Chest 1/1

Once you’ve climbed to the top of the village, you’ll come across a crane puzzle. Make your way across then take a right to find a Nornir chest. The first rune brazier is just opposite the chest.
The second is back at the crane, you’ll spot it just across the water on the right. To light it move the crane so that the fire bucket is close, then swing it towards the brazier.

The third is to the right of the side platform and involves the crane as well. Grapple to platform on the side. Swing the fire bucket left so that it moves towards the brazier.

Legendary Chest 2/3

Continue on from the Nornir chest until you come to another crane puzzle. Shoot the crane spinner. Grapple across to the other side and follow the path. Shoot the crane spinner again and grapple across to find a Legendary chest with the Helios Flare light runic attack for the Blades inside.
Odin’s Ravens 1/1

During the Creatures of Prophecy main path mission, you chase after an Einherjar thief. Follow the thief up out of the ruins. On the left is a small balcony jutting out over the water. Take out one of Odin’s Ravens in the large tree on your left.
Lore 2/2

Once available, travel to The Abandoned Village mystic gateway. Take a right down the cliff, then spear the wind notch. Cimb up, go through the hut, and down the stairs. On your left, next to a flag and brazier is the Chores Lore Scroll.
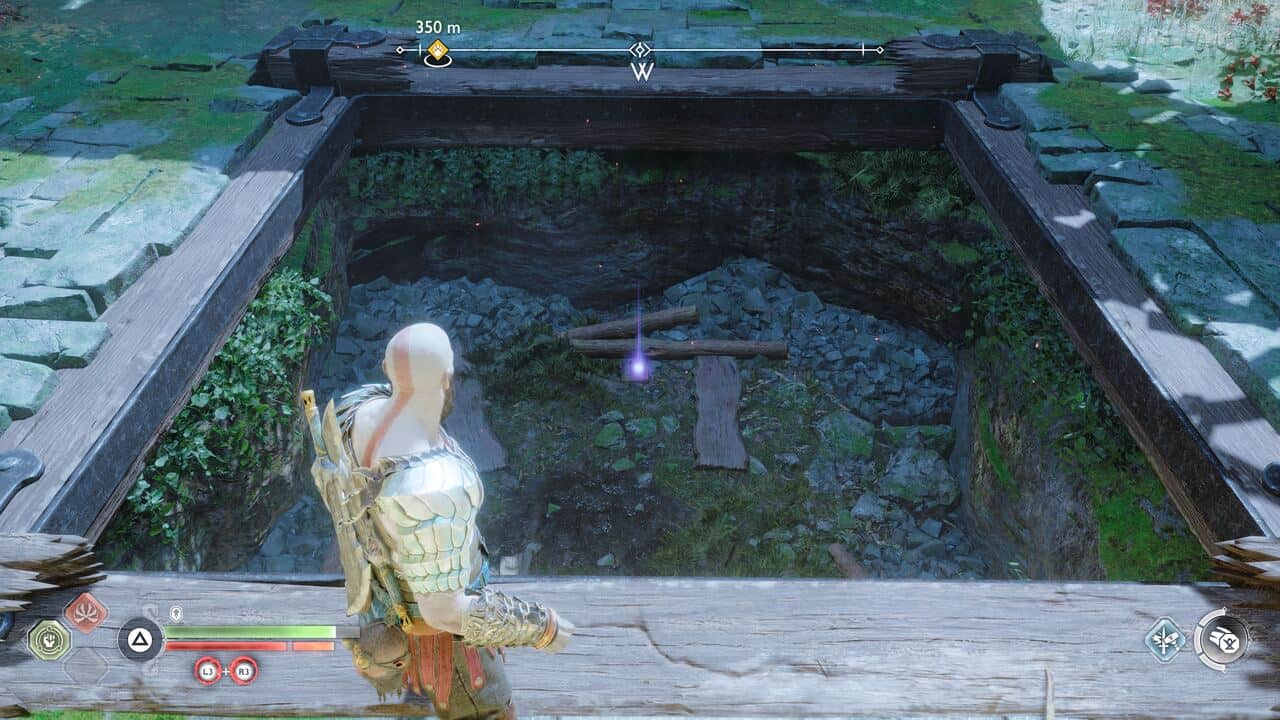
Draugr Hole 1/1

Cross the bridge just ahead of the Lore Scroll and you’ll find a Draugr Hole.
Legendary Chest 3/3

Crawl through the gap behind the Draugr Hole to reach a Legendary chest containing the Rond of Restoration shield attachment.
Western Barri Woods

Lore 1/1

During The Reckoning main path mission, you’ll come to a point where night turns to day with a rather breathtaking vista of Vanaheim. There’s the Harmony Lore Marker on the right just beyond the vista with the waterfalls.
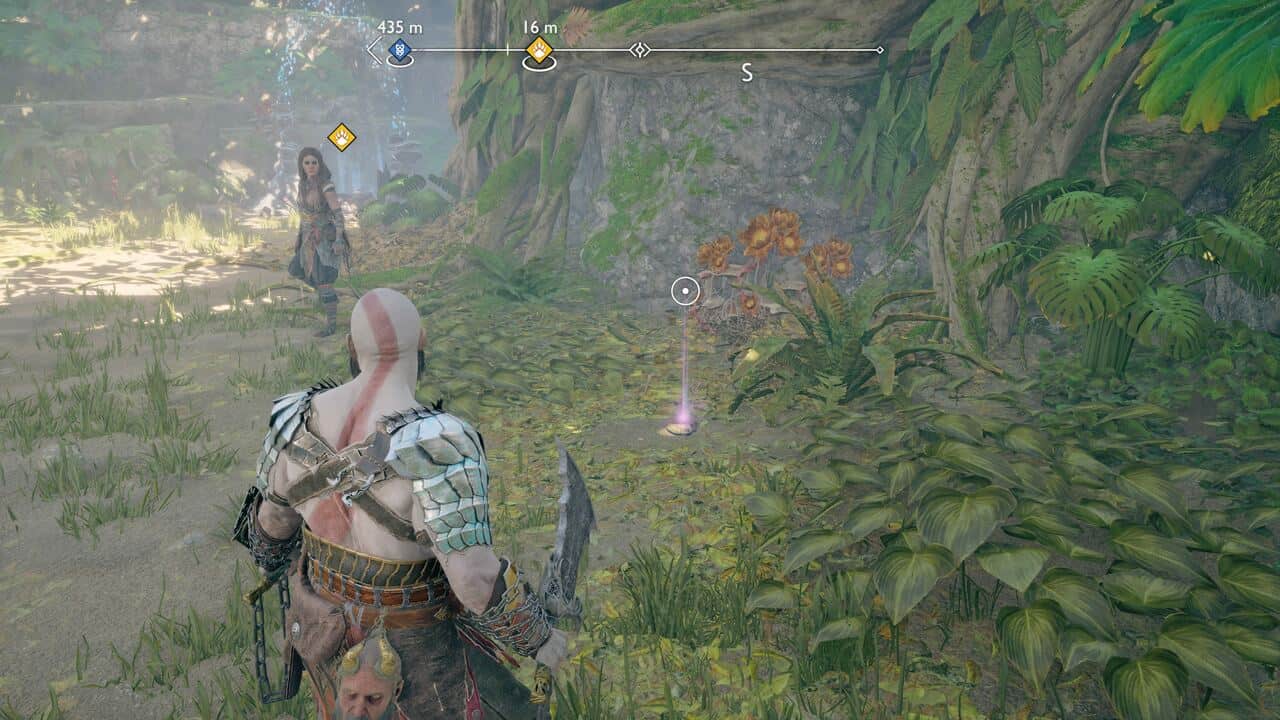
Scent of Survival 1/1

The Scent of Survival favor is available after completing the Creatures of Prophecy main mission and heading left out of Freyr’s Camp. Chase after Helka and interact with the tracks on the beach. Jump in the boat and follow the river to the right to another beach. Dock and follow the tracks forward until you reach the Celestial Altar. Interact then climb over the ridge and along the tree trunk.

Interact with the prompt next to Helka near the cliff’s edge. Deploying the boat completes the Scent of Survival Favor.
River Delta

Odin’s Ravens 1/2

Head to Pilgrim’s Landing. Hop over to island then look to the left of the Legendary chest and shoot the Odin’s Raven.
Artifact 1/2
Take the boat left from the Freyr’s Camp mystic portal. Follow the river until you reach the River Delta area. Paddle under the towering tree dominating the center of the area. Take a left and dock at the beach. On the left is the Odin’s Crest artifact, part of the Family Crests collection.
Yggdrasil Rifts 1/1
Go up the steps ahead and interact with the Yggdrasil Rift to fight off some high level enemies.
Lore 1/2

Cross the bridge ahead and grab the Nonviolence scroll on the right.
Lore 2/2

Head to the River Delta mystic gateway. To the right of Brok’s shop is the Living Masterpiece Lore Marker.
Artifact 2/2
Behind the mystic gateway is the Freya’s Crest artifact, part of the Family Crests collection.
Odin’s Ravens 2/2

Climb up to the top of the Cliffside Ruins, then cross the bridge. Out above the river is one of Odin’s Ravens perched on a branch.
Buried Treasure 1/1
After picking the The Giant’s Toes Treasure Map in Goddess Falls, boat back to the River Delta mystic gateway and grab the treasure for The Giant’s Toes Treasure Map just behind the gateway itself. Look for the pulsing glow on the ground. Picking it up gives you the God of War Ragnarok Vanaheim’s Power amulet enchantment.
Pilgrim’s Landing

River Delta Favors 1/1 – Cure For The Dead Favor

Dock at the first beach on the right. Take out the enemies there, then talk to the body and blue spirit near the back of the clearing to start the Cure For The Dead Favor. Climb up the ledge and shoot a sigil arrow at the flame near the vines then shoot the latches to release the bridge. Cross the bridge and pick up the first ingredient for the cure sitting on the floor on the right. Fight off the Nokken ahead. Loot the chest, pick up the second cure ingredient next to it.

Lore 1/1
Grab the Dead on Arrival Lore Marker to the right of the chest.
River Delta Favors 1/1 – Cure For The Dead Favor Continued

To lower the next bridge, first throw your ax at the latch to release the hanging braziers on the right. Swing it left with the Blades so that the right brazier catches fire. Next fire one sigil next to the left brazier, one between the two, and finally fire a sigil shot at the lit brazier on the right. Swing the whole contraption left to light the brazier on the other side. Fire a sigil at the freshly-lit brazier to burn the vines, then at the latches to lower the bridge. Ahead is the final cure ingredient. Return to the spirit by the beach to complete the Cure For The Dead Favor.
Legendary Chest 1/1
Next to the ingredient is a Legendary chest with the Grip of the Fallen Alchemist inside.
Berseker Gravestone 1/1

After visiting King’s Grave in Midgard for the first time, return to Pilgrim’s landing to find a Berserker Gravestone with a fight against Hvitserkr The Bold. Defeating him gives you the Pommels of the Nine Realms blades attachment.
Noatun’s Garden
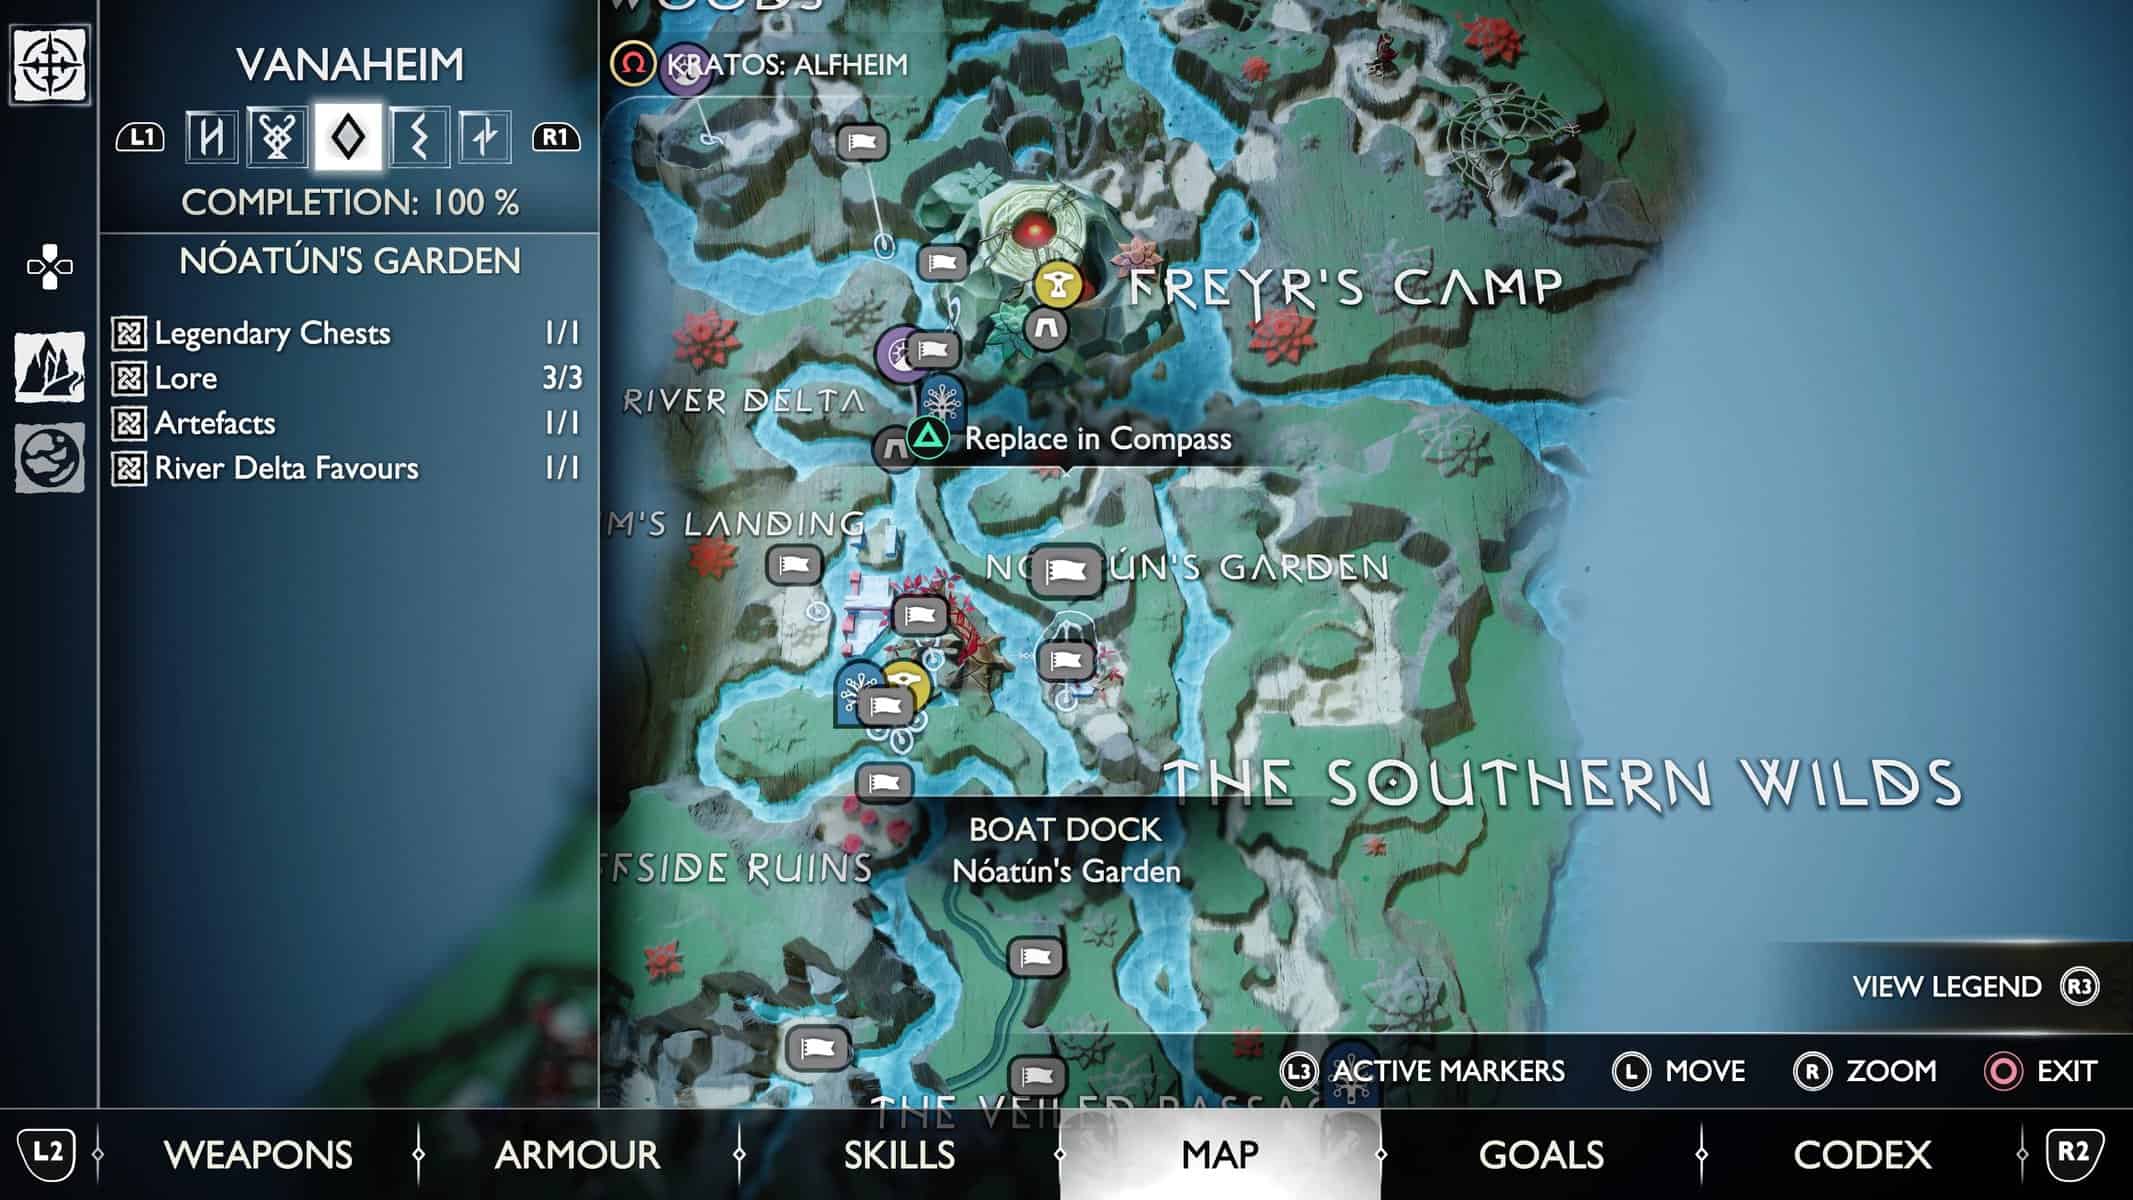
Dock at the beach and take on two Gradungr. After defeating them, head to the back of the area and interact with the mirror to access a chest containing Lunda’s Broken Belt, an item needed to complete the Lunda’s Lost Armor Favor.
Lore 1/3

On the right of the building housing the chest is the Golrab of the Ashes and Frost Lore Marker.
Artifacts 1/1
Continue right from the chest to find the Hoenir’s Crest artifact, part of the Family Crests collection.
River Delta Favors 1/1

In the center of the area, talk to the spirit of Astrid to start the Garden of the Dead Favor. You’ll need to destroy the poison totems by breaking the red pots located near each of them. Go left from Astrid and shoot through the gap in the building to destroy the first one.

The second one is to the left of the building where you found Lunda’s armor. Walk left and shoot the pot behind the totem. The third is a bit trickier.

Head right from the armor building and climb up to the ledge above. Look toward the totem and shoot the latch in the building just above it.

Lore 2/3

While you’re up here grab the Garden’s Progress Lore Marker and the chest in the room below. Return to Astrid to complete the Garden of the Dead Favor and get the Svartalfehim’s Safety enchantment.
Legendary Chest 1/1

There’s also a Legendary chest here. To reach it, first dock at the beach at the center of the tree dominating the larger area. Cross the bridge and line up sigils, then ignite them with the Blades to burn the vines. From the same place, throw the axe at the latch to lower the chain. Return to Noatun’s Garden using the zip wire on the bridge.

Loot the chest and grab the Jewel of Yggdrasil inside.
Lore 3/3
To the right of the building housing the Legendary chest is the Under the Rainbow Treasure Map.
Cliffside Ruins and The Veiled Passage
The Cliffside Ruins and The Veiled Passage come as a pair, as you’ll need to complete The Veiled Passage to find all the collectibles and items in the Ruins.
Cliffside Ruins
River Delta Favors 1/1
Dock at the beach and defeat the nightmares and Revenant Hag. Talk to the spirit of Gunhild to start the Conscience for the Dead Favor. You’ll need to slay the Seidr Fanatics scattered throughout the Cliffside Ruins and The Veiled Passage.
Nornir Chest 1/1


Towards the back right of the area is a Nornir chest. The first rune is behind the large rock on the right of the chest. Chain sigils to the vines then burn them with the Blades. Hit the spinner once to get the R-like symbol. The second rune spinner is only accessible from the mystic gateway beach across the water. Turn it to the P-like rune. To reach the third spinner, climb up the ledge on the left of the spirit. Hop across to the third, left-most platform in the center of the area. Look down towards the cliff and shoot the right-hand spinner once to get it on the F-like rune. Loot the Nornir chest to get a Horn of Blood Mead.
River Delta Favors 1/1 Continued

Return to the top of the platforms. Lineup up sigils and burn the vines on the cliff above, then drop back down and climb up the now-accessible chain. Follow the path and interact with the rune carve lock to free up the path to Freya’s wedding site.
Climb back up the ledge near the spirit and take a right into the ruins. Loot the red coffin on your left to grab Lunda’s Broken Bracers, part of the Lunda’s Lost Armor Labor. Zip line to the mystic gateway beach, hop in the boat, and head for the waterfall ahead. Continue forward into Goddess Falls, following the left-hand coast until you come to a cave and enter The Veiled Passage.
Lore 1/1

Return to the Cliffside Ruins via The Veiled Passage. On the right is the Call to Arms Lore Marker.
Legendary Chest 1/1

Pull the chain to lower the bridge and fight off the enemies. Advance across the bridge, then take a right and look to the other side where there’s a Legendary chest blocked by rubble. Line up sigils climbing from the red pots up to near the ledge. Go back across and use the Blades to explore the barrels and rubble. Grab the Legendary chest, which contains the Mists of Helheim heavy runic attack.
River Delta Favors 1/1 Continued
Return to the spirit of Gunhild to complete the Conscience of the Dead Favor. You can also return the Brok’s shop across the water to deliver the orb to Lunda and complete The Mysterious Orb Favor. Crafting the three parts of the Lunda’s armor set also completes the Lunda’s Lost Armor labor.
The Veiled Passage

Nornir Chest 1/1
Dock at the first beach on your right. To the left of the boat is Lunda’s Orb, the item needed to complete The Mysterious Orb Favor. There’s also a Nornir chest. To reach it, pick up a bomb on the left and chuck it at the golden rubble.

The three runes are located on the cave wall across the water. First, sigil the vine on the right and throw a bomb at it to burn it off. Next, lineup three sigils from left to right, touching all three sigils, then chuck a bomb at them. Loot the chest and grab an Idunn Apple.

Lore 1/1

Take the boat and head right to a second beach further into the cave. In an alcove straight ahead is a red coffin with Lunda’s Broken Cuirass inside, an item needed to complete Lunda’s Lost Armor Favor. Break the wood gate on the left and destroy the plants beyond. Climb up the ledge on the left. Grab the Sedir Sacrifice Lore Marker on the right.
Odin’s Ravens 1/1

On the left, perched on some roots draping into from a wall in the cave roof is an Odin’s Raven.
Artifacts 1/1
Follow the path taking out the Sedir Fanatics as you go. After defeating the first group, grapple down the ledge on the left to loot a red coffin. About halfway up, there’s a wooden wall overlooking the river below with a dart-shooting flower above. Behind it is the Kvasir’s Crest artefact, part of the Family Crests collection.
Goddess Falls

Lore 1/1

Dock and defeat the enemies. Climb up the rock face ahead. Take a right into the cave and grab the Anything I Can Do Lore Marker.
Odin’s Ravens 1/1

Climb up straight ahead. Hit the Odin’s Raven circling above.
Buried Treasure 1/1
Jump across the small gap and pick up the treasure for the Under The Rainbow Treasure Map on the right near the cliff’s edge – Nilfheim’s Virtue amulet enchantment. The map itself is found to the right of the building housing a Legendary chest in Noatun’s Garden.
Nornir Chest 1/1

Go right, across the small gap, to find a Nornir chest. The first rune brazier is on the right – chain sigils on the rocks in the water, then light them up to ignite it.

The second is on the left, across the gap, up on a short ledge. Go right to where the chest is, then chain sigils to the rune and light it up with the Blades.

The final rune is at the top of the waterfall.

Place and stack sigils on the rocks leading up to the rune Brazier, then use the Blades to get it burning. Return to the chest to pick up a Horn of Blood Mead.
Vanir Shrine

Lore 1/7

Defeat the Soul Eater and minions. Over on the right you’ll find The Feast Lore Marker.
Lore 2/7
Near the lore marker is The Giant’s Toes Treasure Map.
Lore 3/7

Shoot the latch on the left of the bridge, then chain sigils and use the Blades to burn the vines and reveal the other latch. Shoot it to drop the bridge.

Push forward, fight off the nightmares, then grab the The Auburn Crown Lore Marker on the left.
Artifacts 1/1

Go through the archway at the back of the area. Ahead is the Hylli’s Crest artifact, part of the Family Crests collection.
River Delta Favor 1/1
Go through the gate up ahead, fight off the Hags, and interact with the circlet – the first item in Freya’s Missing Peace Favor.
Legendary Chest 1/1

On the right of where you came into the area is a vine. Burn it using the sigil/axe combo, then hit the latch inside. Go back where you fought the nightmares a moment ago.

A gate is now open with a Legendary chest inside containing the Rampage of the Furies light runic attack for the Blades of Chaos.
River Delta Favor 1/1 Continued

Go back to where you found Freya’s circlet and interact with the rune mirror in the back right. Return to the entrance of the Vanir Shrine. On the left is a shut door that requires both braziers to be lit to open. Use stacked sigils near each of the braziers and the Blades to ignite both at the same time. Head through.


Ignore the enemy and use the sigil/Blades to burn the vines blocking the path forward. Follow the path and defeat the Nokken at the top, then take out the remaining enemies. Go to Freya to find a chalice – the second item needed for Freya’s Missing Peace. Carve the ruin.
Lore 4/7

Before continuing, grab The Blessing of Two Lore Marker.
Lore 5/7

There’s also a red coffin and the Traitor Rune Read if you backtrack to the area you were in before burning the vine.
Lore 6/7

Return to the shrine’s entrance and interact with the golden runic word. Cross the bridge and grab the Abandoned Lore Scroll on the floor.
Lore 7/7

Head forward for a short cutscene and to get the Mardoll sword. Before leaving, pick up the The Ceremony Lore Marker to the right of the exit.
River Delta Favor 1/1 Continued
Return to the boat and take on a pair of Dreki. Defeat them to get the Seal of the Falling Star amulet enchantment. Push the boat into the water to complete Freya’s Missing Peace.
The Plains

Stag 1/2

On the ridge that runs above and around the Wishing Well, you’ll find the Stag of Spring.

Casualties of War 1/3
Talk to the spirit to the left of the crank wheel that releases the dam waters in the west of The Jungle to initiate the Casualties of War – The Stein Favor. The Stein is in the arena with the dreki (In the Dead of Night Favor) in the westernmost part of The Plains. The Stein is next to a skeleton on the ground. Pick it up to complete the favor and get the Kinetic Resilience amulet enchantment.

Lore 1/5

In the tunnel that connects the Wishing Well to The Plains is one of The Lost Pages.

Epic Hunts 1/2

Trigger the In Plain Sight Favor by interacting with the carcass on the ground in the locations shown on the map. Head to the marker on the map and interact with the other carcasses. Go to the gate in the same area – in front of it is a Soul Eater concealed as a rock. Hit it to start the fight. Defeating it grants the Eir’s Armament amulet enchantment and the Hunter’s Brand.
Casualties of War 2/3
Talk to the spirit in the western most part of The Plains to initiate the Casualties of War: The Scroll. From the Western Plain mystic gateway, head left and spear the wind notch on the rocks below. Jump drown straight ahead, and stick left until you find wind notches. Spear them, then detonate all three together to clear the rubble. Ahead is the second half of the scroll needed for the Casualty of War: The Scroll Favor. This completes the favor, giving you the Stunning Fang amulet enchantment.
Legendary Chests 1/1
In the same location as The Scroll is a Legendary chest containing the Honor the Fallen Heavy Runic Attack.
Odin’s Ravens 1/5

Stand by the cliff/water (depending if you’ve visited The Jungle yet or not) and look left. A raven is perched on a rock up above.

Odin’s Ravens 2/5

Where you fought The Crimson Dread. Northwest part of the arena. The Raven is in a hole perched on a rock.

Odin’s Ravens 3/5

Opposite the Shop in the east of The Plains. Perched on a ledge on the other side of a ravine.

Yggdrasil Rifts 1/3

In the northern tip of The Plains. Contains a Lyndworm needed for The Lost Lyndwyrms Favor.
Dragons Hunts 1/2

The first Dragon Hunt, The Crimson Dread, is next to the For Vanaheim! marker in the northwest of The Plains. Defeating the beast grants Vanaheim’s Fortitude.
Stag 2/2

At the foot of a tree overlooking the crater left of The Overgrown Tower mystic gateway is the Stag of Winter.
Yggdrasil Rifts 2/2

After releasing the dam waters in the Jungle, you’ll be able to access a dock to the south the Plains where there’s a Yggdrasil Rift.
Draugr Holes 1/1

Dock at the northernmost beach in The Plains. Head up the stairs to find a Drargr Hole.
Lore 2/5

Opposite the Eastern Plains mystic gateway is the Seidr Lore Marker.

Yggdrasil Rifts 3/3

From the Eastern Plains mystic gateway, go up the stairs and right all the way to the water. There’s a Yggdrasil Rift on the left with a Lyndworm inside, needed for The Lost Lyndwirms Favor.

Nornir Chests 1/2

Just east and down the ledge from the Eastern Plains mystic gateway is a Nornir chest.

The first rune bell is to the left of the chest and the second to the right.

The third is up above, but covered by vines. Burn the vines, then hit all three runes in quick succession. Loot the chest for the Midgard’s Bravery amulet enchantment.

Epic Hunts 2/2
Turn the Celestial Altar in the east of The Plains to night time, then drop down the ledge heading west. Ahead is a circular stone monument on the floor. Approach to trigger the Nocturnal Predator Favor. Find all the wisps feasting on animals in the plain below then fight off the Flame Phantom.
Casualties of War 3/3

From the central Plains boat dock, head north to find the spirit on the right near a large tree to start the Casualty of War: The Brooch. The Brooch itself is in the south east of the Plains overlooking The Sinkholes. Check the map below.


Pick up the brooch to complete the favor and get Crest of Desperate Heroics amulet enchantment.
Dragon Hunts 2/2

Part of the In the Dead of Night Favor. After releasing the dam waters in The Jungle, go to the westernmost beach. Walk forward, drop down the ledge, and take on the dreki.
Odin’s Ravens 4/5

In the arena with the dreki (In the Dead of Night Favor) in the west of The Plains, there’s one of Odin’s Ravens sitting on the rocks at the back of the area.
Lore 3/5

To the right of the Western Plains mystic gateway is an elevated platform. To reach it, take a boat to the westernmost beach and grapple up the rock face on the left. Zip line down to the platform.

At the back of the area is the Stupidity Lore Marker.
Odin’s Ravens 5/5

Found in a crevasse in the northwestern tip of The Plains. From the Western Plains mystic gateway, take the second left and drop down the ledge ahead. The crevasse and raven are on the left.

Nornir Chests 2/2

Found in the northwestern tip of The Plains. Head down the second left after dropping down from the ledge where there’s the Western Plains mystic gateway. Keep left to the Draugr hole, then shoot the yellow magic totem between the rocks with your axe. Don’t recall.

Backtrack through the gate and take the first right, drop down the ledge, and open the gate on your right. The Nornir chest is here. The first rune seal is left of the chest up on the rocks.

The second is inside the tree to the right of the chest.

The third is behind the tree immediately behind the chest. Loot the chest for supplies and a stack of hacksilver.

Lore 4/5

In the same area as the Nornir chest is the Apology Lore Marker.
Lore 5/5


The A Scar is Born Treasure Map is found on the round island in the middle of The Plains waterway.
Buried Treasure 1/1

The A Scar is Born treasure is in the east of The Plains in the ruins you pass through before taking the zip-line down into The Sinkholes.

Grab the treasure to get supplies and the Asgard’s Justice amulet enchantment.
The Jungle

Artifacts 1/1

Enter the cave to the south west of The Plains leading to The Jungle. After climbing across a gap and Mimir remarking that a large beast passed through there, you’ll find the Kvasir’s Poem – An Organisation: In The Future artifact.
Lore 1/2

In the west of The Jungle, at the top of the dam near the gates is the Unforgiven Lore Marker.
Dragon Hunts 1/3

Climb to the top of the damn and get through to the large expanse of water behind. After releasing the waters, head across the newly-formed bridge, up to a platform, and down to fight a duo of dreki. Follow the Path of Destruction Favor if you’re having trouble tracking down the arena.
Nornir Chest 1/1

After releasing the waters and flooding the canyon, board the boat at the foot of the dam and paddle as far east as you can to find Yggdrasil’s Dew of Cooldown. To the right of The Jungle mystic gateway is a Nornir chest. The first rune spinner is to the right of the chest – turn it to the e-like rune.

The second is on the tower up above the Celestial Altar opposite the chest – change it to the b-like rune.

The third rune is to the right of the Celestial Altar, concealed behind a tangle of vines. Sigil stack and use the blades to burn the vines, then turn the spinner to the n-like rune.

Loot the chest for a Horn of blood Mead.
Legendary Chest 1/2

With the mystic gateway behind you head up the stairs to the altar. Take a right and climb up the ledge. Follow it around the ruin, then grapple up across to the building on the other side of the water.

A Legendary chest is on your right and contains the Whisper of the World Light Runic Attack.
Casualties of War 1/1

To the right of The Jungle mystic gateway is a spirit. Talk with it to initiate the Casualties of War: The Toy Favor. To complete the Favor, interact with the artifact on the ledge overlooking the area where you fought the ogre.
Odin’s Ravens 1/1

Squeeze through the gap ahead of the eastern most dock (the one where you fight the ogre), and look up left at the ruin. One of Odin’s Ravens is sitting up on a ledge on your left.
Dragon Hunts 2/3
The Corpse Eater is at the top of the tower in the east of The Jungle.
Seasonal Stags 1/1

Visit the Celestial Altar and change it to daytime. Dock at the easternmost beach where you fought the ogre.

Hop across the water via the newly-formed vines and find the Stag of Summer straight ahead.
Lore 2/2

After sending the Stag back, continue following the path and squeeze through the gap in the ruins on the right. Drop down into the pit. Hit the spinner then freeze the gear and go right to find the City of Possibility Rune Read.
Legendary Chest 2/2

You’ll also find a Legendary chest here containing a Jewel of Yggdrasil amulet fragment.
Dragon Hunts 3/3
Head into the clearing ahead and lure the creatures to the cage near the Rune Read. Recall the axe to trap them inside the cage, then pull the chain to raise the cage and attract the drake – Slag Horn. Head back up to the den and fight the drake to complete The Jungle’s third Dragon Hunt and the Path of Destruction Favor. Killing him gives you the Regenerating Essence amulet enhancement.
The Sinkholes

Stag 1/1

To the right of the Sinkholes Entrance mystic gateway is the Autumnal Stag.

Lore 1/1

Across the river from the Sinkholes Entrance mystic gateway is the Everything Ends Lore Marker.

Casualties of War 1/1

Interact with the spirit in the cave south of the Sinkholes Entrance mystic gateway to start Casualties of War: The Hourglass. The hourglass can be found by docking at the northernmost dock (see map below), then going through the caves. Completing Casualties of War – The Hourglass grants the Attuned Runic Gem amulet enchantment.

Dragon Hunts 1/2
This is part of the Quaking Hollow Favor. Go right up the ledge at the Sinkholes Entrance mystic gateway. Continue forward until you come to where you first meet a dragon and have to topple pillars. Head right and pull the chain to open the gate. Make your way through the cave on the right to find Crag Jaw. Defeat the beast and the Greater Regenerating Essence amulet enchantment.
Artifacts 1/1

The Kvasir’s Poem – Eastern Specter is found in the west of the Sink Holes. After defeating Crag Jaw, burn the vines on the left of the arena and go through.

The poem is on the right next to a body.
Nine Realms in Bloom 1/1

From the Celestial Altar, head west following the river, and you’ll find the Starblush flower.

Berserker Gravestone 1/1

In front of The Sinkholes mystic gateway. Defeat Haklangr The Bearded to get a Chaos Flame.

Nornir Chests 1/2

Found in the northernmost part of The Sinkholes, just up from the northernmost boat dock. The first rune is up on the ruins to the left of the chest.

The second is on top of a pillar to the right of the chest.

The last is at the back of the area on a ledge overlooking a pond. Looting the chest gives you the Svartalfheim’s Fortitude amulet enchantment.

Dragon Hunts 2/2

Follow The Burning Skies Favor marker to the north part of the Sinkholes. Climb up to the arena and kill the drake, The Ash Tyrant, to get the Seal of Runic Storm amulet enchantment.

Odin’s Ravens 1

After killing The Ash Tyrant, look southwest across the water to see one of Odin’s Ravens perched on the cliff opposite.

Nornir Chests 2/2

Nornir chest – When you first enter The Sinkholes via zipline, backtrack in the direction you came to find a Nornir chest. The first rune is immediately right of the chest.

The second is to the left further into the cave.

The third is up above – use the grappling spot to reach it. For all three stack sigils and then ignite with the Blades. Loot the chest for the Alfheim’s Justice amulet enhancement.

For more help with God of War Ragnarok, head to our dedicated hub guide for walkthroughs, full realm guides, ravens, collectibles, and more.
About the Author

God of War: Ragnarok
-
UnknownUnknown
- Platform(s): PC, PlayStation 4, PlayStation 5
- Genre(s): Action