
You can trust VideoGamer. Our team of gaming experts spend hours testing and reviewing the latest games, to ensure you're reading the most comprehensive guide possible. Rest assured, all imagery and advice is unique and original. Check out how we test and review games here
In this guide, we’ll walk you through the Unleashing Hel main path mission in God of War Ragnarok. Atreus and Thrud are sent to Helheim on Odin’s orders in search of a mask fragment.
As a part of the main path, Forging Destiny features some major story developments. We’ve tried to keep spoilers to a minimum to conserve the experience, but there are a few in there for the purpose of keeping you going in the right direction.
Find the Final Mask fragment
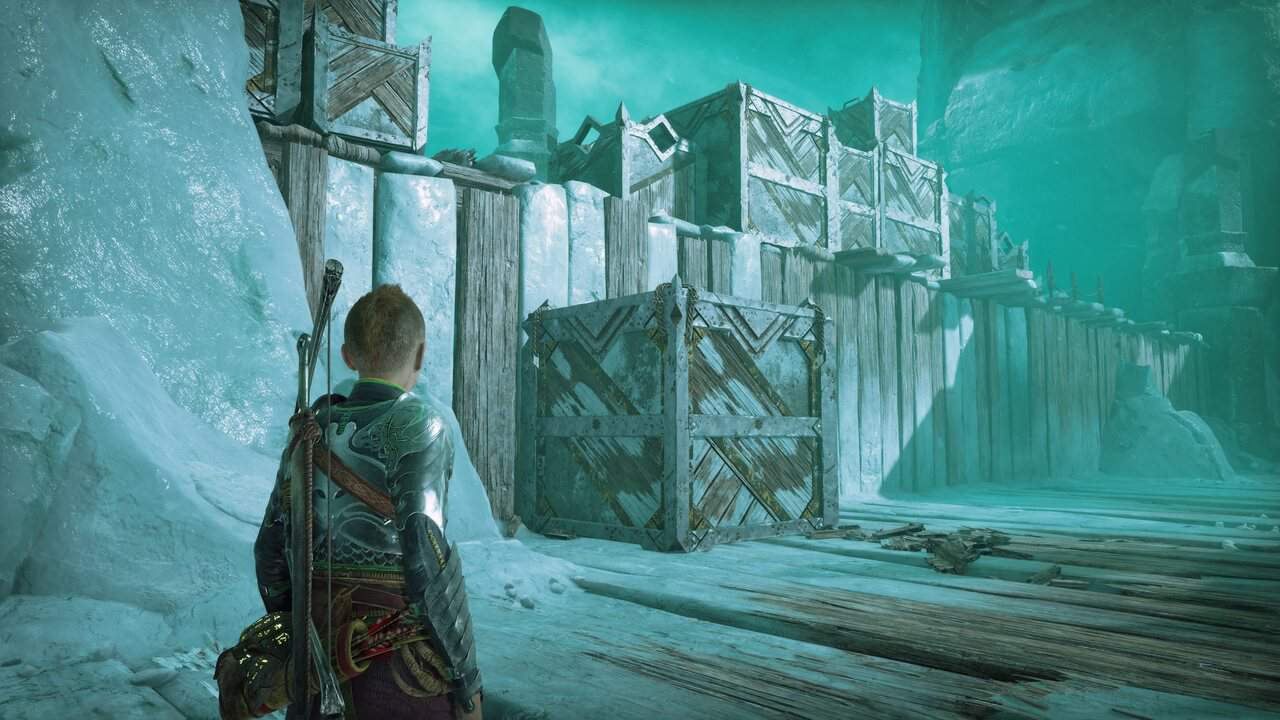
The first part of Unleashing Hel follows one-way path with no branching paths or extra areas to explore Push forward, taking out Hel-Walkers as you go, until you reach the Docks of Vadgelmir.
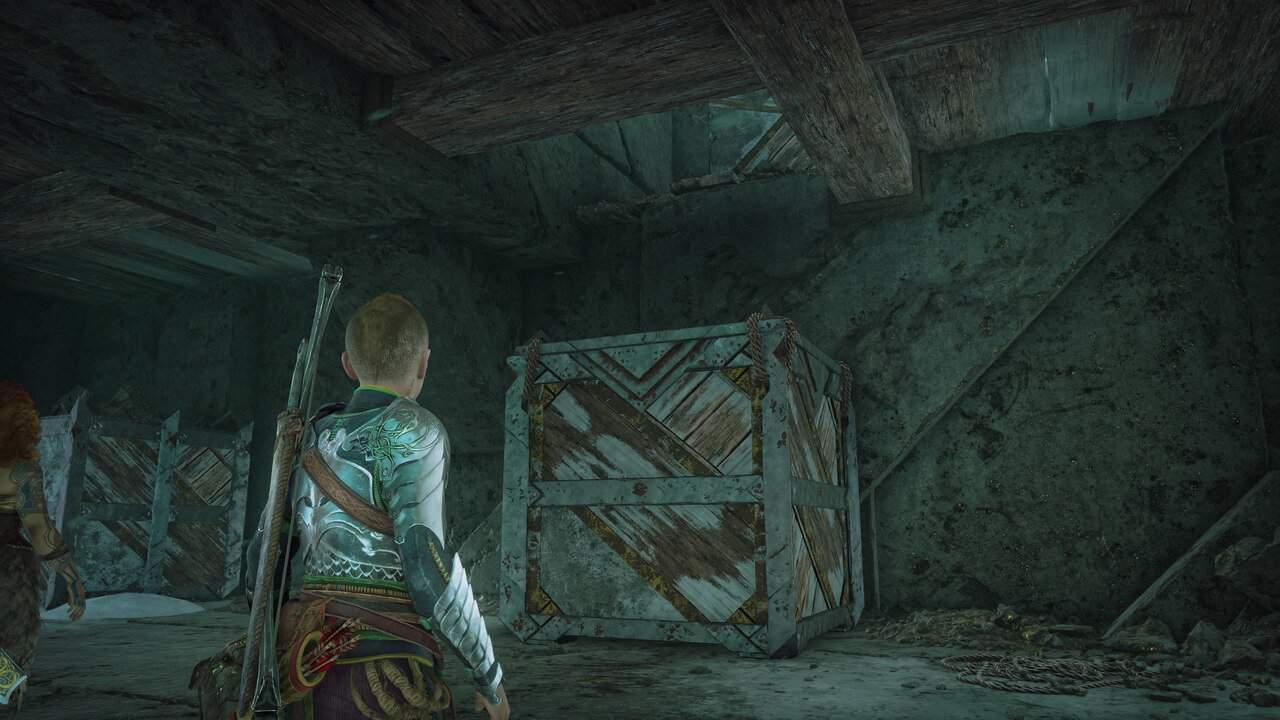
Walk as far as you can go to trigger some dialog telling you to backtrack. Do so and take on the Hel-Walkers, move the large crate to under ledge where they emerged and climb up.
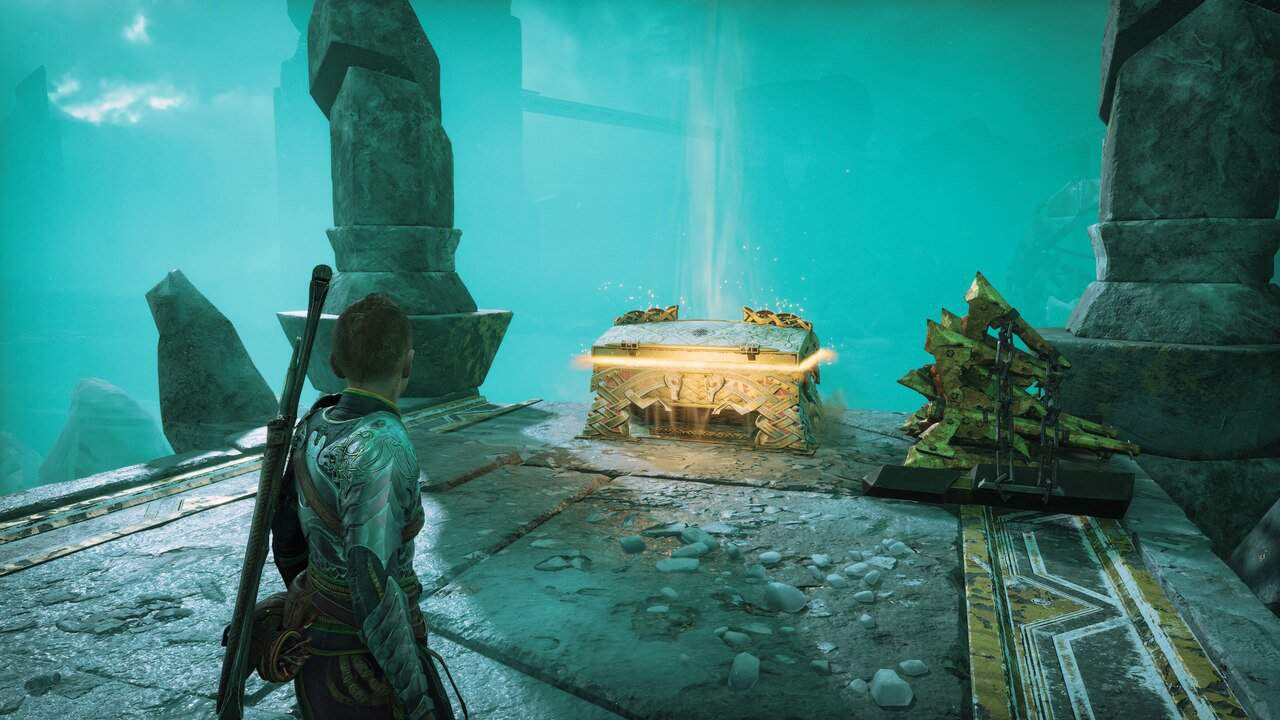
Head left to loot a Legendary chest with the Falling Sky bow ability inside, then go right.
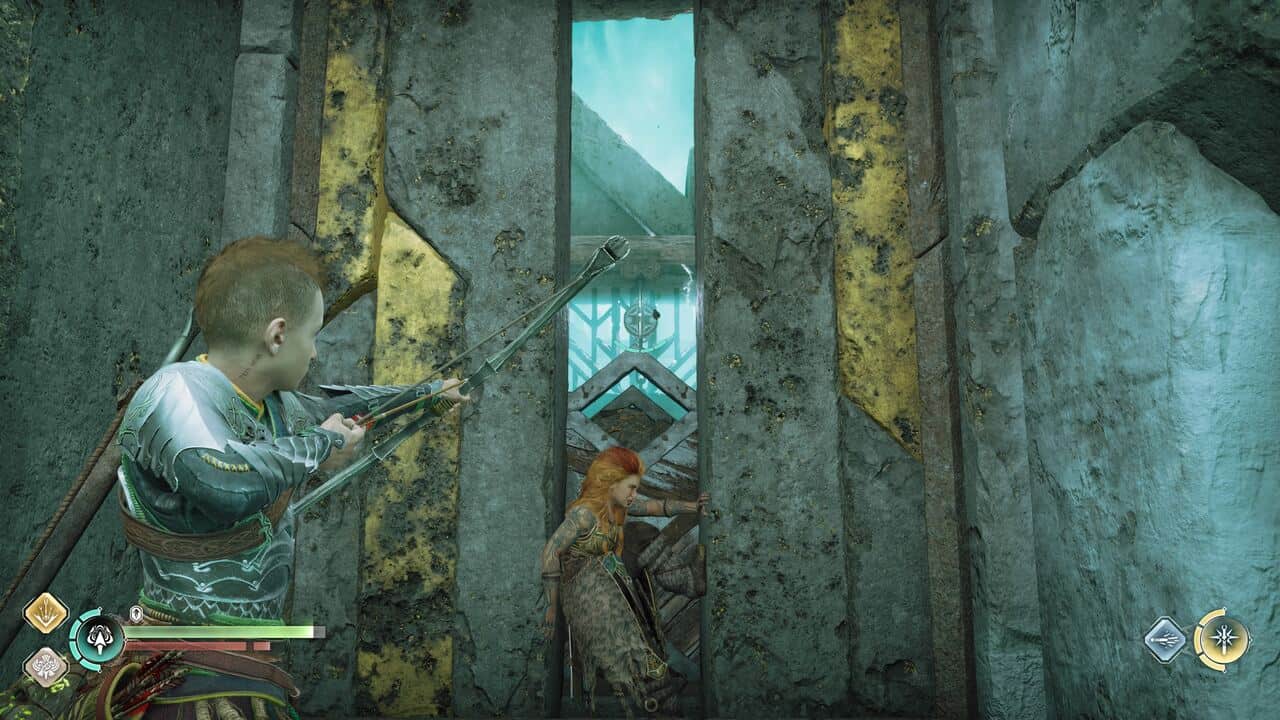
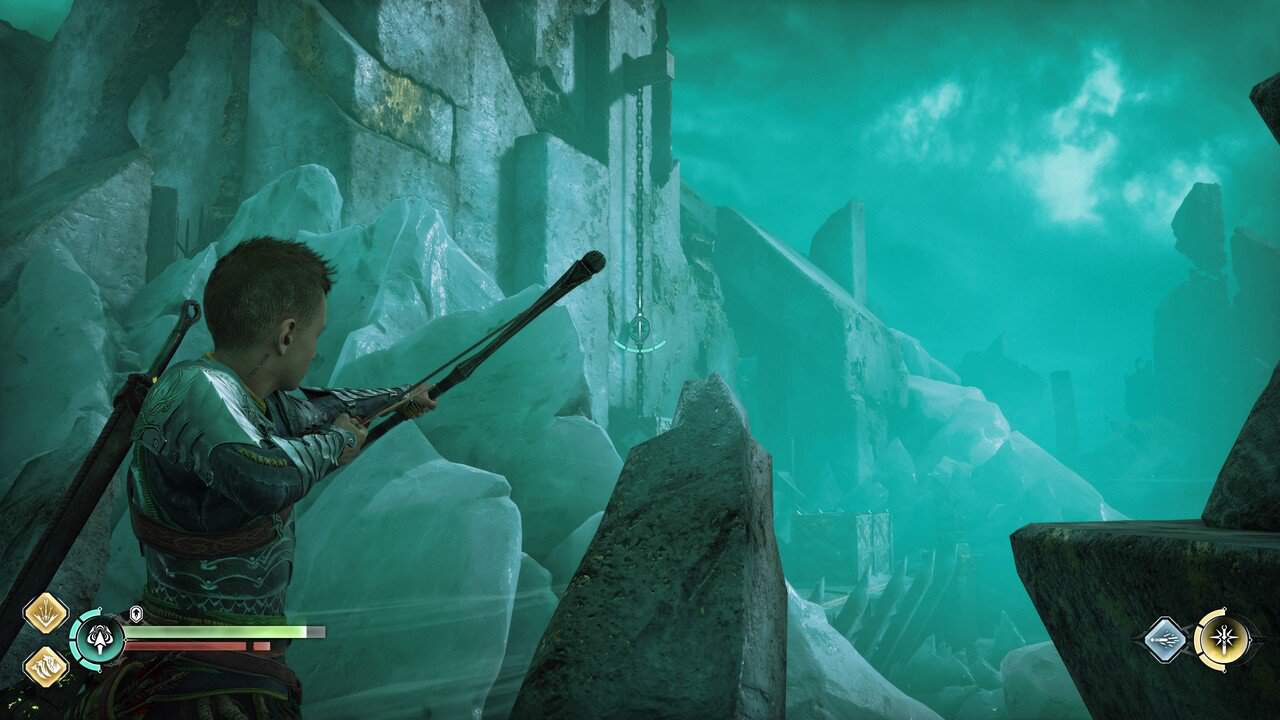
Use sonic arrows to clear the gap on the right side of the gate, then shoot again to release the crate.
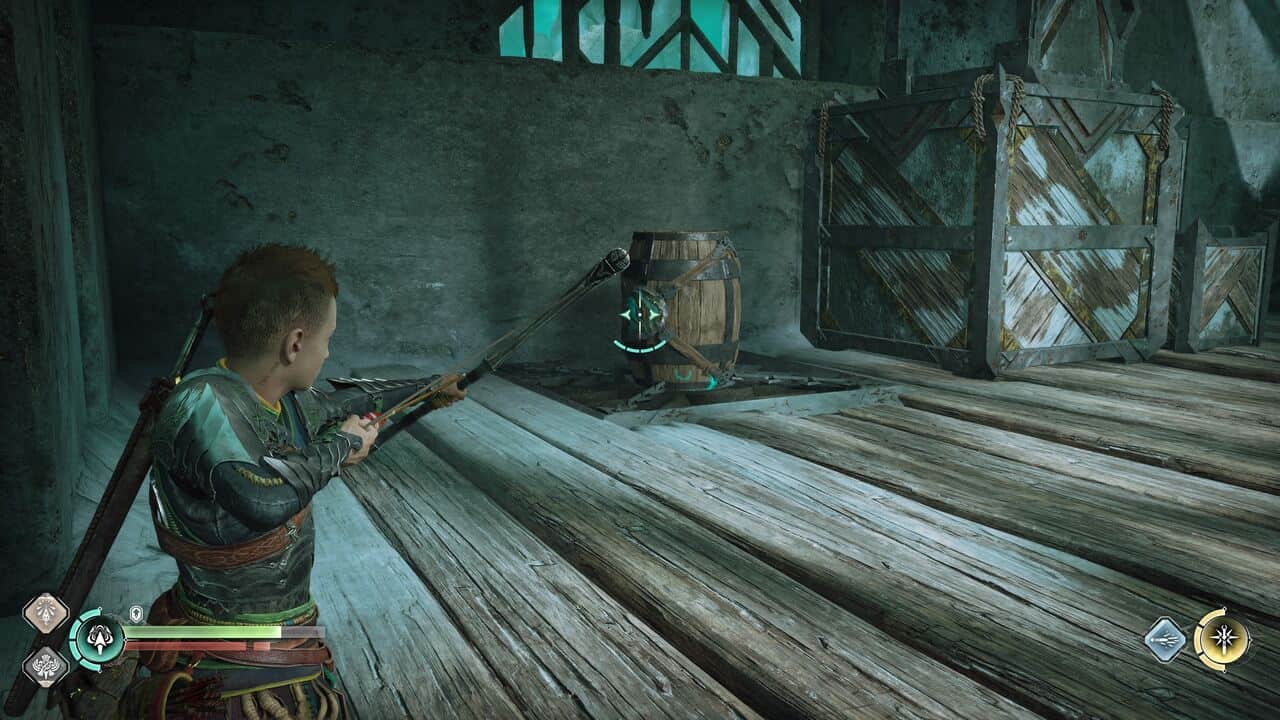
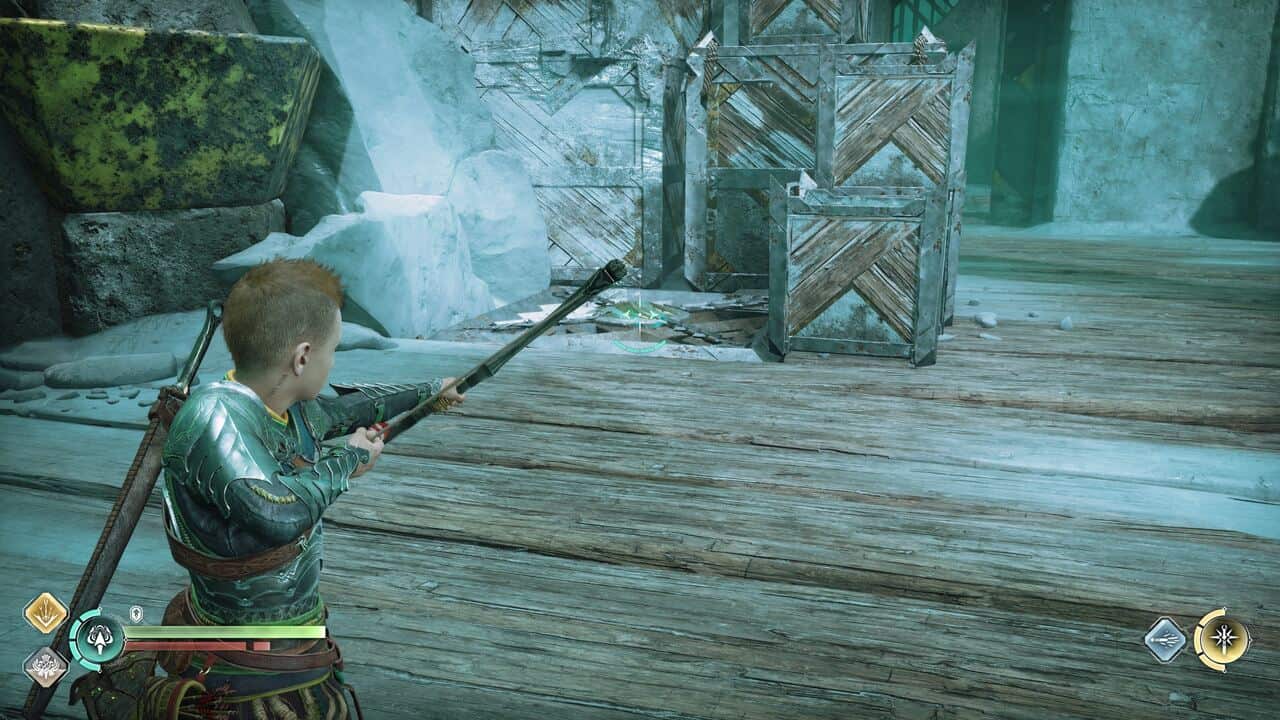
Backtrack and climb up on the crate to the level above. Fight the Hel-Walkers and Hag. Head to the back right of the room then use a sonic arrow to shoot the barrel, then the floor below.
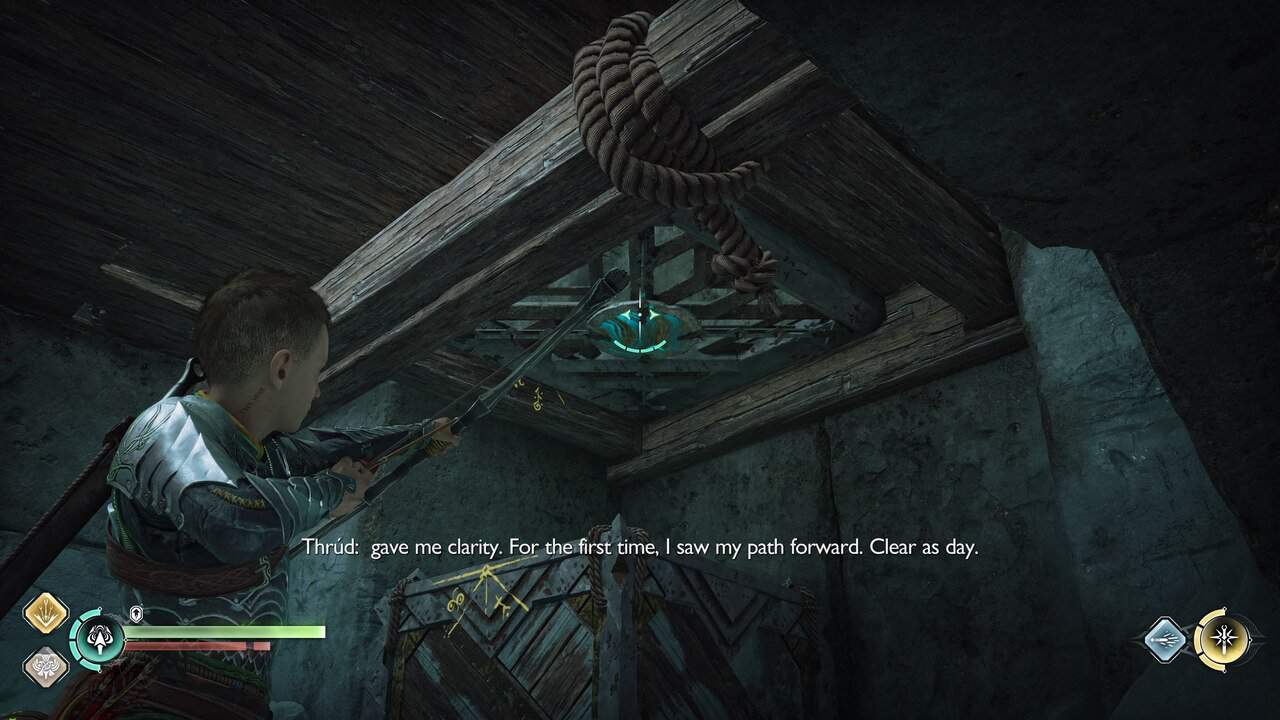
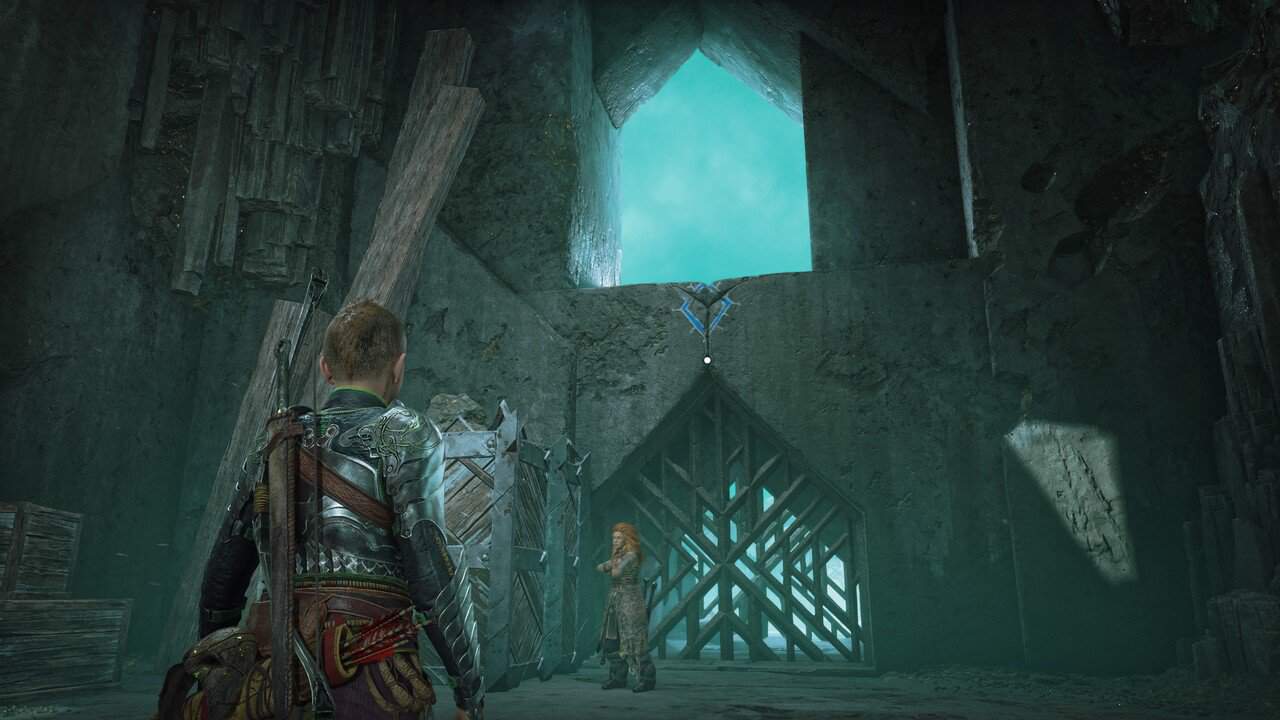
Drop down. Follow the path, fight the Hel-Walkers and Nightmares, then climb the stairs and interact with the large stone door. While Thrud holds it open, shoot the latch to drop a crate. Backtrack and climb up.
Fight the Hel-Walkers in the room above, then interact with the crank. Go through until you hit another locked gate. Turn around and use a sonic arrow to break through the floor on the left.

Thrud will push a crate forward. Backtrack a little and shoot the latch preventing it from moving further.
Return to Thrud then use a sonic arrow to break the ceiling and climb up.
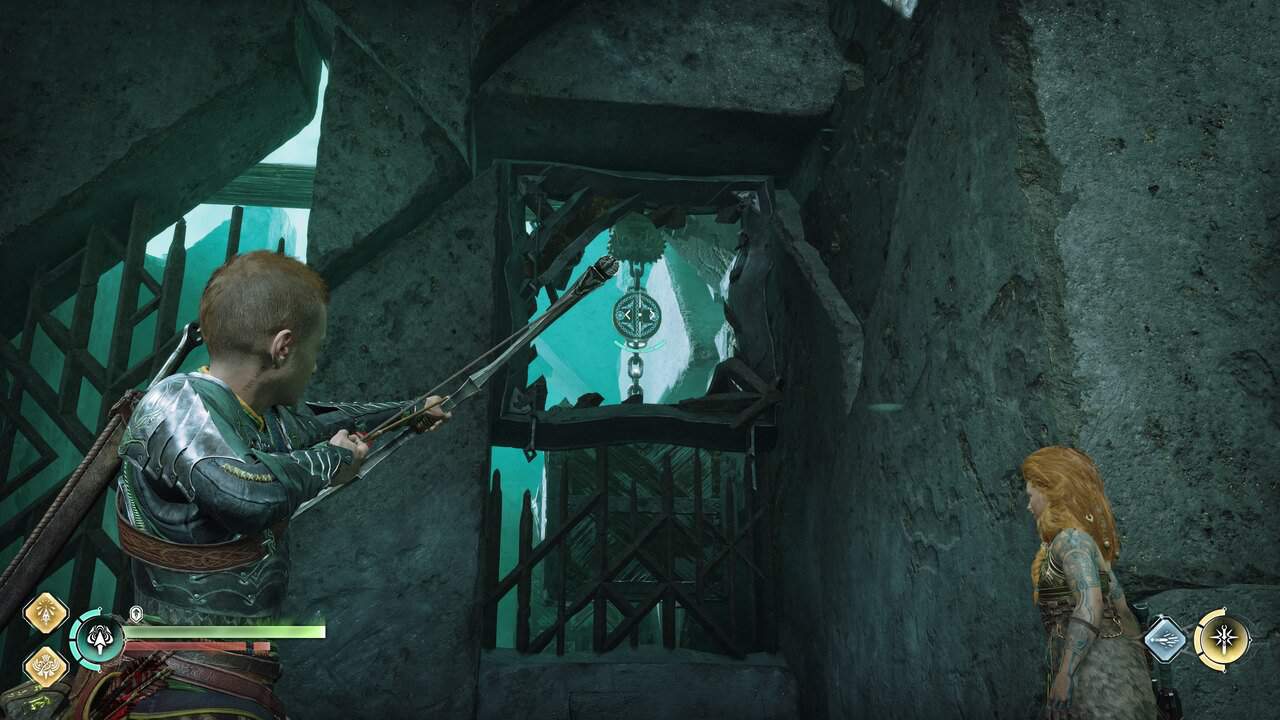
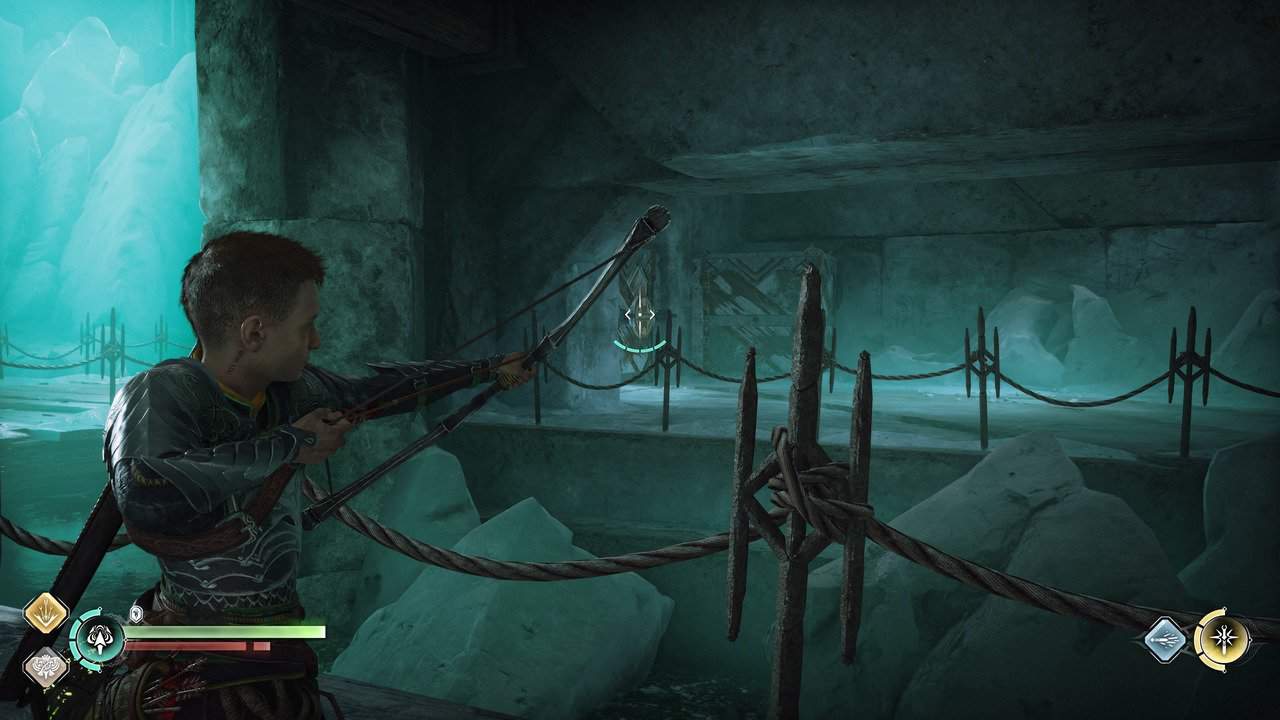
At the next stone door, interact with it and Thrud will again hold it open. Shoot the latch on the right.

Head through the fight the Hel-Walkers, then take out the mask and walk over to where it’s pointing – yet another gate. Thrud will push the crate. Grapple up.
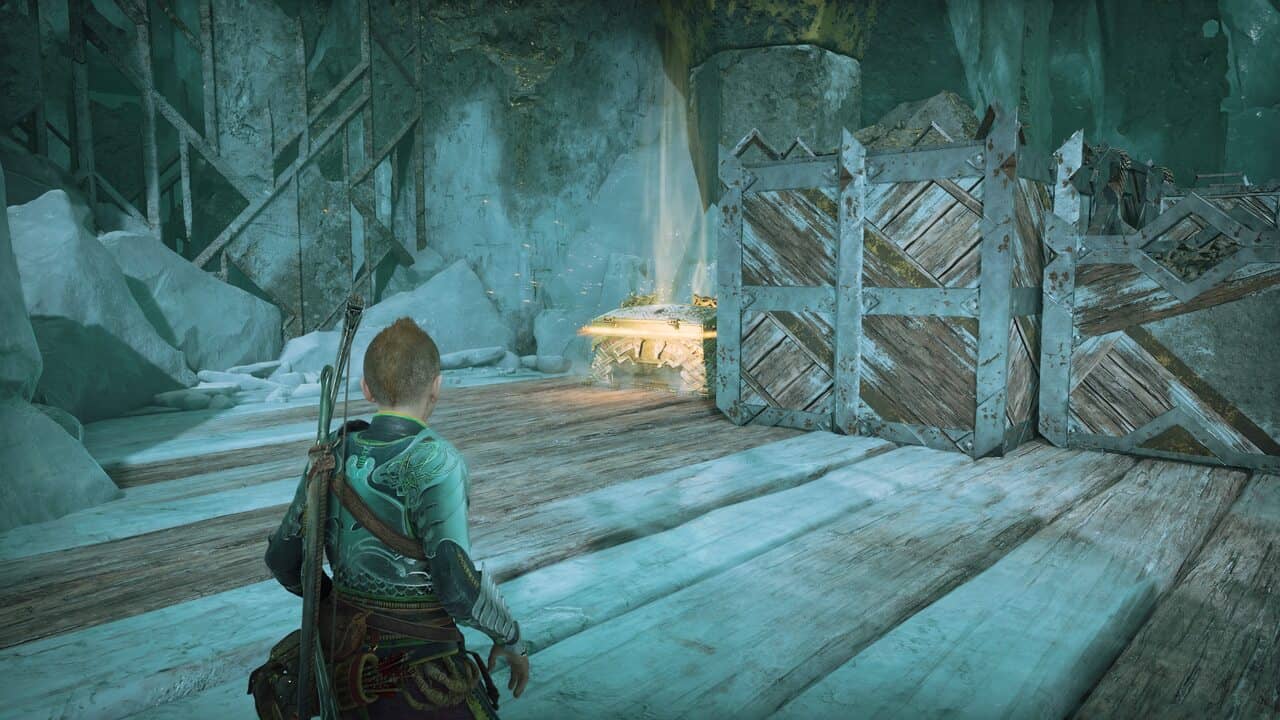
Push down the chain and go down. Loot the Legendary chest on the left containing a Wrath of the Wolf Runic Summon.
Look left towards the crate and shoot the latch to release it. Return to Thud, fighting off a pair of Hags as you go.
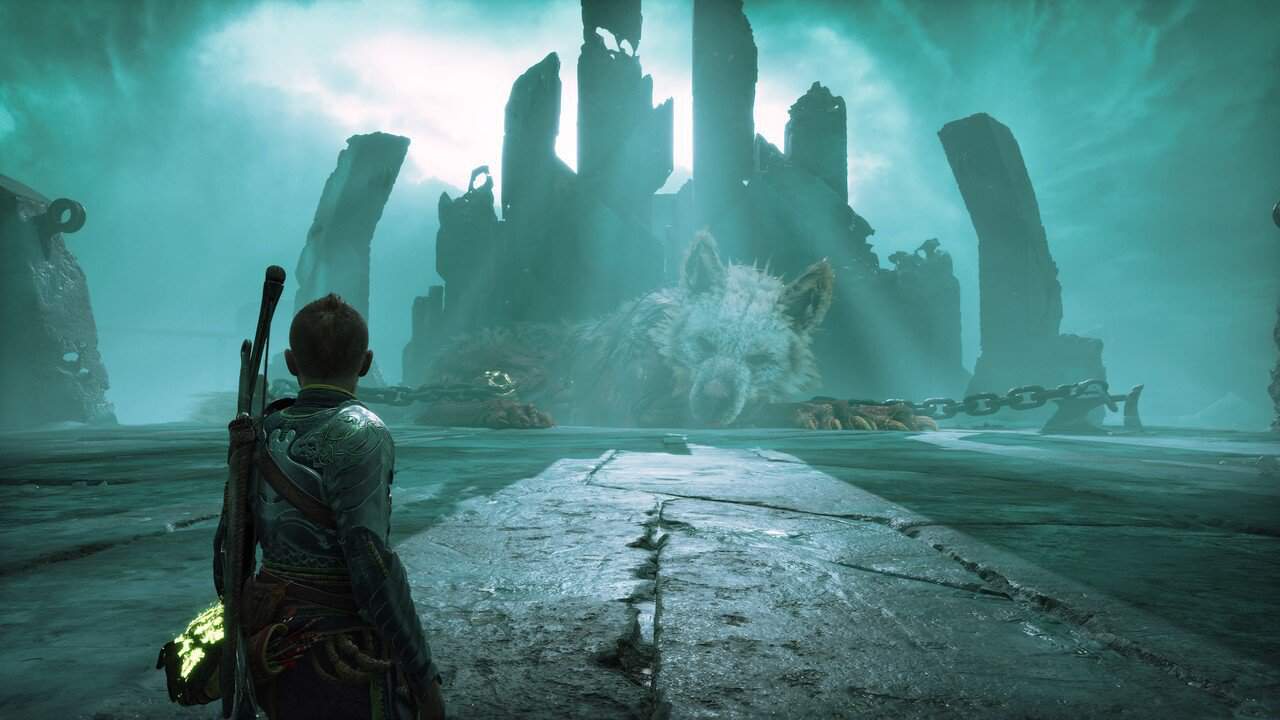
Go through the now-open gap and head left, up the crate, and across the gap. Push forward to reach Gnipahellir Landing and meet a rather large chained-up wolf, Garm. Free the animal by removing the three chains and enter the chamber he was guarding.
Find a Way Back to Asgard
Follow Thrud to meet back up with Heimdall and return to Asgard.
Find Odin and Explain What Happened
Climb the stairs to Odin’s study.
Return to Atreus’ Quarters
Head to Atreus’ room and answer the knock at the door.
Check out our dedicated God of War Ragnarok guides hub for more walkthroughs, 100% realm completion, and collectibles.
About the Author

God of War: Ragnarok
-
UnknownUnknown
- Platform(s): PC, PlayStation 4, PlayStation 5
- Genre(s): Action


