You can trust VideoGamer. Our team of gaming experts spend hours testing and reviewing the latest games, to ensure you're reading the most comprehensive guide possible. Rest assured, all imagery and advice is unique and original. Check out how we test and review games here
Operation Starseed is one of the wackiest quests in all of Starfield. In the depths of space, you land upon an alien world only to be confronted with several of the most famous and most accomplished people in human history, all vying to be in charge of a tiny settlement. But that’s exactly what makes it one of the best quests in the entire game too.
As wild and wonderful as this quest is, it isn’t all smooth sailing as you’ll have a couple of pretty major choices to make that will completely change how the quest will turn out, as well as the reward you’ll get at the end. That’s why we’re here to take you through the quest step-by-step so you can ensure you get the best possible conclusion.
Starfield Operation Starseed walkthrough
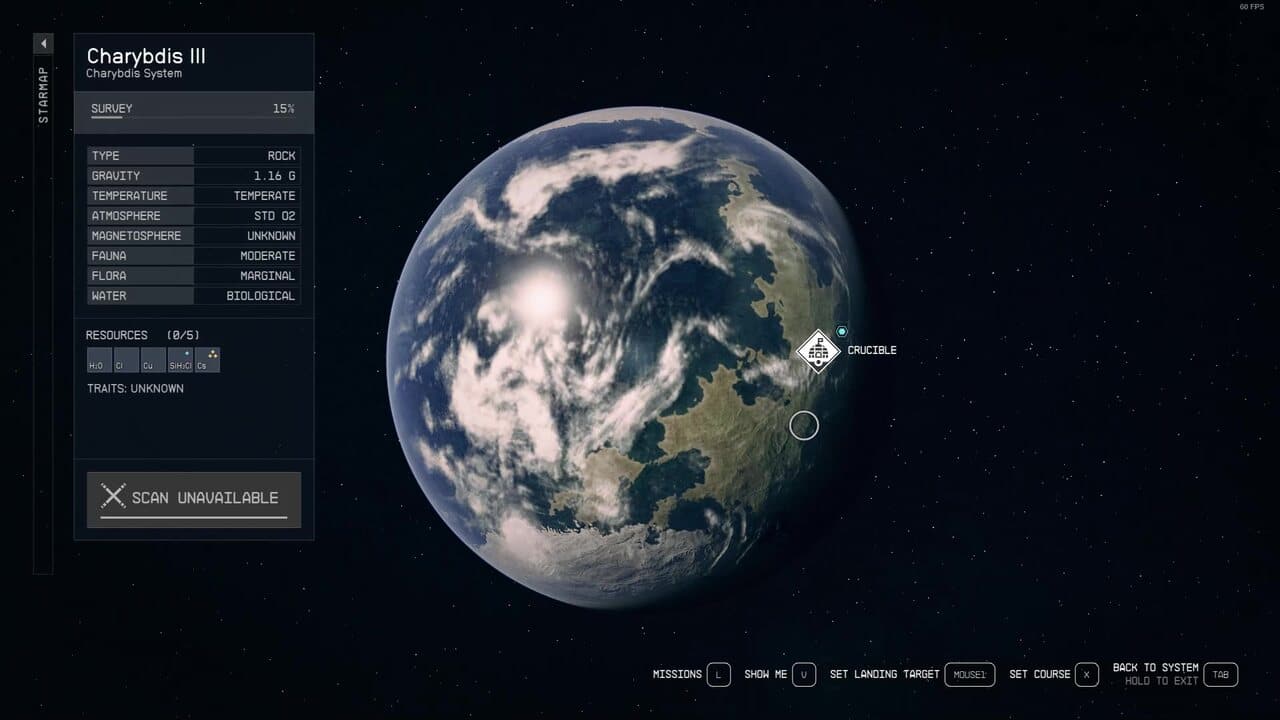
To begin the Operation Starseed side quest, you’ll first have to grav jump to the Charybdis star system. Once there, you’ll receive a transmission about Crucible on the planet Charybdis III. Head over here, and once you land, follow your quest marker to a settlement where you’ll find a robot named Tobias. Tell them you heard the distress call and a woman named Ada will come and greet you.
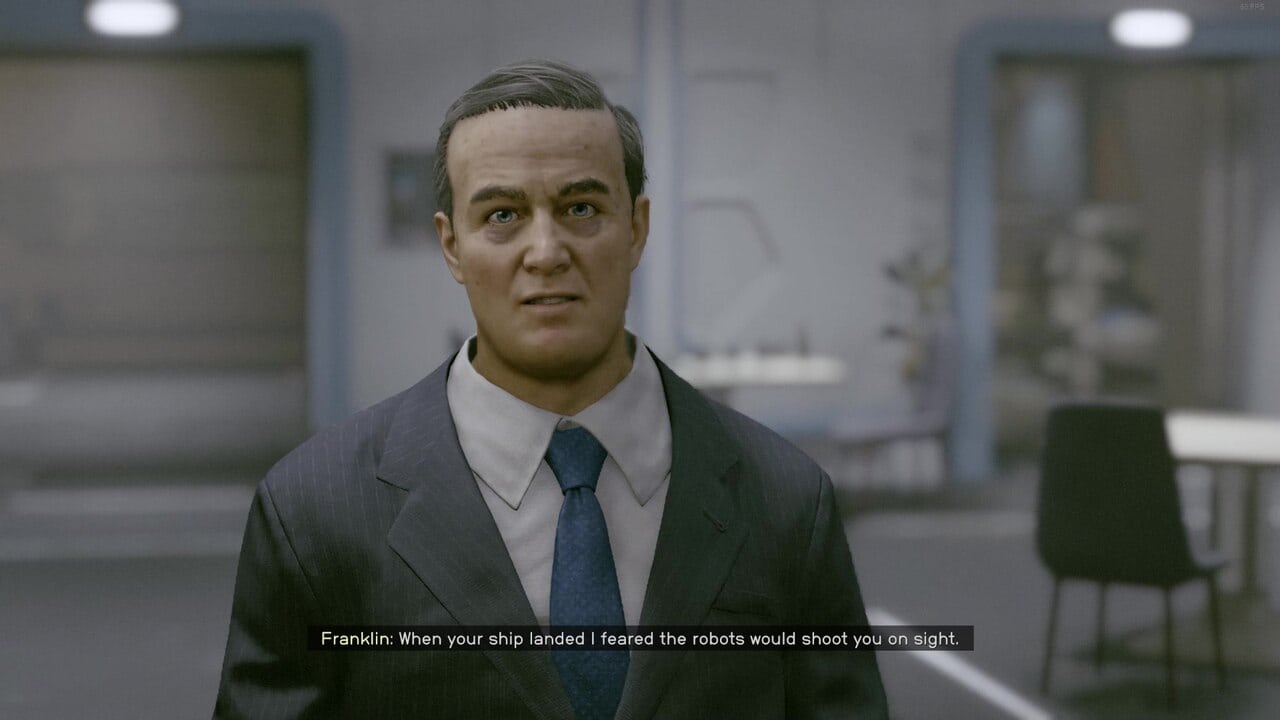
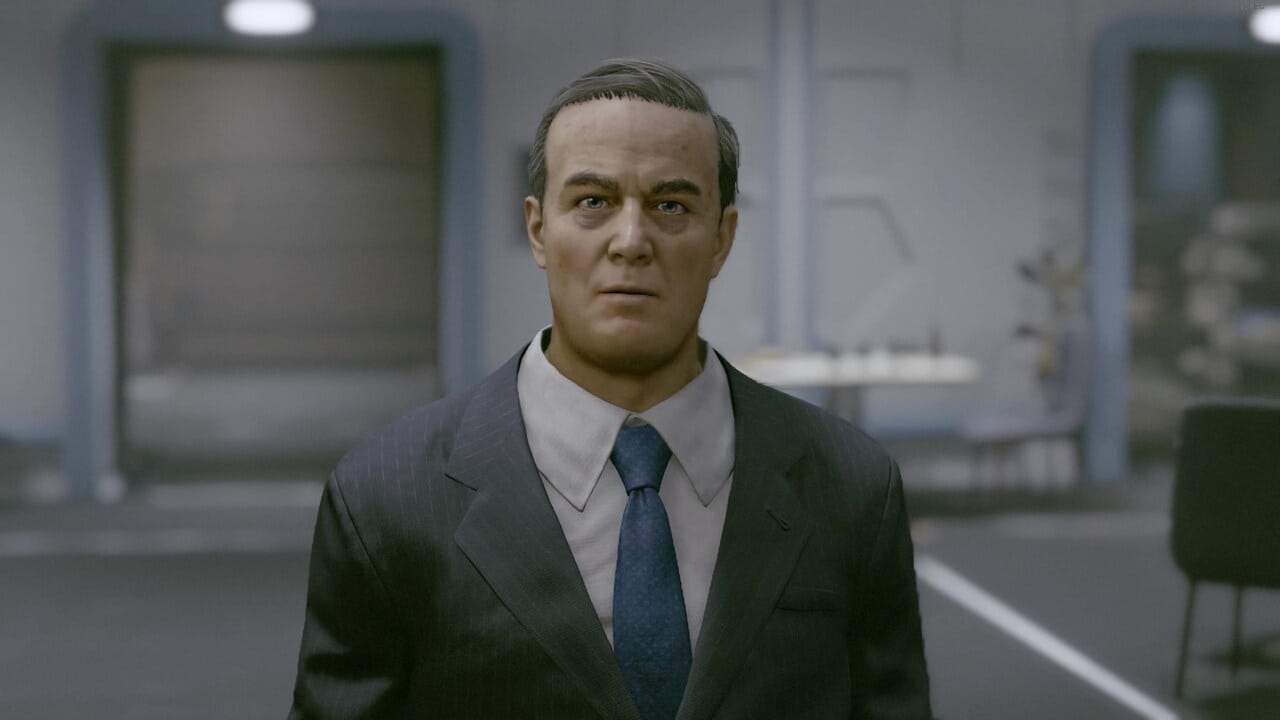
Meeting Franklin
Ada tells you that the settlement is home to three different societies – Believers, Pragmatists, and Renegades. She tells you to enter the settlement and talk with a man named Franklin, who as it turns out, is a clone of former US President Franklin D. Roosevelt and the leader of the Pragmatist Society.
He tells you that almost all the settlement’s people are clones of famous people and historical figures. Roosevelt then tells you to go find Genghis Khan and Amanirenas.
Meeting Genghis Khan and Amanirenas
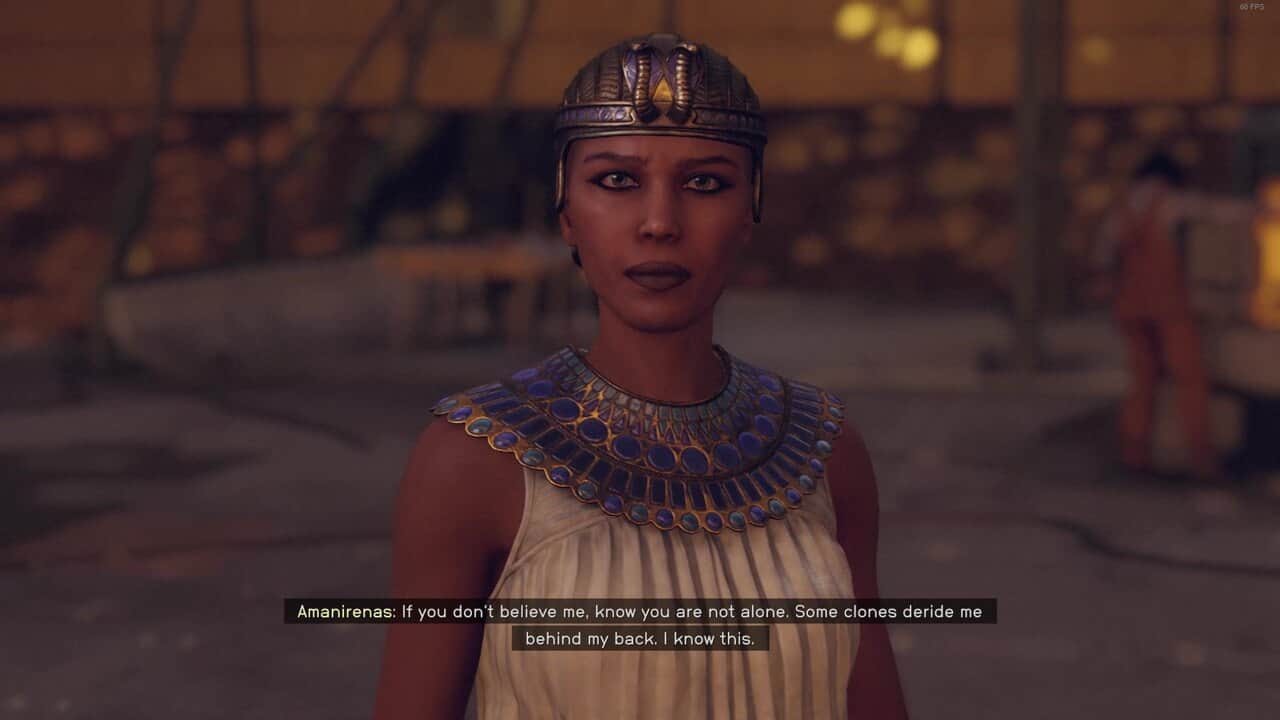
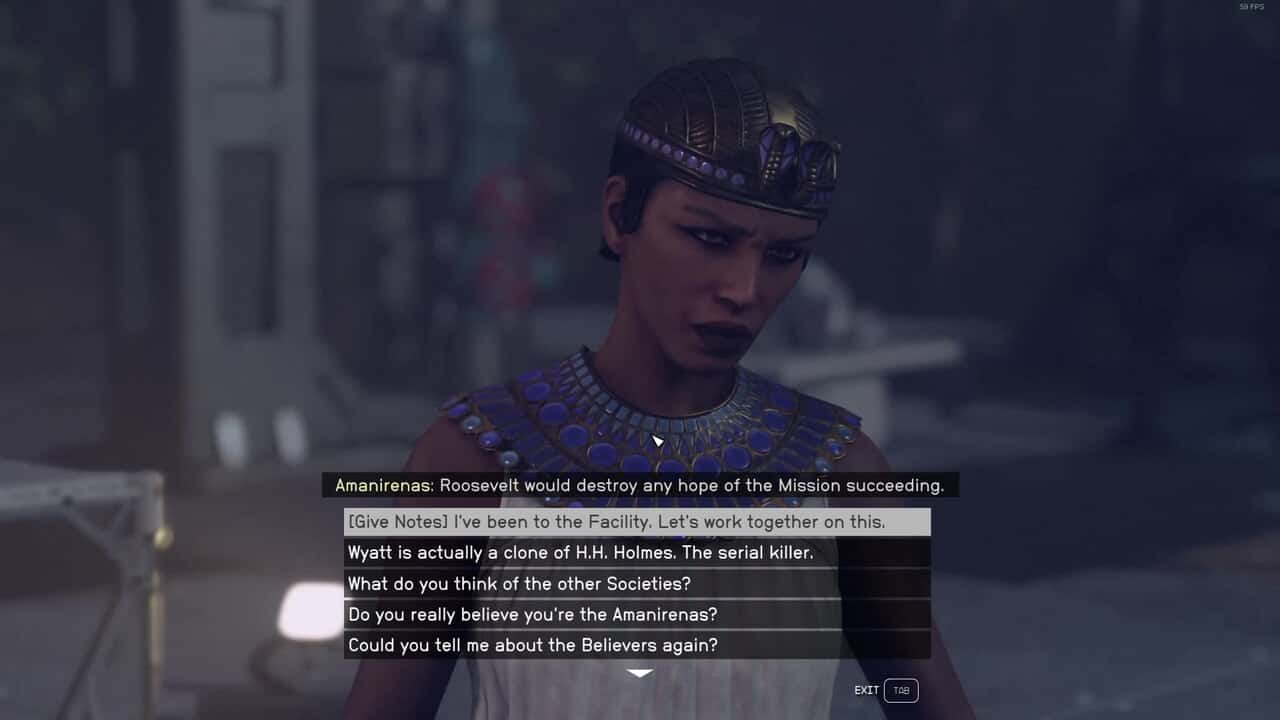
On your way there, you’re briefly stopped by Sheriff Wyatt Earp, who sells Aid and Resource items. Once you leave the building, head left and walk past Amelia Earhart and up a ramp where you can talk to Amanirenas, the leader of the Believers who is convinced that she is the real Aminerenas.
She tells you that there used to be a test, where those who passed were set free, and asks you to go to The Facility to try and repair it and start the tests again.
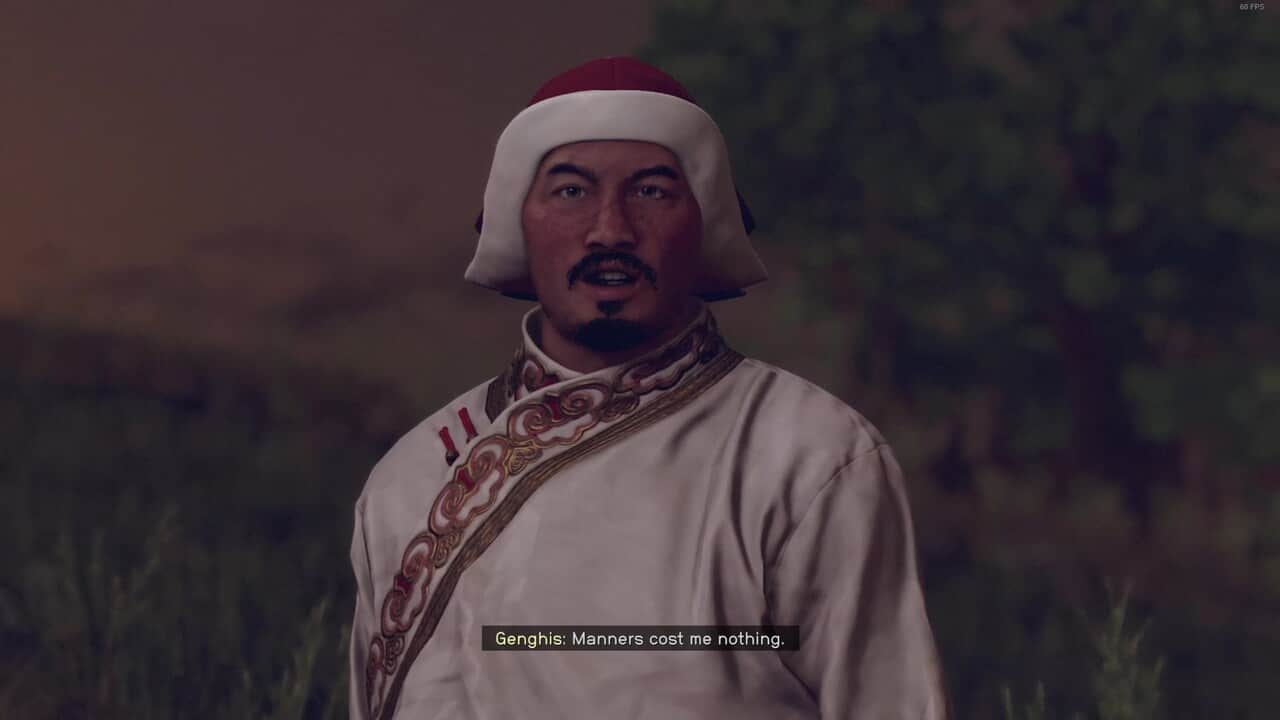
Now, head back to the entrance of the settlement and turn right, following the wall around. In the distance you’ll see some satellite dishes, behind which you’ll find Genghis Khan. The two of you will be attacked by Swarming Gliders. Help him kill them, and talk to him.
He will talk about how he is not a terrible person like the man he’s a clone of, and about how he views the settlement as a kind of prison. He’s the leader of the Renegades, and has died and been re-cloned multiple times while trying to escape. He asks you to destroy The Facility.
Head back to Franklin Roosevelt who will ask you your opinion on the other societies. It doesn’t matter what option you choose, as he will proceed to give his opinion regardless. He then asks you to use The Facility to get rid of the robots so that the clones can all live normally.
Wyatt Earp and the Secret Lives mission
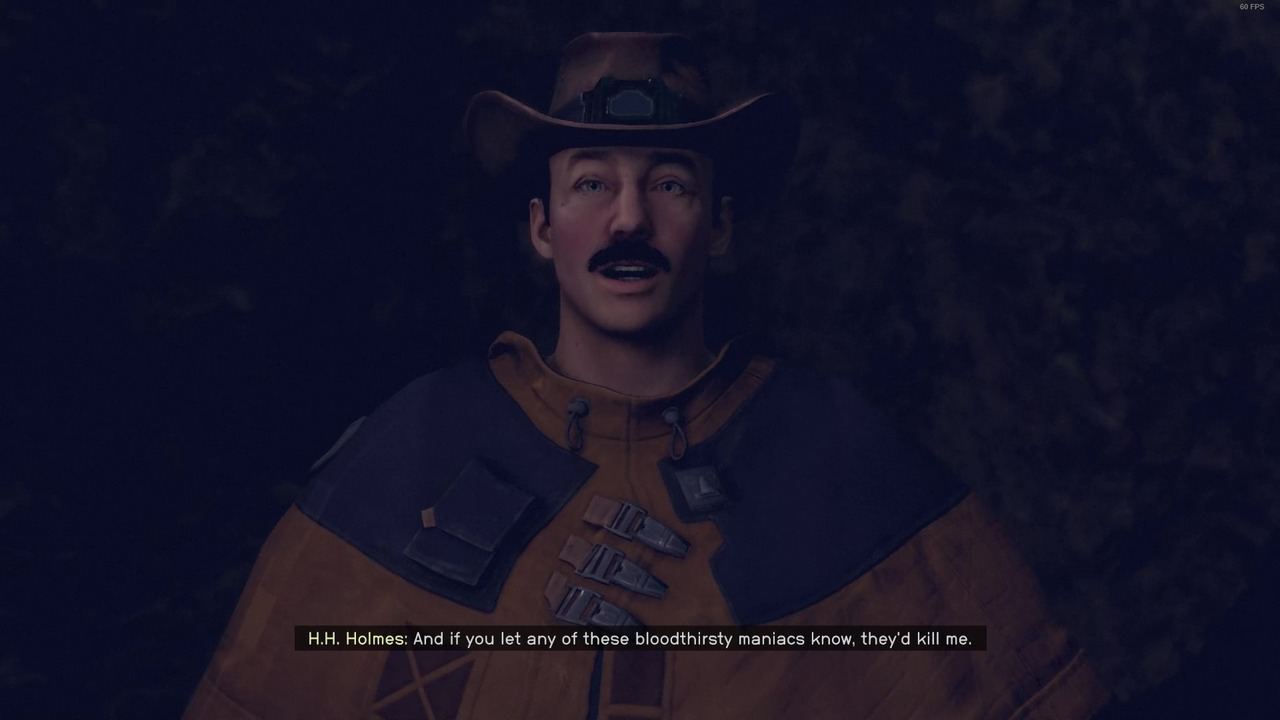
As you leave, talk to Wyatt Earp again, who will let you know that he has a secret about Roosevelt that he needs to tell you, giving you the Secret Lives mission. Follow Wyatt out of town and meet him inside a cave, where he will reveal that he’s actually a clone of the serial killer H.H. Holmes, and believes he has to kill you to stop the other societies finding out.
You have several dialogue options you can choose here. Here is every option and their potential outcomes:
| Action | Outcome |
|---|---|
| Attack | Holmes attempts to blow up an explosive tank nearby. If you successfully kill him, you receive 2,500 credits |
| Persuade successfully | Holmes decides not to attack you, and trusts you not to tell anyone about his identity |
| Persuade unsuccessfully | The same outcome as the Attack option. Holmes attempts to blow up a tank nearby and will fight you |
Following this, you can either respect his wishes, or you can tell any of the faction leaders about his true identity. Here is what happens if you teach each leader:
| Leader | Outcome |
|---|---|
| Roosevelt | He believes that people should be judged by their actions, and not history, and so asks you to keep Holmes’ identity a secret |
| Amanirenas | She thinks that Holmes must be killed and tells you that she will take care of it |
| Genghis Khan | Like Holmes, he is also the clone of someone with a bad reputation, and does not blame Holmes for the actions of the man he is cloned from |
In our playthrough, we chose not to betray Wyatt’s trust and we didn’t tell anyone about his secret.
The Facility
Open up your map and fly to The Facility on the other side of Charybdis III. Kill or avoid the nearby Spaceroaches and Hunting Maggotmaws and head inside where you’ll have to find clues. Take the stairway in the far right corner, open the door at the bottom, and enter the first door on your left.
Head to the middle of the room and pick up the Diary Page – Discovering Galathea. This is one of seven clues about The Facility.
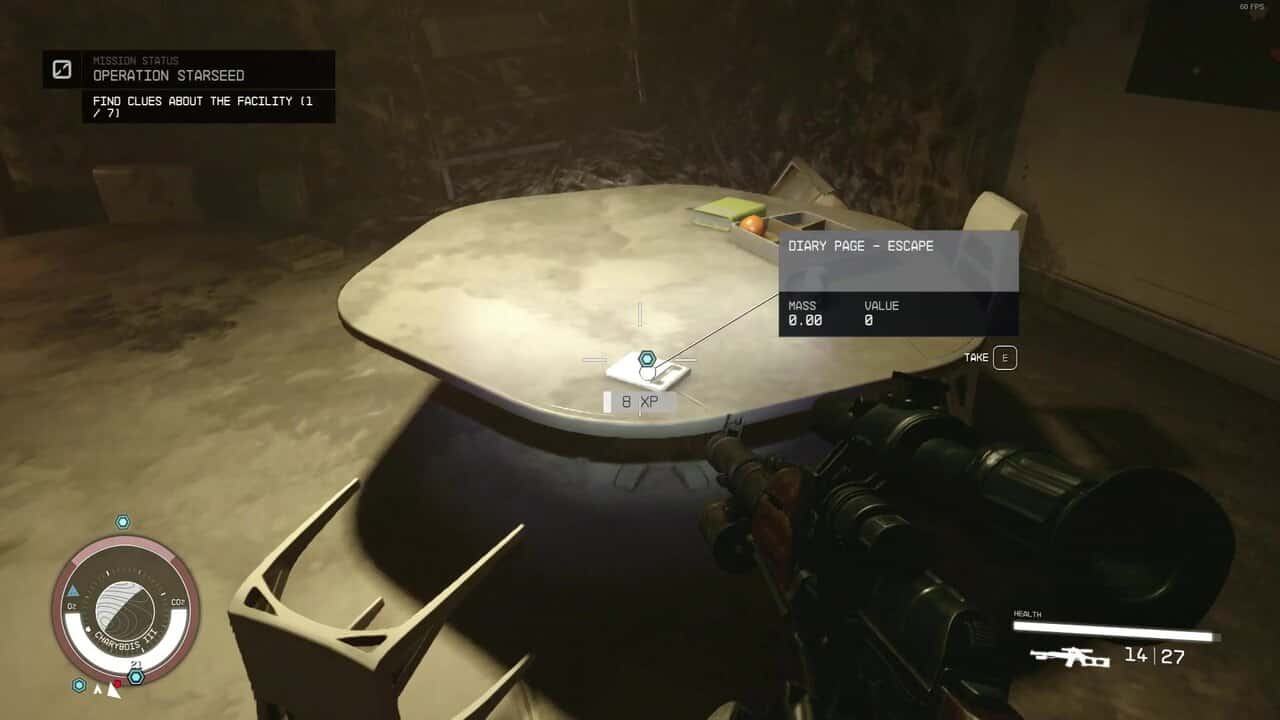
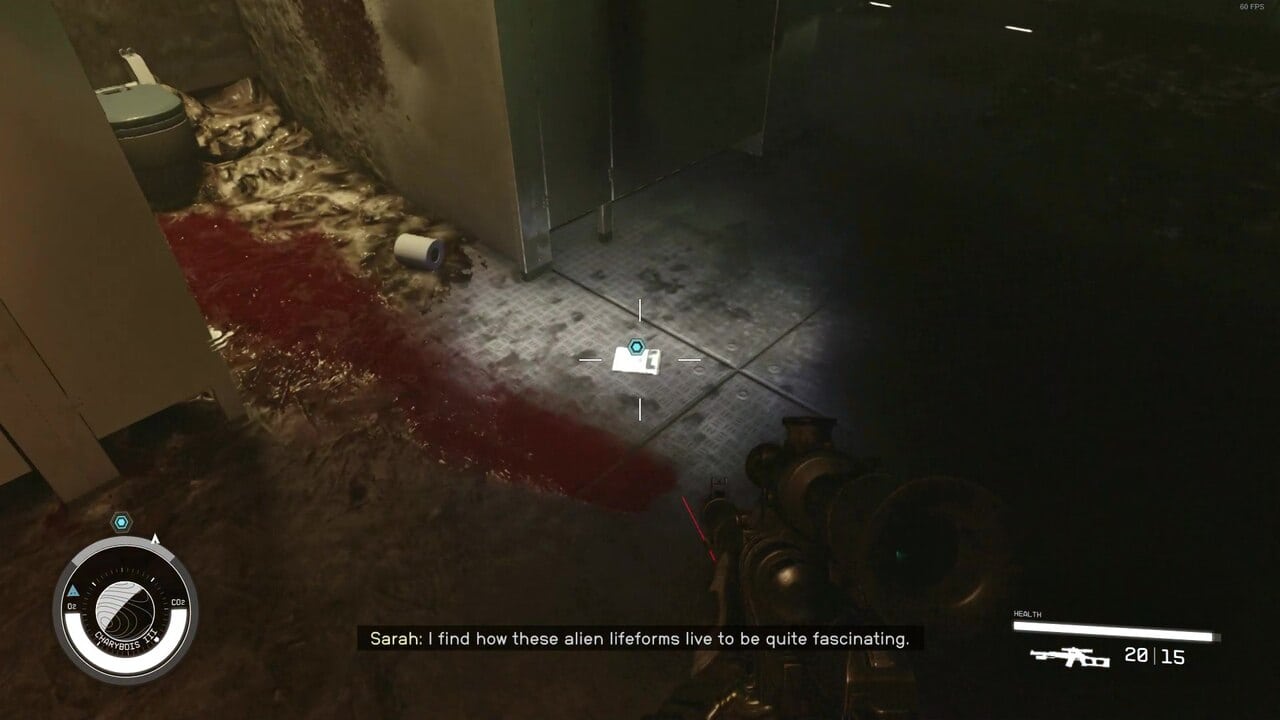
Head to the back of the room, and look inside a room on your right to find Diary Page – Escape. Go back into the hall and enter an open door on the left-hand side where you’ll find Diary Page – Reborn on the table. From here, enter the hole in the wall to your right which leads to a bathroom filled with Spaceroaches. Here, you’ll find Diary Page – Genghis Explosion.
At the end of the bathroom, turn left to find some loot. Head back and this time turn right to enter another hall. Clear the enemies and head down the stairs where there’s a couch with the Diary Page – Anonymous Last Words. Head around the hole in the centre of the room and enter another hall at the back. Enter the room on your right to find Diary Page – Ada’s Questions.
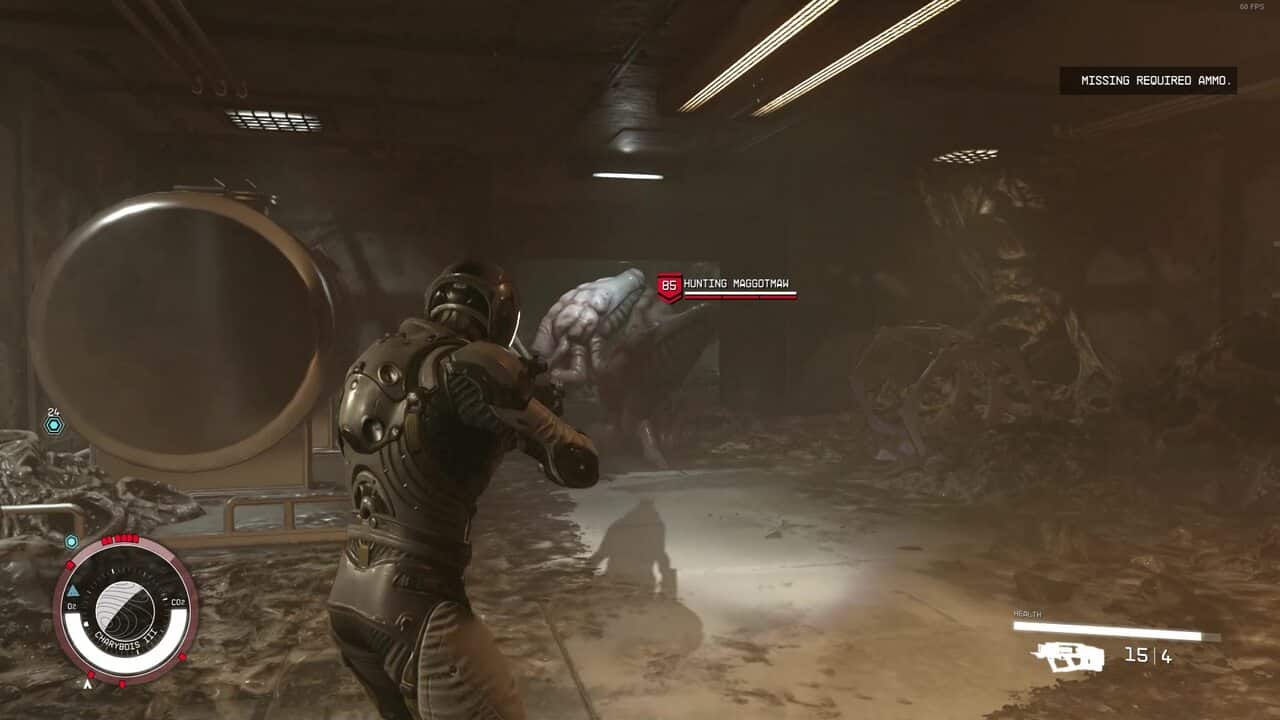
Return to the whole you avoided early and jump down, following the path until you reach a room with a Maggotmaw. Be wary that this monster is a pretty high level, so can easily kill you if you’re caught off guard. Once it’s dead, enter the next room and take the ramp on your left.
Grab Ada’s Diary – Heart of the Facility from the desk to receive the final clue. Read it to reveal that you need an override code, and your quest guide will update, requiring you to choose which Society you should provide your information to.
Head up the stairs, and use a nearby computer to open the door. Leave The Facility and return to Crucible, where you will decide which of the Crucible leaders to give the information to.
Which Society should you give The Facility information to?
Depending on which Society you choose to side with, there will be different outcomes to the quest. Here are all of the possible outcomes.
Siding with Roosevelt and the Pragmatists
If you choose to share the information with Roosevelt, he will propose to the other groups that they spend the next 20 years working to improve Crucible. Once that time has passed, they can then institute a test allowing them to leave if they want.
Amanirenas can be convinced to side with Roosevelt, reasoning that 20 years is better than nothing and will accept. Genghis Khan will reject this, and begin a war, and you will have to kill him before the Renegades kill the Pragmatists.
Siding with Aminerenas and the Believers
If you side with Aminerenas, you can convince Roosevelt to agree to the plan, but you will be unable to convince Genghis, and will be forced to kill him.
Siding with Genghis Khan and the Renegades
If you side with Genghis Khan, you can convince him not to destroy Crucible, instead arguing to simply let everyone come and go as they please. If you do convince him to do this, you can convince Roosevelt to side with Genghis, as Crucible will be protected. You can’t side with Aminerenas unfortunately, and will be forced to kill her.
Operation Starseed bug fix
Sometimes, a bug will occur where all of the NPCs will turn hostile after the battle has completed. You can solve this simply by heading back to your ship and sleeping for an hour or more. Once you head back, everything will be back to normal.
If this doesn’t work, a more time consuming version involves flying all the way to Venus in the Sol system, sleeping for an hour or more on the planet, and making your way back. Naturally, this can take a while so you might want to try just sleeping on Charybdis III first.
Ada Lovelace and The Beagle
Once you’ve made your choice your chosen leader will ask you to go speak to Ada Lovelace. She can be found on the platform where you first spoke with Aminerenas. She tells you that the radio telescopes are pointing towards the Bel V beacon, and that’s where you should go to find The Beagle, a spaceship named after the ship Charles Darwin sailed to the Galapagos Islands on.
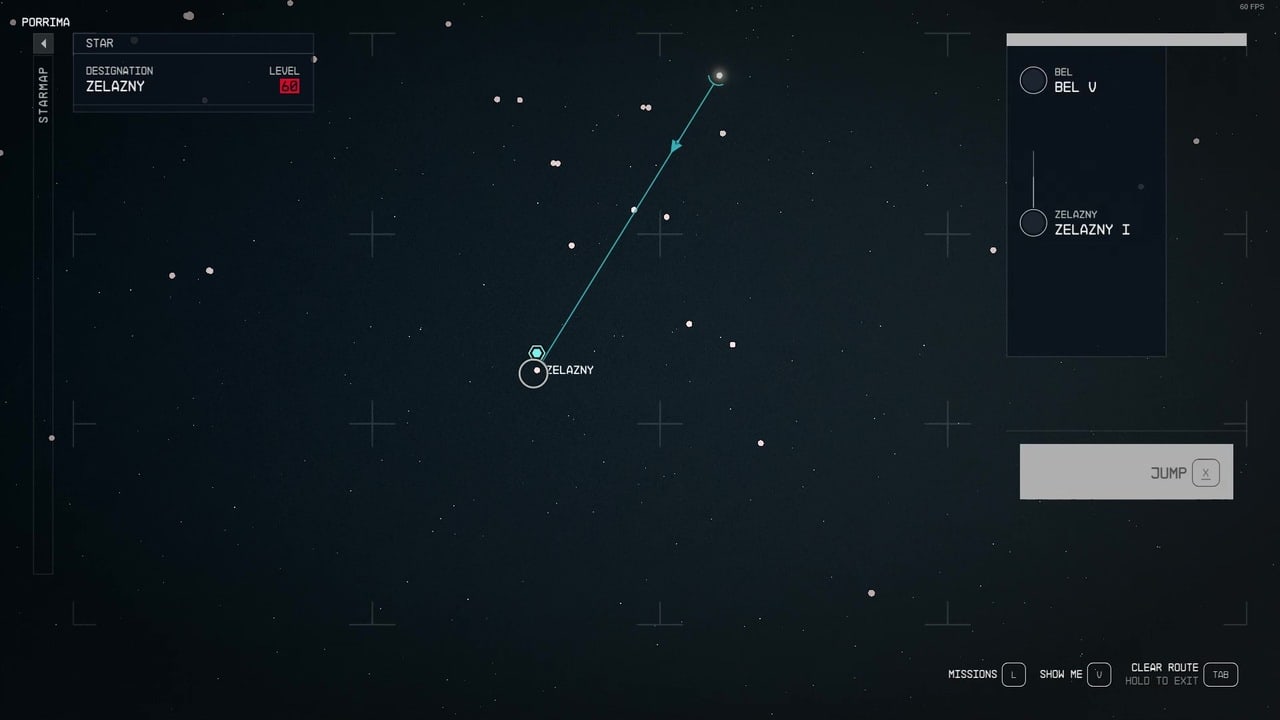
Return to your ship and grav jump to the Bel system. Once there, you’ll receive a message from a navigation beacon saying that The Beagle’s next stop is Zelazny I. Head to the Zelazny system and dock at The Beagle.
Once inside, destroy a robot and a turret and head through the kitchen. Take a door on your left at the far end of the room into a bedroom. Take another door on your left and follow the stairs to a landing bay. To reach the Zelazny system you need a ship with a grav drive that can travel at least 27.243 light years.
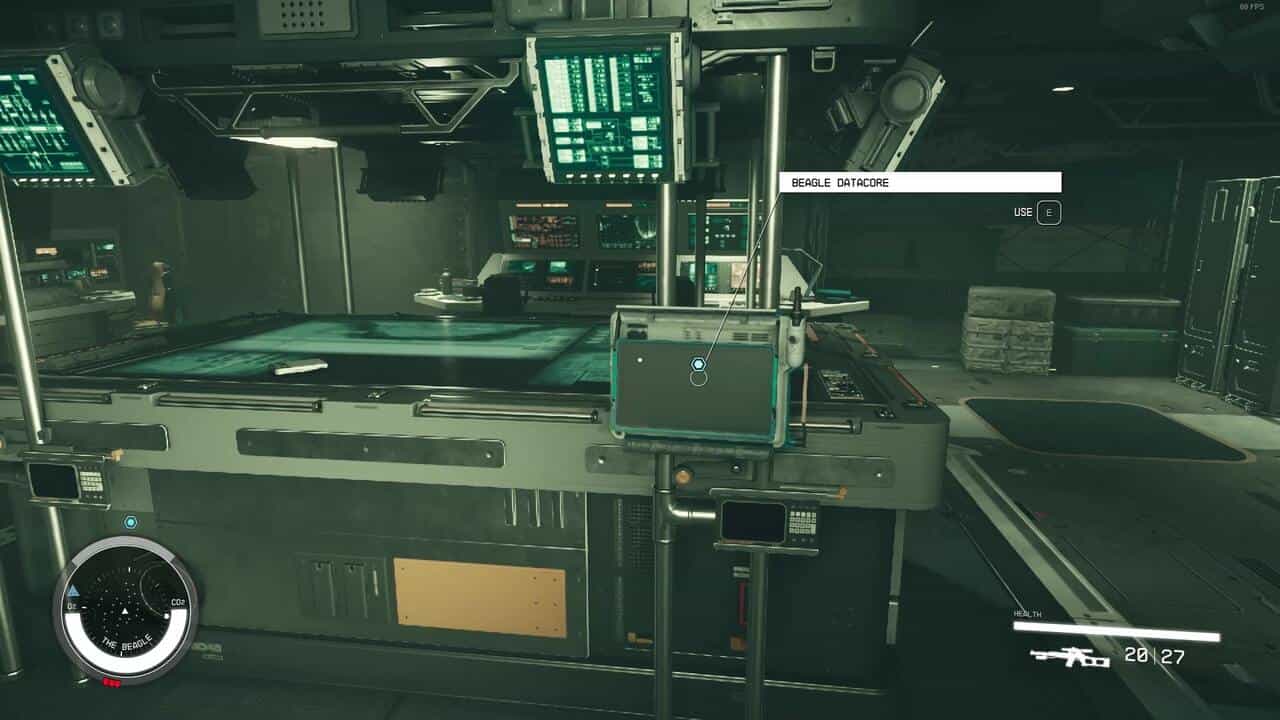
Enter the hallway on your right, down a ramp into an open area, and pick up The Beagle Lab key from the table. Head back to the hallway, and enter the other door. Destroy the turret you find, and take the door on the left side of the room. Take the stairs up at the far right of this room to reach the lab. Open the Beagle Datacore computer and download the Facility’s Security Override Code.
As you leave, the robots in the hall will active. After going through the hall, you can find a gap with Dr. Zhao’s computer, which you can use to open the door next to it. Inside, kill the robot you find and follow the hall inside to find a Science Crate.
In the far right corner of the room you’ll find another computer. Use this to open the door which will lead you back to where your ship is docked. Get back in and grav jump back to Charybdis.
Return to The Facility
With the code in hand, return to the Crucible, and you’ll have to have a debate with the other leaders. You can either convince the friendly leader to join you, or kill both of the opposing leaders. Either way, once the battle is finished, talk to your leader who will ask you to go back to the Facility. Talk to Ada Lovelace to receive the code.
Head back to The Facility. You can enter the back entrance that you left from earlier. Once inside, go back to the computer where you can use the code you received from Ada Lovelace to open the doors to the Restricted Wing. Head through the door on the right of the room, take a right at the end of this hallway, and then take another left into another hallway.
You’ll come to a room with a door at the end which leads to a room with two turrets inside. Destroy the turrets, or disable them using a computer in the next room, and proceed down the stairs found outside this room until you reach a large pit.
Jump down and look for a broken window that you can climb through. This area will be filled with contaminated water, so use the floating objects to traverse this section.
Head up a ramp on your left until you reach a hall. Follow this path down some stairs until you reach a cloning area filled with enemies. Kill them all, and then head over to the left of the room where you’ll find some stairs. Head up the stairs, destroying any turrets you come across until you come to a lab.
On the right of this lab, you’ll see the Facility Datacore computer, and a key. Pick up the key, and then interact with the computer. Select the Initiate Emergency Reboot option. You now have to make this quest’s major choice. Here are all of the options and their outcomes:
| Action | Outcome |
|---|---|
| Reboot and restore current Mission parameters | Nothing at the Crucible changes. You receive 3000 credits. |
| Reboot and choose a new Super-Admin | Your chosen leader from earlier is put in charge. You receive 6000 credits. |
| Initiate Full Project Cleanse | All of the clones are killed. You receive 2000 credits. |
If you chose to instate a new Super-Admin, return to the Crucible and talk to your chosen leader to receive your reward. If you chose to restore the current Mission parameters, or to choose a new Super-Admin, you can also recruit the clone of Amelia Earhart to become a companion and crew member. If you choose the Full Project Cleanse option, she will be killed along with the rest of the clones.
About the Author


Starfield
-
UnknownUnknown
- Platform(s): PC, Xbox Series S, Xbox Series S/X, Xbox Series X
- Genre(s): Adventure, RPG, Science Fiction, Space


