You can trust VideoGamer. Our team of gaming experts spend hours testing and reviewing the latest games, to ensure you're reading the most comprehensive guide possible. Rest assured, all imagery and advice is unique and original. Check out how we test and review games here
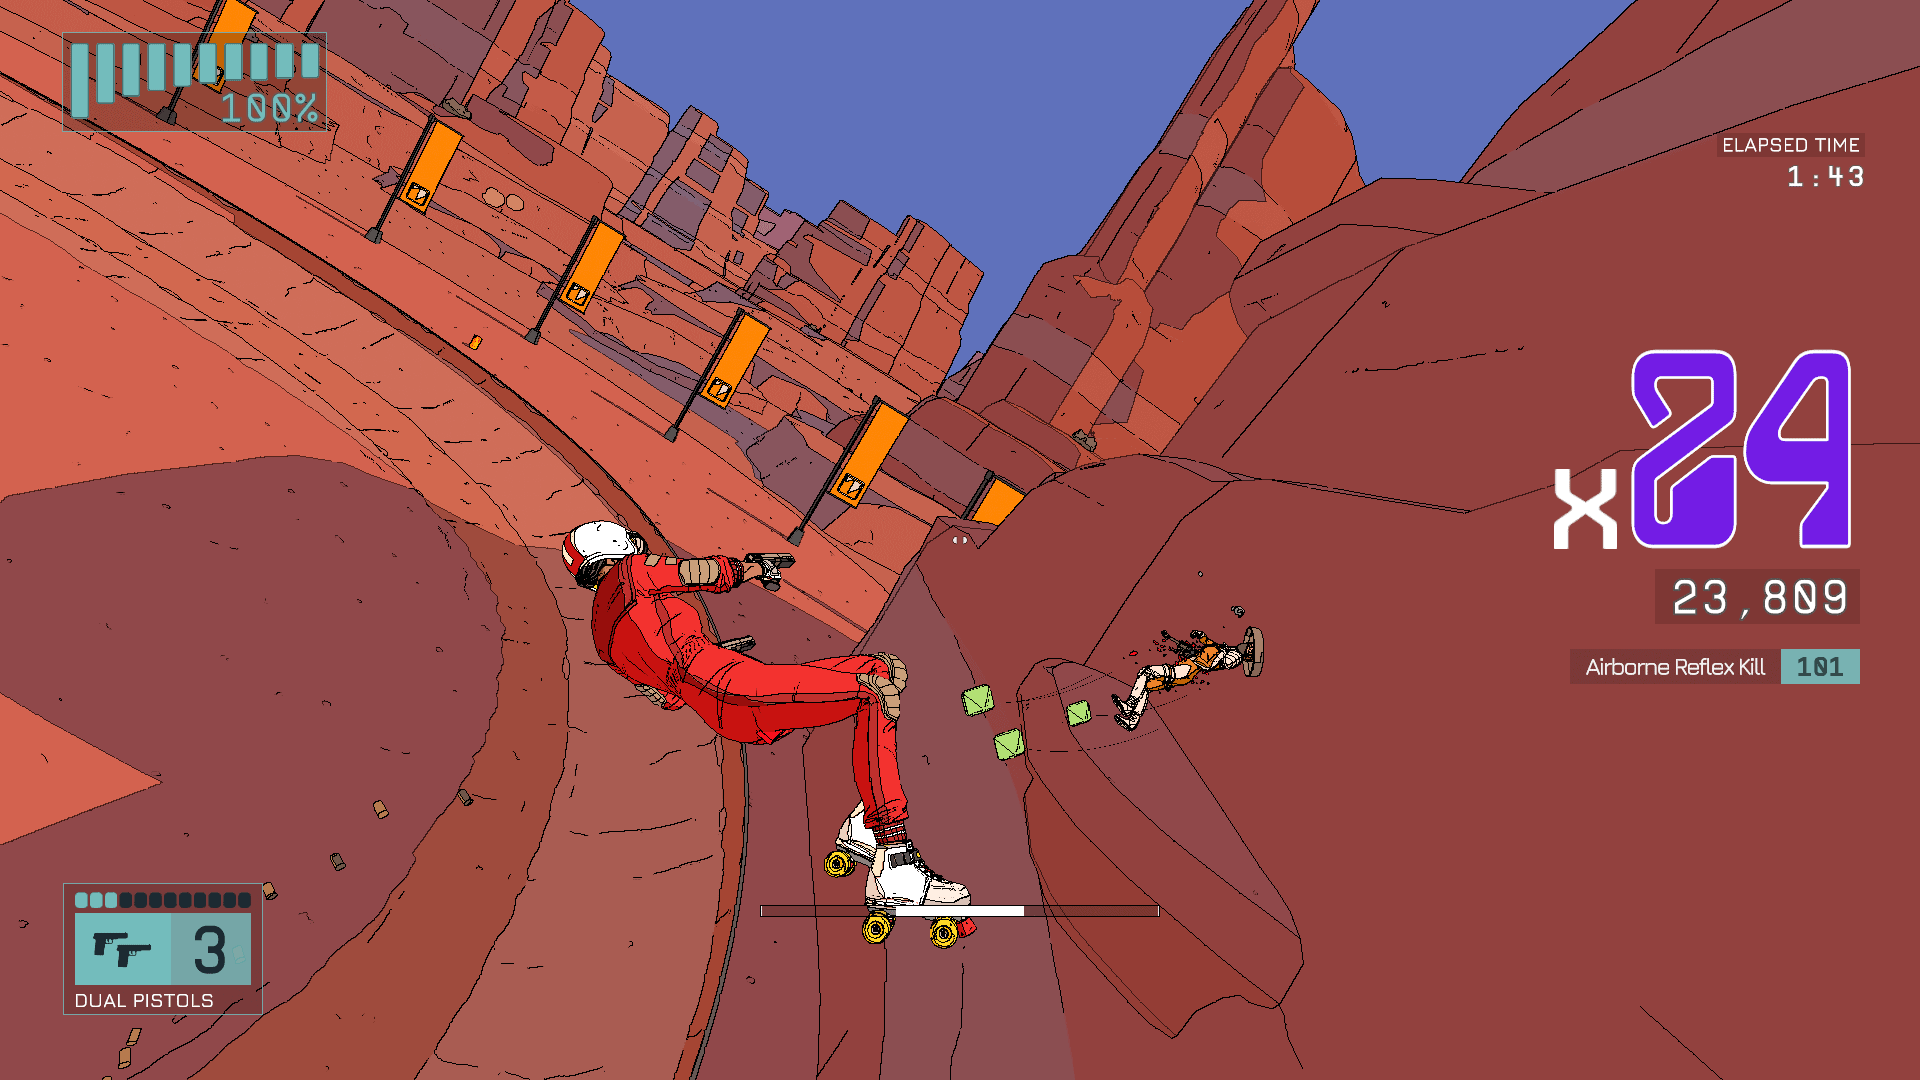
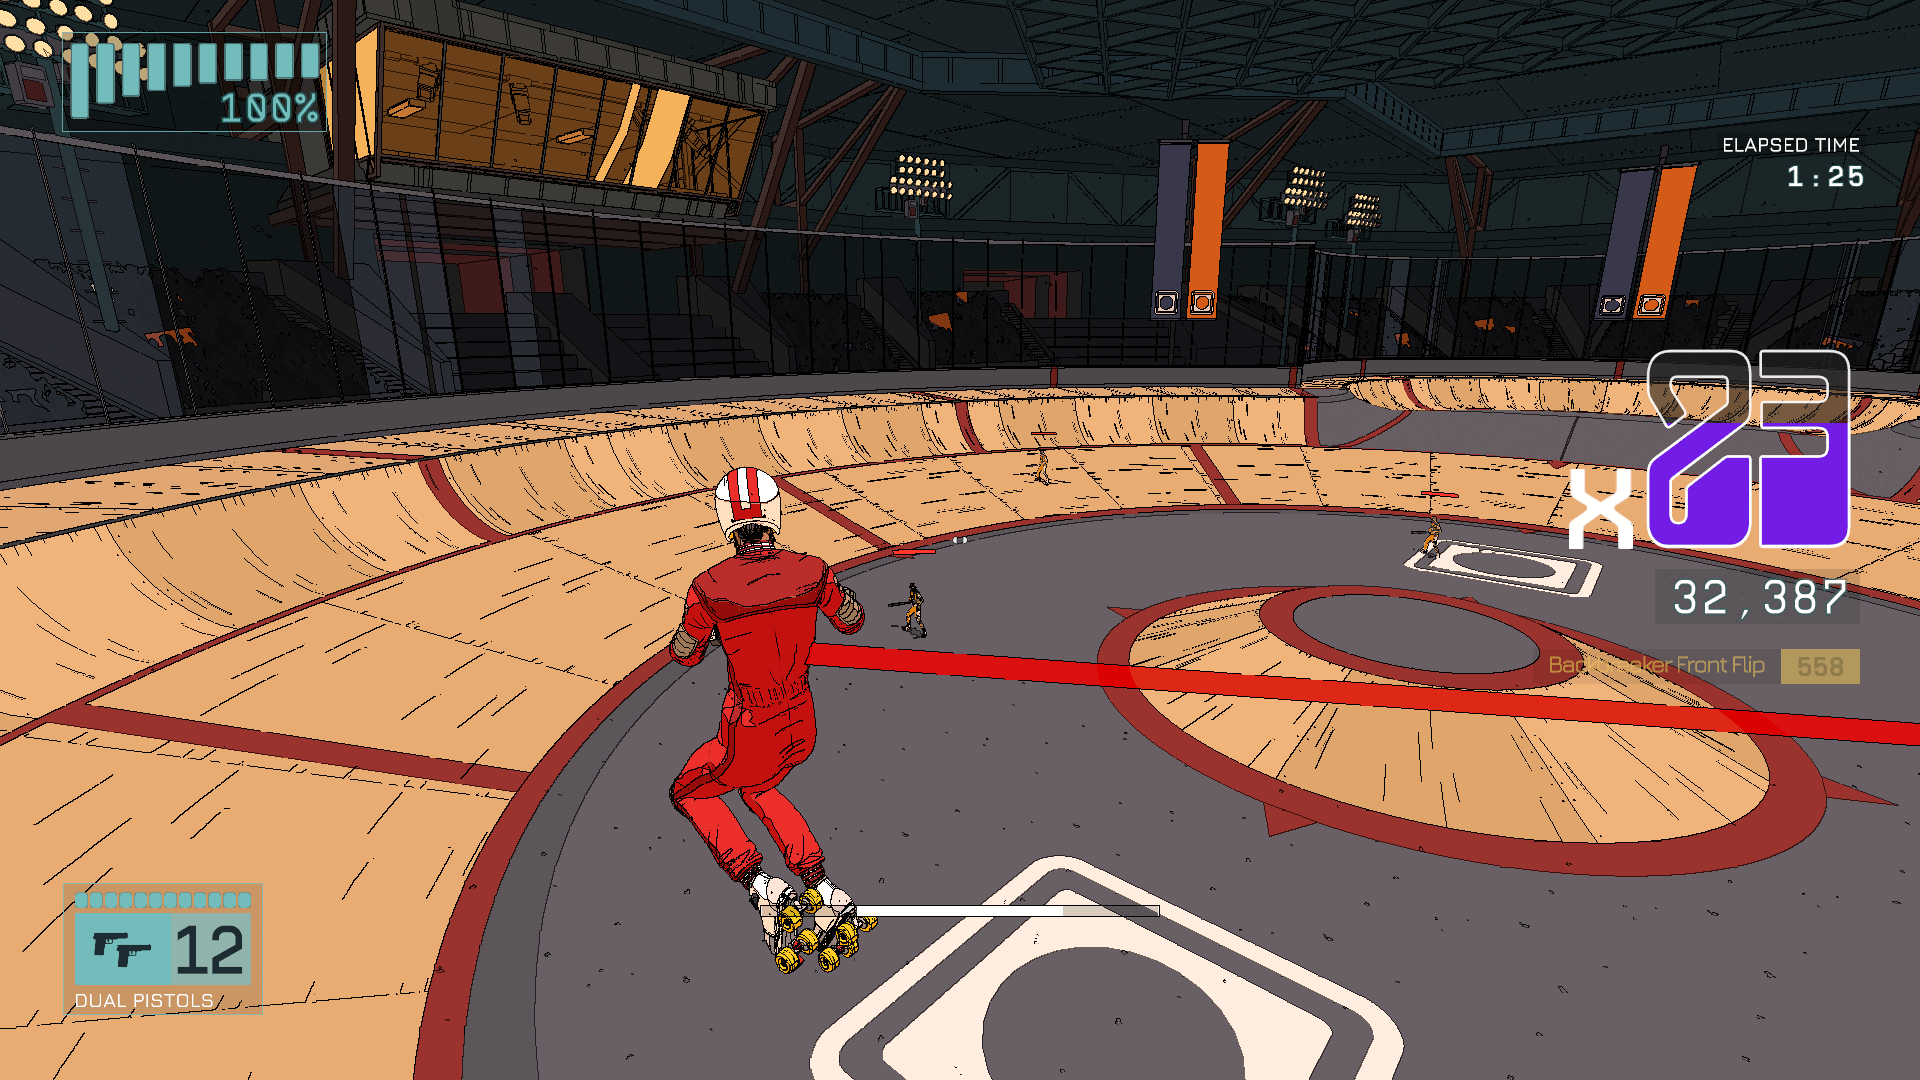
Unlike Tony Hawk’s Pro Skater and Roll7’s most recent skateboarding adventure, OlliOlli World, damaging and killing enemies in quick succession extends the combo in Rollerdrome, not tricks.
To complicate matters, ammo is only awarded for completing tricks, with larger allocations for variety. Managing these while avoiding enemy fire and projectiles cranks up the complexity of chaining a huge combo.
With so much to keep an eye on, maintaining a combo long enough to tick off challenges and gain a spot atop the leaderboards can feel impossible to pull off.
If you’re on the hunt for a few Rollerdrome combo tips and tricks, you’ve come to the right place.
READ MORE: Rollerdrome is a new shooter-skating game from the makers of OlliOlli World
How to Replenish the Rollerdrome Combo Meter

First, it’s important to understand what affects the combo meter. Damaging enemies replenishes the meter in small increments, while killing enemies replenishes it entirely, ticking the combo multiplier up a number. The easiest way to capitalize on this is to land shots as often as possible, only stopping to pull off tricks to pick up more ammo.
Collect Rollerdrome Combo Tokens
Combo tokens are a lifeline. Save these for when your combo meter is low and you’re not in a position to secure a kill or cause substantial damage.
Each arena has 5 Combo Tokens, typically above quarter pipes or over island modules. Before attempting a massive combo, it’s worth learning the layout of the arena and the location of each token so that you know where to go when you need one to keep the combo chain going.
Keep Grunts Alive as Insurance
As their name implies, Grunts are the cannon fodder of House Players. It only takes a few Dual Pistol shots to take them down, and their bat swings are easily avoided.
While it’s tempting to dispatch them early in a run for an easy combo boost, save them as insurance for when things look dicey and you need to fill up your combo meter quickly.
If you’re struggling to kill a heavily armored House Player like a Mecha Brute, for example, having a couple of Grunts around to pick off in an emergency gives you some breathing space.
Use Super Reflex to Take Out Heavily Armored Enemies
As Rollerdrome progresses, you’ll encounter new and tougher enemy types, which can make keeping your combo going all the trickier. Weapons like the Grenade Launcher, Z-11, and Shotgun are useful but often require multiple sweeps on the same enemy.
Combine these with Super Reflex to make easy work of heavily armored enemies like Mecha Brutes, Stompers, Warhead, and Riot Guards. When Super Reflex is active, Kara causes substantially more damage, tearing through enemies in the blink of an eye.
To trigger Super Reflex, pull off a Perfect Dodge, then immediately activate Reflex Time. A Perfect Dodge also awards a small amount of ammo, gearing you up to take out enemies in Super Reflex.
Take Out Polybeams, Warheads, and Mecha Brutes First
You’ll want to focus on taking out Polybeams, Warheads, and Mecha Brutes first, as avoiding their beams and homing missiles while pulling off tricks and battling other enemies can get hectic.
Polybeams, in particular, are a headache. Their sustained beams track your movement causing major damage if you happen to skate through them by accident or they reach you mid-air. They also teleport if you don’t kill them in one go, triggering a tedious game of cat and mouse.
For the best results, use Super Reflex, then unload your Dual Pistols or fire off a Full-Power Z-11 shot.
Use Long-Range Z-11 Shots to Sustain a Rollerdrome Combo
The Z-11 rifle doesn’t unlock until the later stages of Rollerdrome but is one of the game’s most versatile and powerful weapons, not least because it has the longest range.
Combos often end when you fail to close the distance to an enemy in time. With the Z-11, you can take powerful, often lethal shots from far away, which offers a lifeline when your combo’s about to end.
Save Explosives Canisters for Tougher Enemies
See those explosive canisters peppered around each arena, usually next to a Grunt? Screaming to be shot, aren’t they? Well, don’t. Tame that craving and save them for tougher enemies. They offer a huge burst of damage that’s wasted on low-level enemies.
The canisters tend to sit near spawn points, meaning you’ll likely find an armored enemy – like a Warhead or Riot Guard – loitering near before long. At this point, unleash all hell on the canister and follow up with a few shots to finish the House Player off. If luck’s on your side, you’ll take out two enemies with one canister, saving you ammo and time.
Repetition Is Key to Rollerdrome Combos
Rollerdrome won’t click from the get-go, and, in many ways, that’s by design. Roll7’s games are typically challenging, forcing players to focus and tune their skills to reach a flow state, and Rollerdrome follows that blueprint.
Pulling off single arena combos in Rollerdrome won’t happen immediately or even after a few hours for anyone but the most naturally gifted players. So lean into the learning curve and the challenge of repeating levels to improve.
About the Author


