You can trust VideoGamer. Our team of gaming experts spend hours testing and reviewing the latest games, to ensure you're reading the most comprehensive guide possible. Rest assured, all imagery and advice is unique and original. Check out how we test and review games here
Blacksmithing in Kingdom Com: Deliverance 2 offers you a hands-on experience that wasn’t available in the first game. As a blacksmith’s son, Henry starts his journey with some basic knowledge of the craft, but you must learn how to properly forge weapons, tools, and other items through a detailed step-by-step process. This not only lets improve your gear and tools, but also make a bit of cash on the side. In this guide, we’ll walk you through how to get started with blacksmithing and master the craft in KCD2.
Where to learn Blacksmithing in KCD2
Blacksmithing becomes available immediately after the prologue when Henry and Hans go their separate ways in Troskowitz at the start of the Wedding Crashers main story quest. To get started, head over to blacksmith Radovan in Tachov to the northwest of Troskowitz. Radovan will provide an introduction to blacksmithing, teaching you the basics and offering a refresher whenever you might need it. If you opt to help Kreyzl the miller instead, you can still visit Radovan to learn blacksmithing at any point later on.
By working as Radovan’s assistant, you gain access to a bed and a chest next to his workshop, which can serve as your mini-base early in the game. This is especially helpful for storing items and sleeping.
Blacksmithing materials and sketches
Before you start forging, make sure you have the right blueprints called Sketches, as well as all the necessary materials. Sketches are blueprints that show you how to forge specific items and can be bought from traders and armorers, or found as loot during your adventures. Once you acquire a Sketch, click on it in your inventory to learn and unlock the recipe. Those recipes can be accessed in the Crafting menu or by interacting with a forge.
Materials are needed to forge items, such as swords, axes, or horseshoes for your mount. Common materials include Steel, Scrap Metal, and Fastening Material, as well as some rare ingredients that are not as readily available. Most materials can be purchased from blacksmiths and other craftsmen, or occasionally found as loot.
A step-by-step guide to Blacksmithing
Now that you’re ready with your materials and sketches, it’s time to start forging your first item.
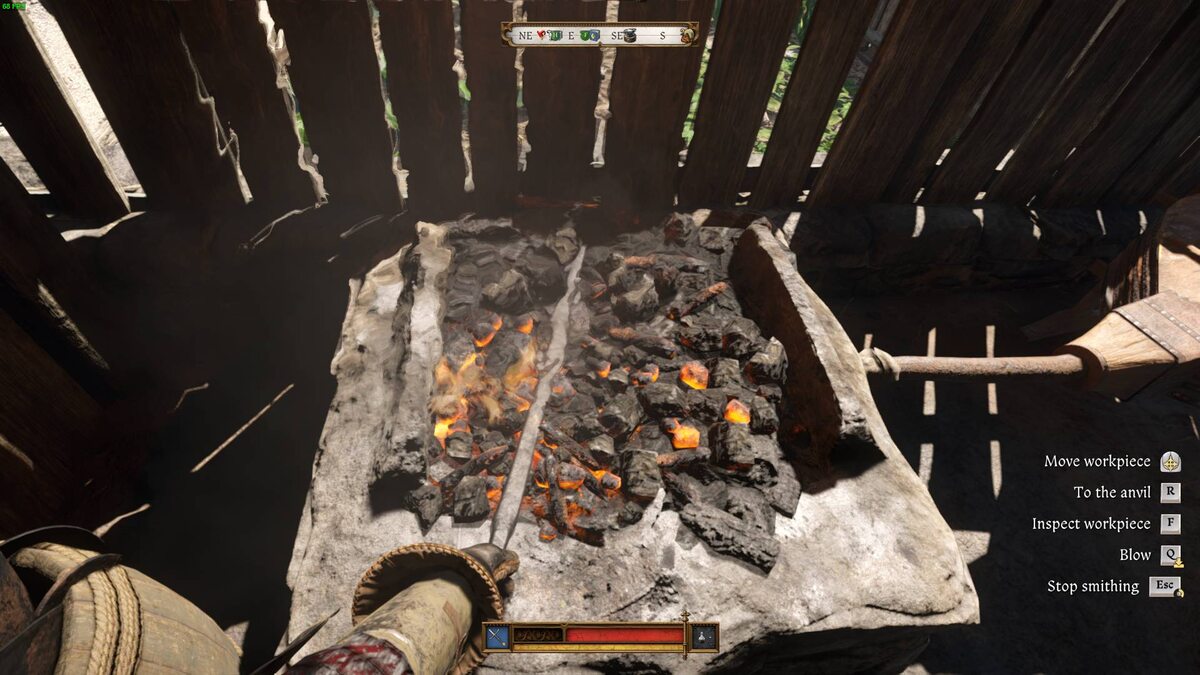
1. Heat up the metal on the forge
- To start, place the metal on the forge and use the Right Trigger or Q to work the bellows. The bellows pump air into the fire to heat up the metal.
- Simultaneously, use the Left Stick or move your Mouse to move the metal around, making sure it heats evenly.
- Wait until the metal turns a glowing pale yellow colour , indicating it’s hot enough for forging.
- Press X, Square, or F to take the metal out of the forge and inspect it.
- If it’s ready, press A, Cross, or R to carry it over to the anvil.
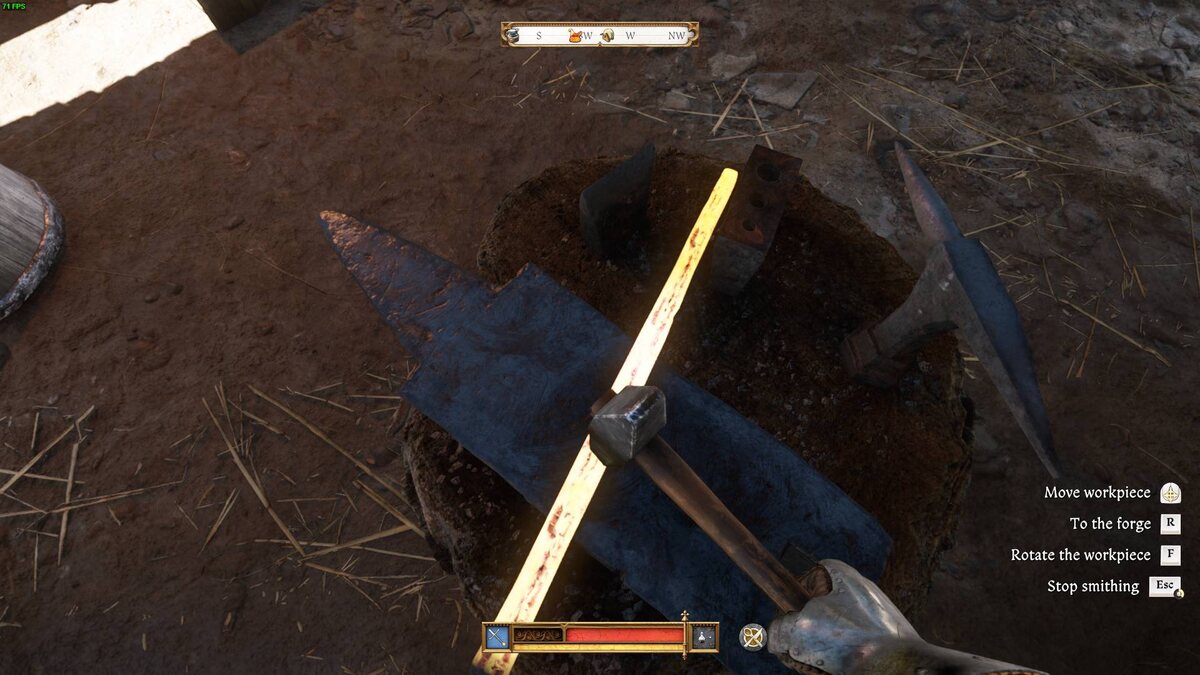
2. Hammering the metal
- This is the most intricate part of the blacksmithing process. Proper aim and good timing are key to success at this step.
- Press the Right Trigger or Left Mouse Button to hammer the metal. Holding the button will result in harder strikes, while tapping it will produce softer hits.
- Use the Left Stick or Mouse to move the metal, ensuring each spot is hammered evenly at least once before turning it around.
- After hammering one side, press X, Square, or F to rotate the piece and hammer the other side.
- Use charged hammer strikes that make sparks for the best results.
- If the metal cools down, return it to the forge (press A, Cross, or R) to heat it up again.
- When the work is complete, Henry will lift the metal from the anvil.
- Quench and finish to complete the forging process by tapping E, X, or Square.
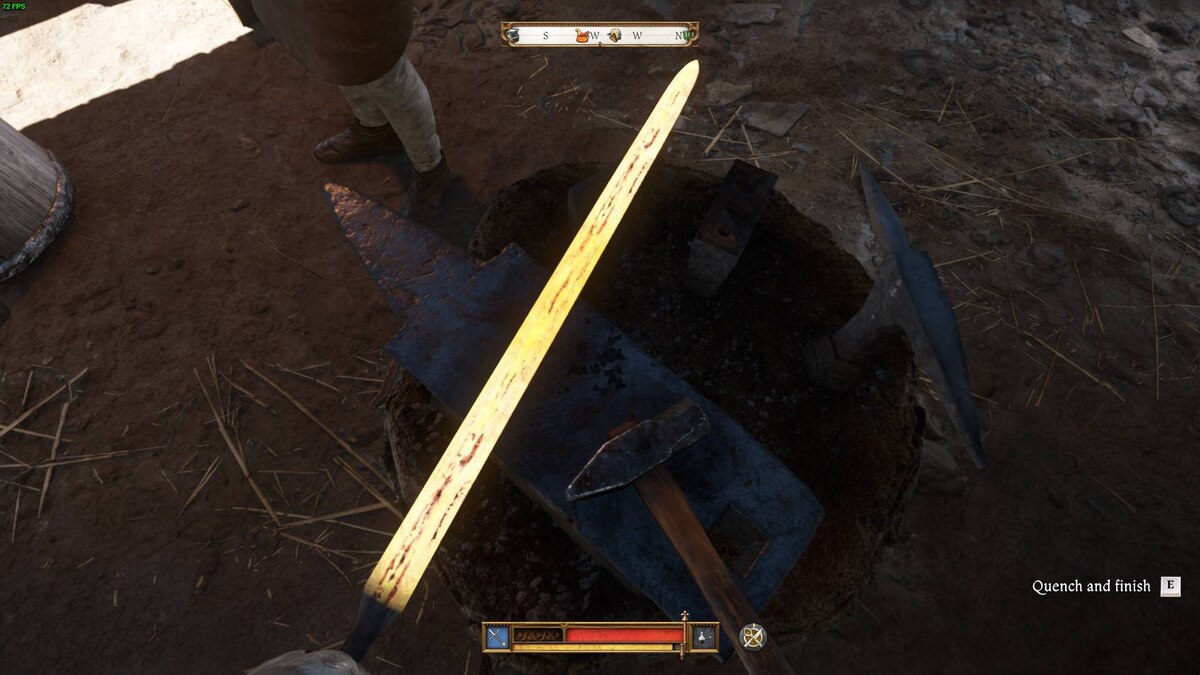
Quench and finish to complete the forging process. Captured by VideoGamer
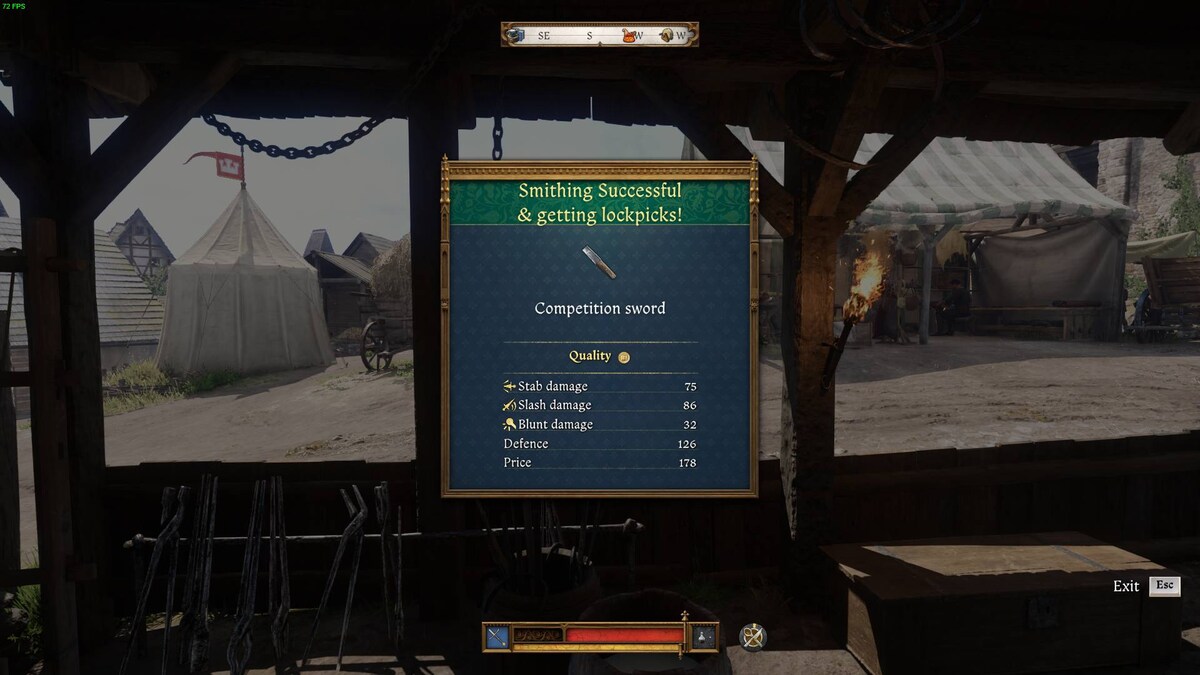
Aim for the highest quality possible. Captured by VideoGamer
There are three quality tiers for the weapons you forge. High-quality items have better damage output and fetch higher prices. Hammering with good timing and having a higher Craftsmanship skill will increase the quality of forged items.
Best perks for blacksmithing
To forge better items and improve your blacksmithing results, you need to level up Henry’s Craftsmanship skill. Use repair kits, sharpen swords, and work at the forge to increase the skill. You can also pay a blacksmith for tips or find and read Craftsmanship books to level up the skill faster. A high Blacksmithing level will also result in higher-quality items while forging. There are 13 perks that have an effect on blacksmithing in KCD2, but these three perks can be considered as the best ones:
| Perk | Effect | Level |
|---|---|---|
| Hardened Steel | The weapons you forge will have excellent properties and will therefore take damage 20 % slower. | Level 10 |
| Locksmith | When picking locks, your Thievery skill will count as 3 higher, so it’ll be a lot easier. Plus, you can also make use of scrap iron, so you’ll get an extra 1-3 lockpicks for each item you successfully forge. | Level 12 |
| Martin’s Secret | Now you will be able to forge weapons of the fourth, i.e. the highest quality. Weapons of this quality cannot be obtained in any other way than by forging them yourself, and their strength and effectiveness is unmatched. | Level 16 |
Check out our other KCD2 guides, like the full quest list, what to do with the Wandering Drunk, and how to play dice.
About the Author


Kingdom Come: Deliverance 2
- Platform(s): PC, PlayStation 5, Xbox Series S, Xbox Series X
- Genre(s): Action RPG