

Video Gamer is reader-supported. When you buy through links on our site, we may earn an affiliate commission. Prices subject to change. Learn more
If you’re renovating a bathroom or kitchen, chances are you’re going to need to know how to tile walls and floors in House Flipper 2. A nicely tiled room is one of the most satisfying elements of the game, and luckily it’s not too hard to pull off. That’s why we’ve put together a quick guide to help you through the process.
If you’re struggling with how to paint walls in House Flipper 2 too, we have a handy guide to get you started. And be sure to check out our House Flipper 2 tips and tricks for some great advice for beginner players. With that, let’s get into how to tile walls and floors in House Flipper 2.
How to tile walls and floors in House Flipper 2
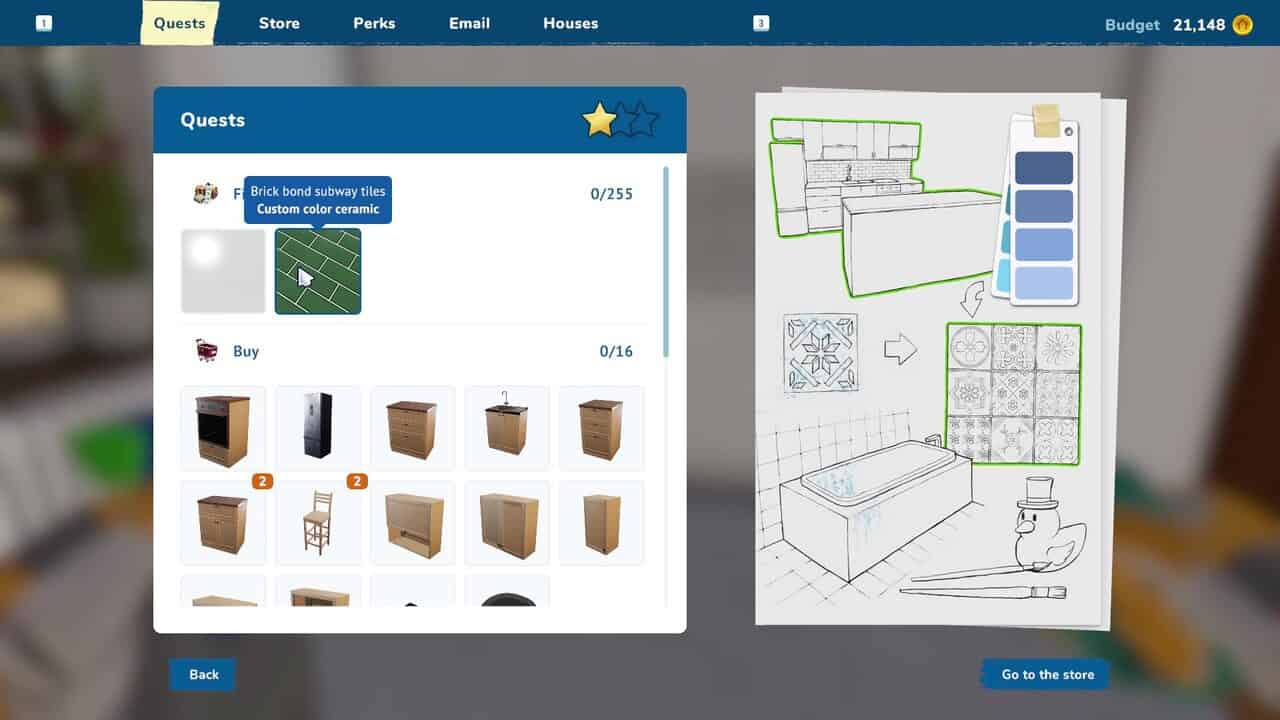
Before you can start tiling, you’re going to need to buy the tiles. If you’re doing a mission for a client, open up the quest guide, and you’ll see one or two options for the tiles you can use. Click one, make any changes to the style or colour that you want, and buy them. Place the box of tiles down in the room you’re working in.
Next, take out your tiling tool. Click on the box of tiles to grab some of them, and then head over to the area you want to tile. In missions, this will be marked with a yellow border. Hover over the area you want to tile, and a white grid will appear, showing you where the tiles will be placed. You can change the size of the grid with the mouse wheel to be more accurate with your tiling.
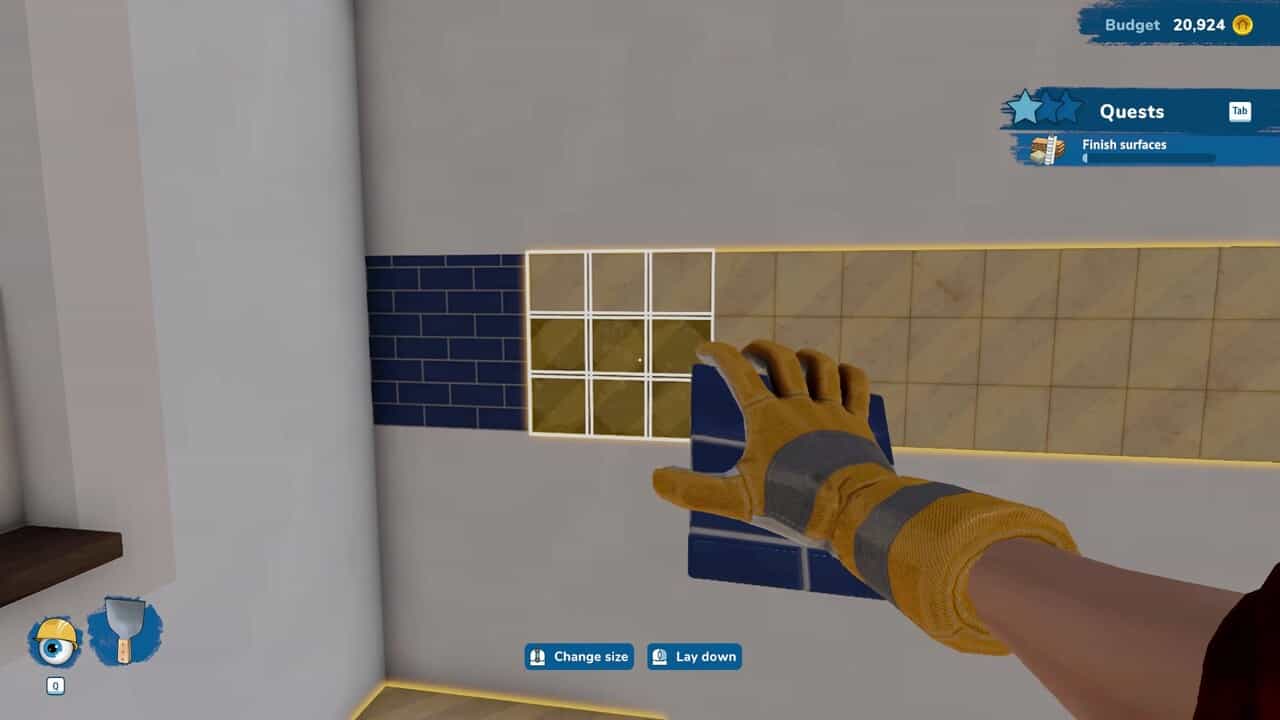
Once you’ve lined up the grid on the area you want to tile, simply click the left mouse button to place the tiles, and move on to the next section. Repeat this all over the area until your tiling is fully done. When you run out of tiles, just click on the box of tiles again to pick up some more.
As you progress, you’ll unlock tiling perk points which can be used to get upgrades such as being able to carry more tiles at once or being able to place tiles over a larger area, so be sure to grab these whenever you have the chance.
That’s everything you need to know about how to tile in House Flipper 2. With your newfound knowledge, you might want to know how to renovate and flip houses in House Flipper 2, and our guide will take you through the whole process step by step.
How to tile walls and floors in House Flipper 2 FAQs
How do you tile in House Flipper 2?
To tile, you need to click on a box of tiles to pick them up, and then use the grid interface on a floor or wall to place them.
Can you change the colour of tiles in House Flipper 2?
When you’re buying tiles, click the button to the right of the menu to enter a new menu where you can customise your tiles.