You can trust VideoGamer. Our team of gaming experts spend hours testing and reviewing the latest games, to ensure you're reading the most comprehensive guide possible. Rest assured, all imagery and advice is unique and original. Check out how we test and review games here
Splatoon 3’s Story Mode really starts to heat up on Alterna’s second island. Splatoon 3’s Twirling, Swirling, Whirling level has you dealing with tricky platforming and a barrage of ink from Octosnipers.
Don’t worry though, we’ll help you smash past this roadblock and on to the rest of Alterna’s challenges.
READ MORE: Splatoon 3 Weapon Tier List
Splatoon 3 – Twirling, Swirling, Whirling Walkthrough
It’s important to choose your gear carefully when beginning Splatoon 3’s Twirling, Swirling, Whirling. You might have a hard time if you select the Range Blaster, as, despite the weapon’s name, it still doesn’t boast the greatest range and tends to run out of ink quickly. You’ll be better off with your Hero Gear or the Mini Splatling.
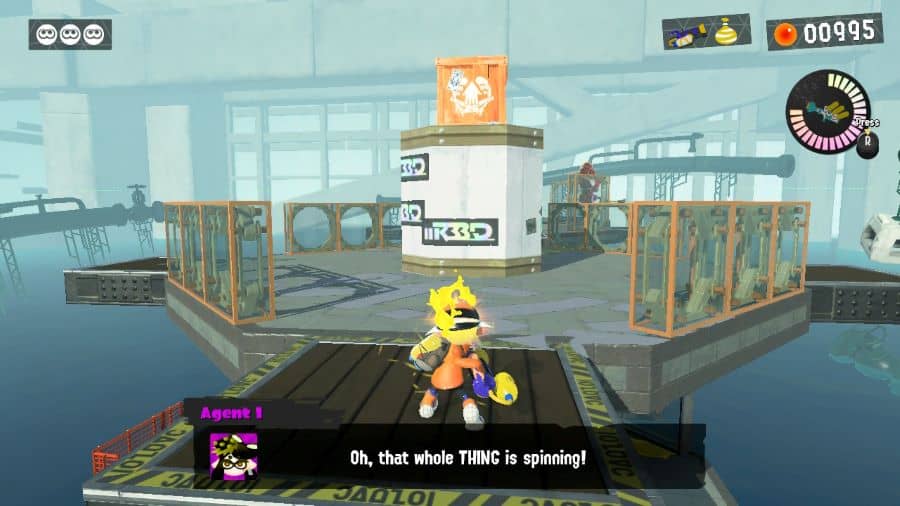
Once the level begins, quickly move forward to the rotating pillar ahead of you. A turret Octarian will be tucked into a recess in the pillar, providing it cover and an excellent vantage point to splat you from. This is a running theme in Twirling, Swirling, Whirling, as enemies throughout the level are tucked into secure spots with a direct line of sight to you. You’ll have to make use of cover as you proceed.
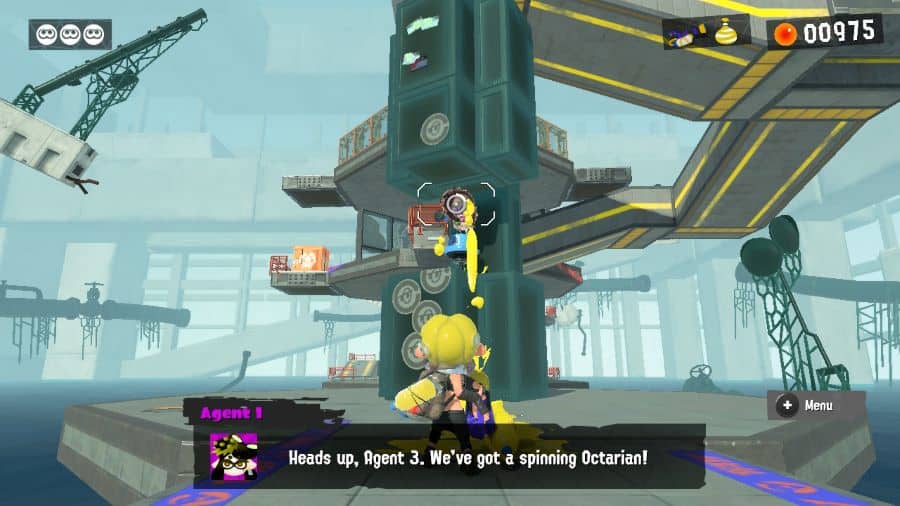
As the pillar reveals the Octarian to you, get into range to splat them and quickly move on. A second Octarian is patrolling the island ahead and can be easily dealt with, but the third island beyond contains a turret Octarian with a shield. Carefully maneuver around using the rotating pillars as cover to sneak behind their shield and blast them.
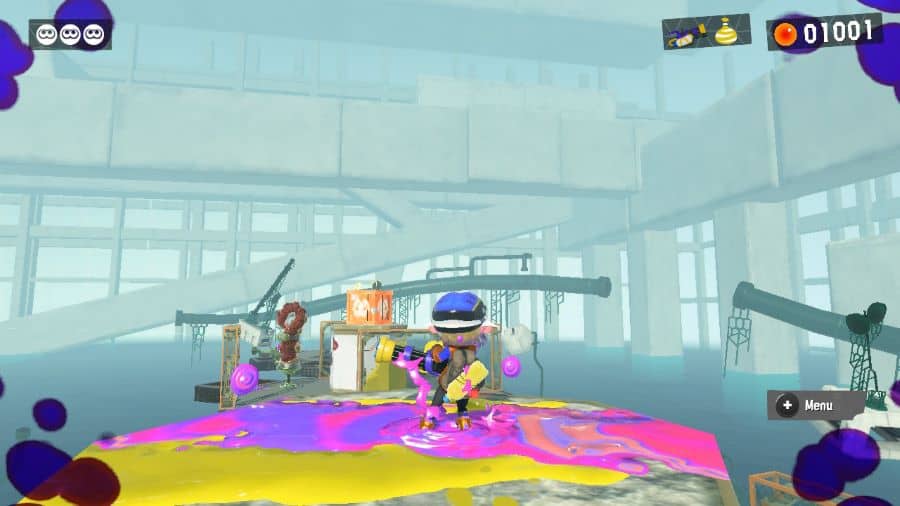
Climb the ramp ahead and splat the grey wall to ascend. Shatter the orange crate to gain some armor, which will be useful for protecting yourself from Octogunners and Octosnipers in the rest of the level.
The Upper Level
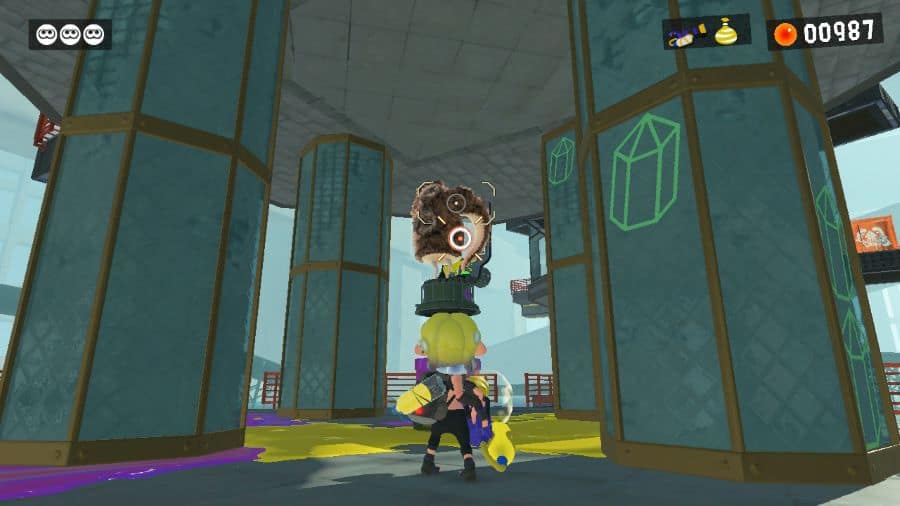
Use the large rotating pillars as cover as you get close enough to splat the nearby Octogunner. Move quickly up the ramps, as Octosnipers nearby will target you as you climb. Be sure to grab the Trizooka on the way up.
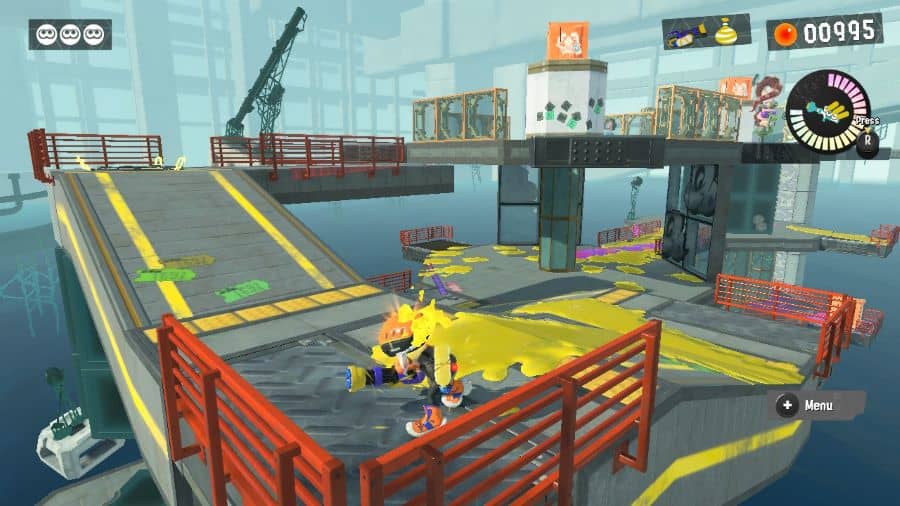
Hit the checkpoint and jump to the rotating pillar platform beyond. Climb to the top and break the orange crate. This platform gives you the perfect vantage point to blast Octosnipers with the Trizooka, making moving forward a little smoother.
When the Trizooka is used up, hop down and jump across to the next pillar, splatting any Octarians and Octosnipers as you go. Once the Octarians are dispatched, nothing is preventing you from making the final jump to the goal and completing Splatoon 3’s Twirling, Swirling, Whirling.
About the Author