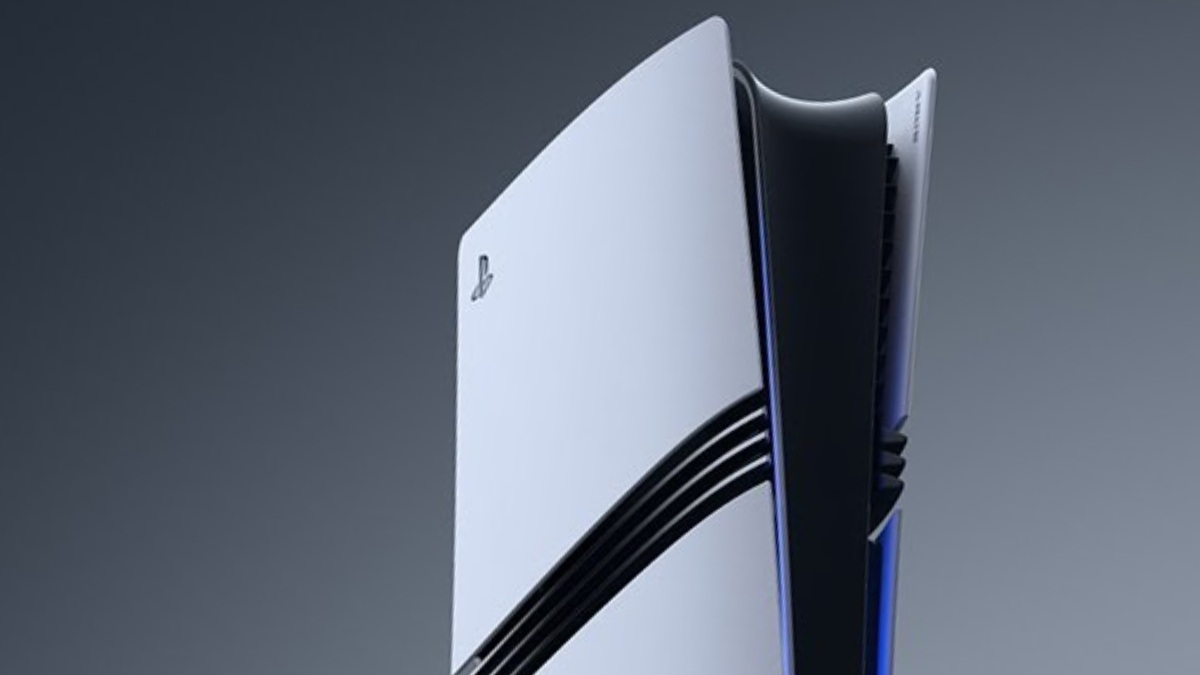
How to access and use Photoshop AI generative fill

How to access and use Photoshop AI generative fill
Rosa Fryer Updated on by

Video Gamer is reader-supported. When you buy through links on our site, we may earn an affiliate commission. Prices subject to change. Learn more

If you want to know how to access and use Adobe Photoshop AI generative fill, we’ve got you covered right here with our easy to follow step-by-step guide. 

The generative fill tool lets you completely change any image and is super simple to use. To access Photoshop and try out the generative fill tool, all you need is three simple steps. Once you’re in, you can use text prompts to generate objects, edit images and more.

So let’s get straight into it, below are the ways to use Photoshop AI generative fill for both Windows and Mac:

How to access Photoshop AI generative fill

Accessing photoshop AI generative fill is super straightforward. First, you need to create an adobe account. If you’ve already got one, feel free to jump down to the next step.

  • Create an account
  • Install the Adobe Creative Cloud
  • Install Photoshop (Beta) to use generative tool

Step 1: Create an account

  1. Head to the Adobe Website, click “Sign in” in the top right and then “Create an account”
  2. Choose either email, gmail, apple to create an account
  3. Adobe will send a confirmation link to your email. Confirm your account by clicking on the link.
  4. Once confirmed, you can now access Adobe Creative Cloud desktop app! 

Step 2: Install the Adobe Creative Cloud

  1. On the Adobe website click “Download” button
  2. Click on “Apps” and then “Creative Cloud desktop app” to download
  3. Once downloaded, double-click on file to launch 
  4. Follow the on screen instructions to install the app
  5. Once installed, launch and sign in with your Adobe ID and password

Step 3: Install Photoshop (Beta) and start using the generative tool!

  1. Open Creative Cloud on your desktop
  2. On the toolbar on the left-hand side of your screen, click “Beta apps” in the categories section. 
  3. In the “Beta apps” folder, install Photoshop (Beta)
  4. Once installed, open the Photoshop (Beta) app
  5. Choose an image to edit 
  6. Below the image should be a grey ‘Contextual’ Task Bar. If you can’t see it, click Windows at the top of your screen and select Contextual Task bar
  7. Either use the normal tools to select image or click select image and from there, get started with the generative fill tool! 

How to use Photoshop AI generative fill

Check out the list below of what you can do with Adobe’s Photoshop generative fill tool.

Generate objects

  1. Select an area in your image
  2. Give a text prompt of an object you want to add
  3. Select Generate

Extend backgrounds

  1. Extend the canvas of your image by selecting around the sides
  2. Make a selection in the empty region.
  3. Generating without inputting a prompt will make a compatible expansion to the scene. Generating with a prompt will add more content whilst extending the rest of the scene.
  4. Select Generate

Generate backgrounds:

  1. Select the background behind your subject
  2. Add a text prompt to generate a new scene.
  3. Select Generate

Remove objects

  1. Select the object you want to remove
  2. Generate with no prompt to let the AI technology get rid of the object.
  3. Select Generate

Remember with all these options they can be played with! Try different generation results by selecting the alternative options that the generative fill tool has suggested.

Final word

To access Photoshop AI generative fill tool is a simple process which requires you to have an Adobe account and the Adobe Creative Cloud installed on your computer. Follow the above steps and you can easily get access and start using and enjoying the generative fill tool.

Similarly to the generative fill tool, both Adobe Firefly and Midjourney can generate images based on text prompts by the user. To make sure you’re using one that suits you the most check out our article which compares Adobe Firefly and Midjourney.