You can trust VideoGamer. Our team of gaming experts spend hours testing and reviewing the latest games, to ensure you're reading the most comprehensive guide possible. Rest assured, all imagery and advice is unique and original. Check out how we test and review games here
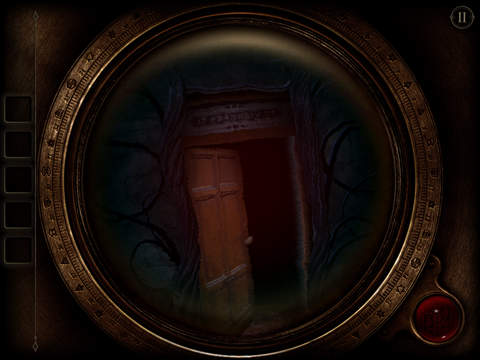
Following the tutorial. Open the round box and fit the three golden pieces into the central symbol. Open the drawer to receive the lens. Click on the lens on the inventory on the left to attach it to your eyepiece. Equip the eyepiece by pressing the symbol on the right side of the screen. A fingerprint will be revealed on the inside of the lid of the box. Tap the fingerprint.
Go back to the table on the right and place the hexagonal piece into one of the two empty slots next to the letter. Back on the second table, by the envelope containing a letter is the second hexagonal piece of metal, along the side of the table. Grab it and place it on the first table. A panel will open up, rotate the two metal discs to receive ‘A strange brass sphere’. Place the brass sphere in the centre of the table. By rotating the arrow in the middle of the compass, enter the code “SESWN” to receive a “medallion”.
Click on the medallion in your inventory and pull the two blue pieces apart (the ones with the arrows on) to turn the medallion square. Place the medallion into the open slot on the top of the box on the left-hand table. Equipe the eyeglass and rotate the now transformed spotlight to find the symbols on the wall to match those found on the table.
The ‘Z’ with a strike through it is found centre-left, the one the looks like an hourglass is in the very top right and the symbol that looks like forceps is found centre-right.
The camera will snap to a new box, rotate the top of the box left so the red symbols align. You must now rotate around the room to match the same symbol in the room using your eyeglass. Move around the room, left of the statue that was just clutching the black box to complete the shape.
