
You can trust VideoGamer. Our team of gaming experts spend hours testing and reviewing the latest games, to ensure you're reading the most comprehensive guide possible. Rest assured, all imagery and advice is unique and original. Check out how we test and review games here
Rainbow Six Siege is a game where you don’t have to actually get into the hassle of getting armor for yourself, but each Operator has one equipped by default. Unfortunately, many people playing the game don’t know how it works. That is why we’ve come up with a short how-to guide that will answer everything you have regarding armor in Rainbow Six Siege.
So without wasting any further time, let’s dive into the article and first understand what armor really is.
NOW READ: Rainbow 6 Y7S3.3 patch notes – full list and R6 patch size revealed
What Is Armor
Armor in Rainbow Six Siege works like it’s supposed to, giving you the extra protection you need against the enemy firing bullets at you. If you go to the Operator section in the game, you’ll be able to see what armor level your Operator has.
NOW READ: Rainbow 6 Y7S3.3 patch notes – full list and R6 patch size revealed

Sony – PlayStation 5 – DualSense Wireless Controller

Sony – PlayStation 5 – DualSense Wireless Controller
What Is Armor Level
An Armor/Health level basically shows the health rating, which tells you how much damage you’ll be able to sustain before you’re killed or in a state of Down But Not Out (DBNO). That being said, you can check every Operator’s Armor level in the Operator section under their overview, which also shows the Speed and Difficulty levels.
Your health level determines how much total health you will have in the round. We’ve summarised them below:
| Health Level | Total HP |
| 1 | 100 |
| 2 | 110 |
| 3 | 125 |
Also, keep in mind that if an Operator has 1 Speed level, it’s guaranteed to have 3 Health levels, and an Operator with 1 Health level will always have 3 Speed levels. In short, the more armor you have, the lesser speed your Operator will have. This way, Operators are compensated for their lackings, making them balanced in the game.
What Is Rook Armor
Rook Armor, also called Trauma Plates, is another type of Armor in the game, which is the Operator Rook’s unique ability in Rainbow Six Siege. Once a round starts, he’ll be able to deploy a bag that contains 4 Armor Plates (it has five, but he’ll wear one automatically on deployment, so you’ll be left with 4).
You can wear these Plates at any time in the round. However, bear in mind that each person on the team can only pick 1 Armor Plate for themselves.
Be mindful of wearing them all or destroying the bag of armor if someone on your team forgets to wear theirs since the enemy team can also wear it if they get their hands on it.
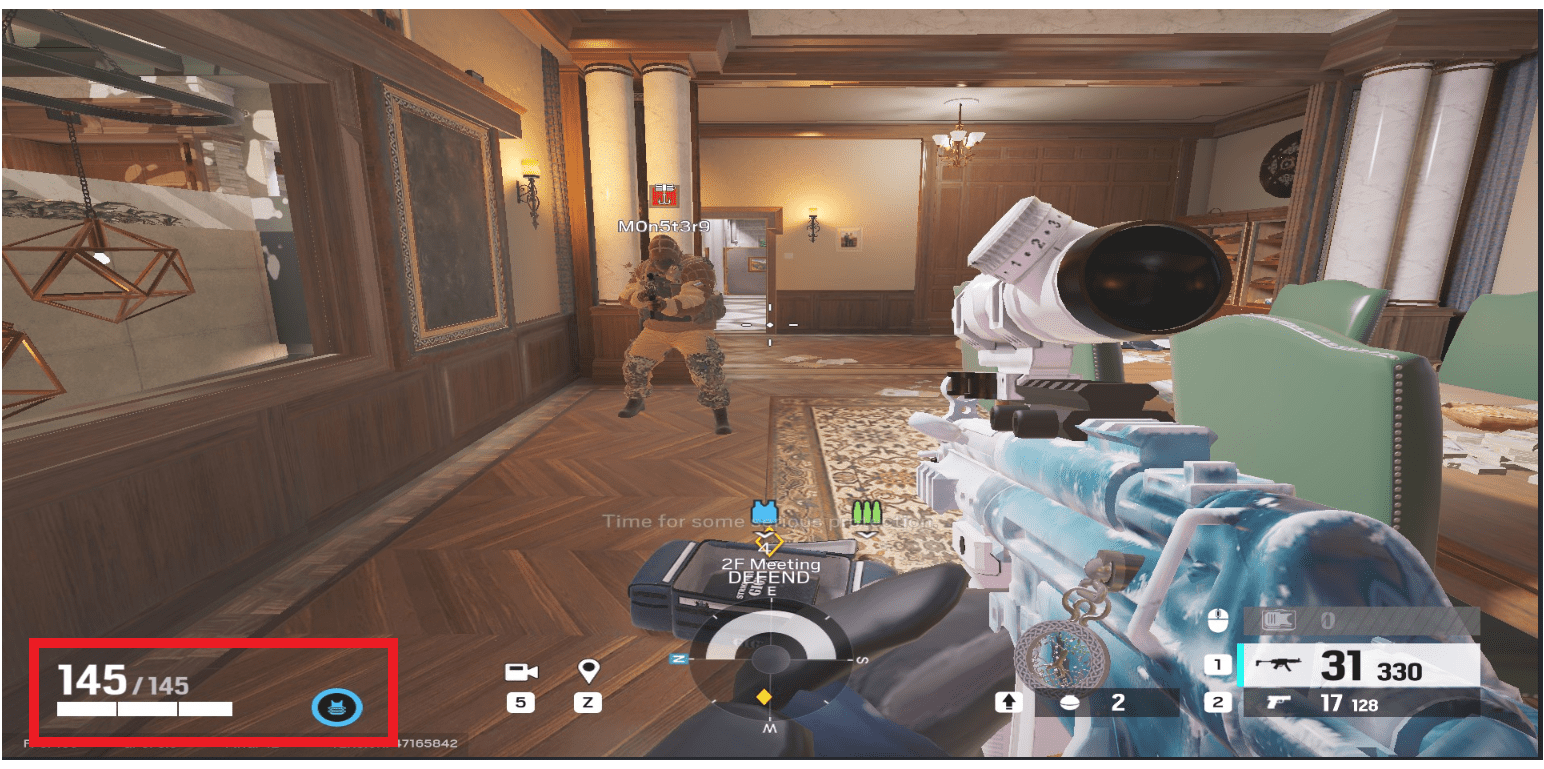
Other than that, a Rook Armor also provides you with 20 extra HP, so if you’re playing a three-health Operator and wear a Rook armor on top of it, you’ll have 145 HP (125 + 20). It is also guaranteed when wearing Rook Armor, you won’t be killed directly (unless you take a headshot) but will get DBNO and can be revived.
After you’ve been revived, however, you’ll lose the Rook Armor and will only have 20 HP. If you take more than 20 damage from now on, you’ll get killed rather than going into the DBNO state again.
Understanding DBNO
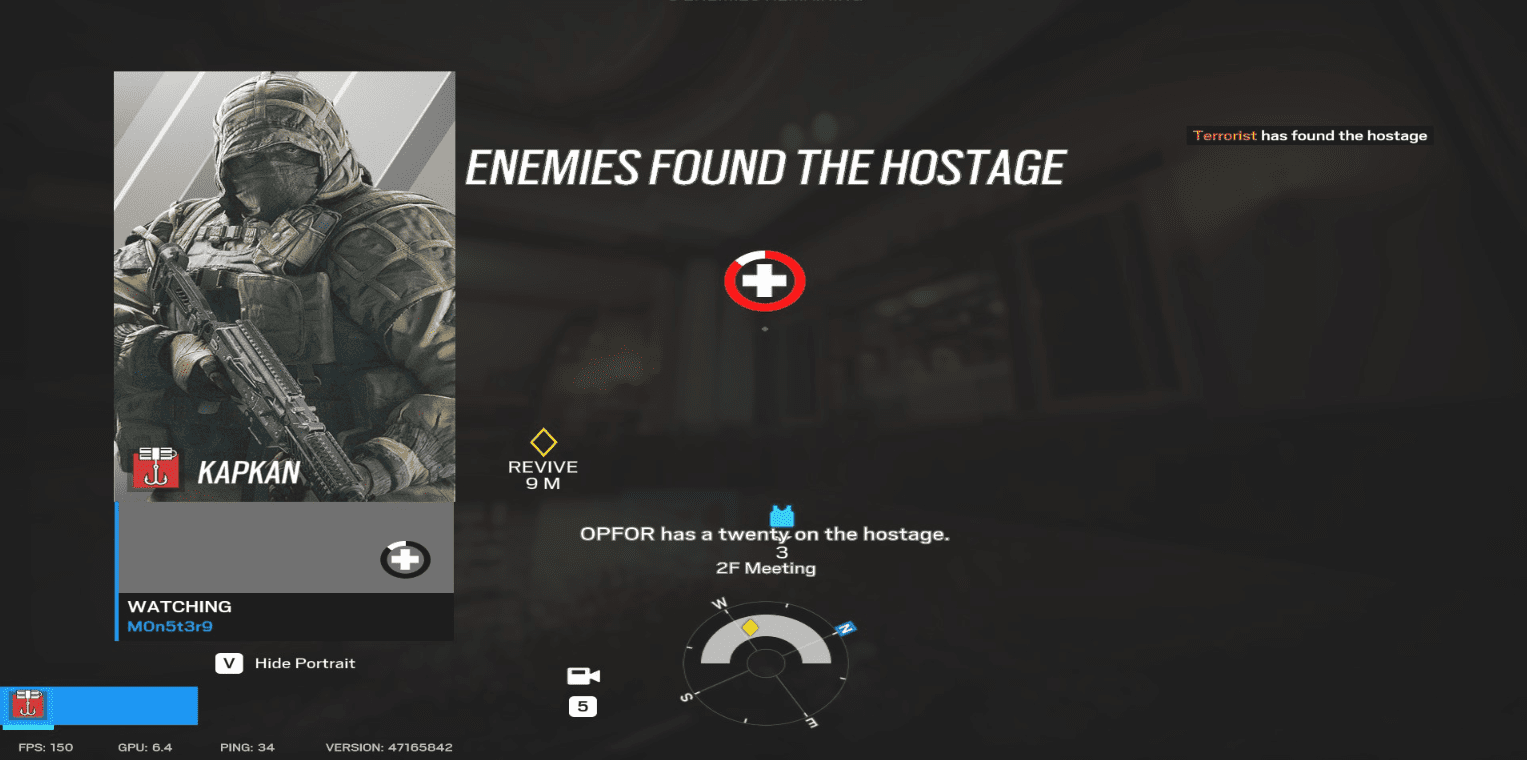
It is also essential you know what DBNO/being injured means in Rainbow Six Siege. It is a state where you’re knocked out, can’t use your gun or move, and are basically injured to the point that any more damage will get you killed. When you’re in DBNO, you can crawl yourself to safety or in cover so your allies can revive you.
DBNO also has a timer where the screen starts to darken; if you’re not revived during that timer, you will succumb to your wounds. You’ll also be killed if you’re injured, and every ally on your team dies without being able to revive you.
However, most people don’t know when they can get knocked out except for when they’re wearing Rook’s Armor. So the question arises: when can you get injured?
When Can You Enter DBNO State
If you’re someone who doesn’t know how the DBNO mechanic works in Rainbow Six Siege, then there’s nothing to worry about since the developers themselves haven’t specified that. The way we’ve found it to usually work is you have a hidden health bar on top of your base health, and if you take damage in its range, you’ll get knocked out.
To help you understand better, let’s take an analogy into account. Suppose you’re playing Melusi, who is a three-speed Operator with 100 HP. You’ll also have a hidden bar of 20 more health for the DBNO state. So let’s say you get shot down and take damage between 100-120; you’ll get injured. Anything more than 120 will get you killed.
Final Thoughts
Now that you know everything there is about armor in the game, you can use it to your advantage. Having these micro bits of information under your belt is essential since it can give you a rough idea as to when to play passive or aggressive going into a gunfight. Let us know what other R6S guides you’re interested in!
About the Author


Rainbow Six Siege
- Platform(s): PC, PlayStation 4, Xbox One
- Genre(s): Action, First Person, Shooter