You can trust VideoGamer. Our team of gaming experts spend hours testing and reviewing the latest games, to ensure you're reading the most comprehensive guide possible. Rest assured, all imagery and advice is unique and original. Check out how we test and review games here
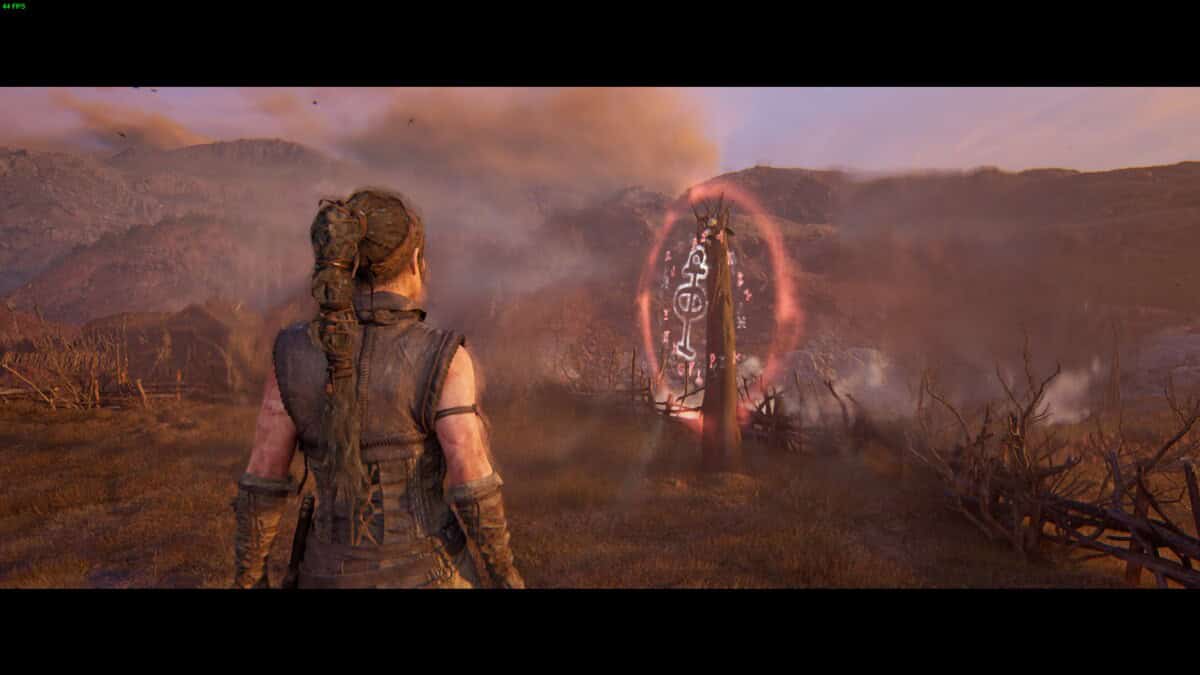
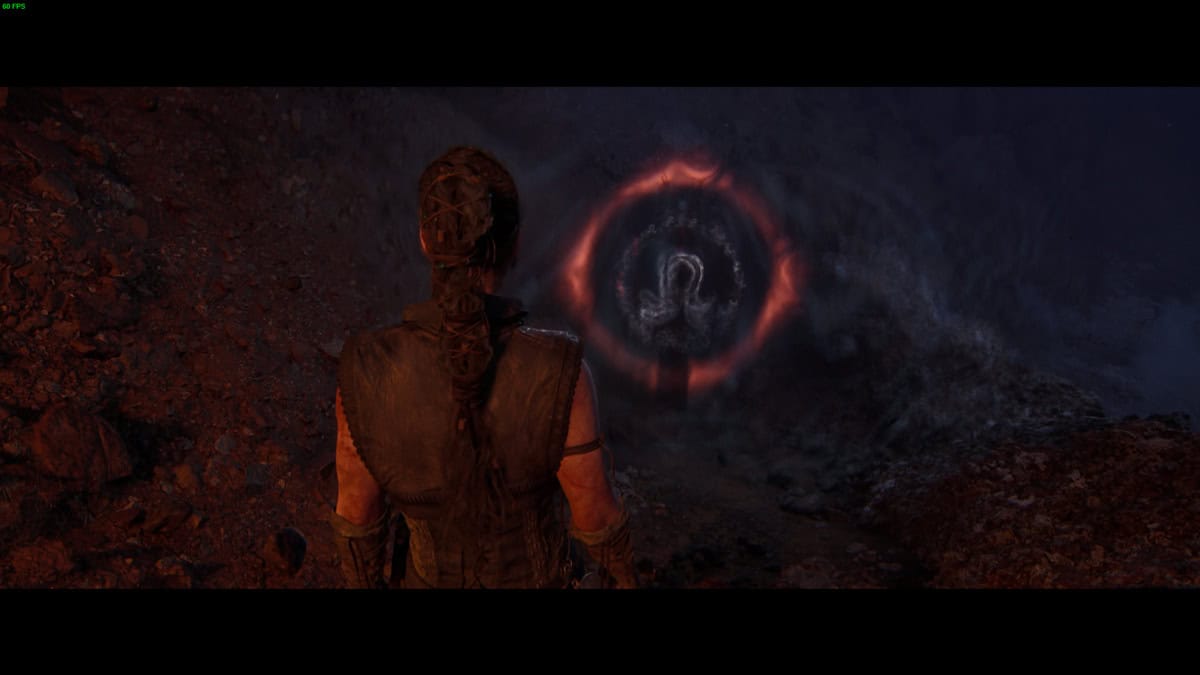
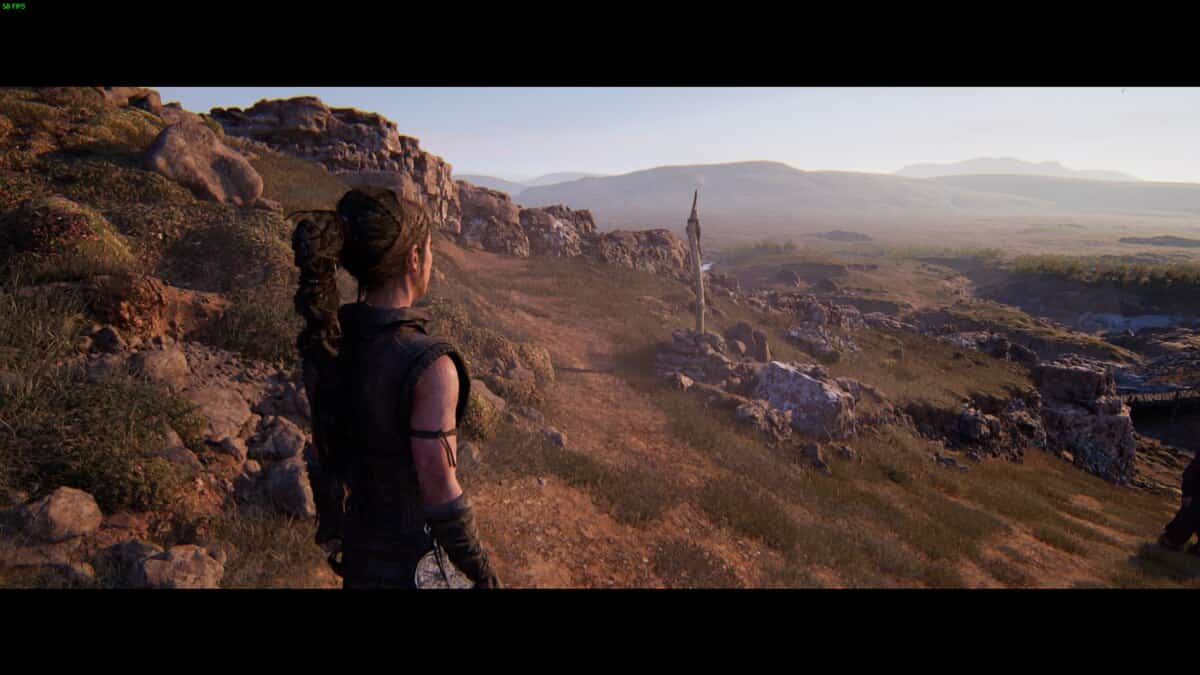
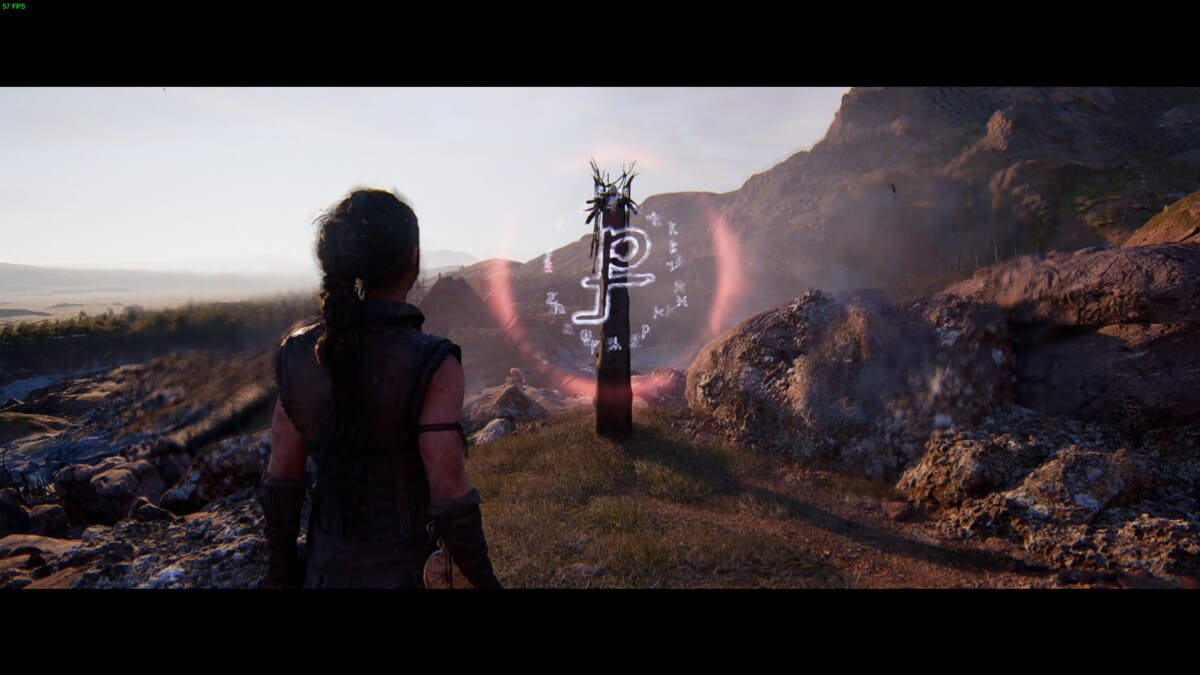
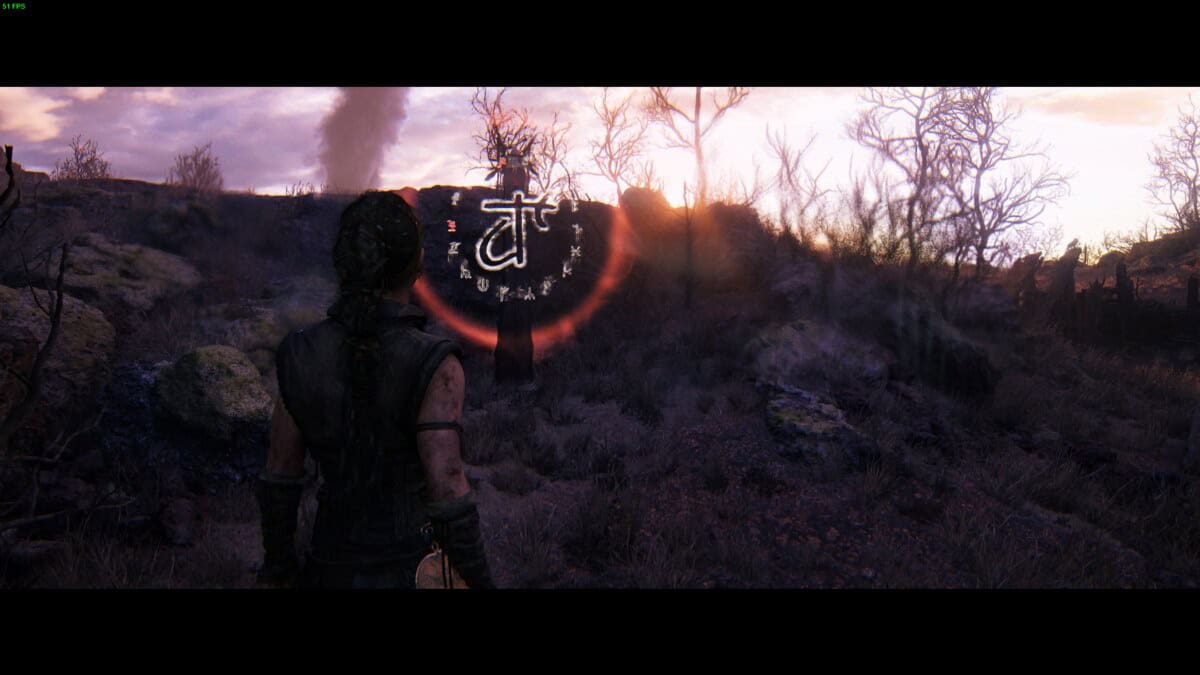
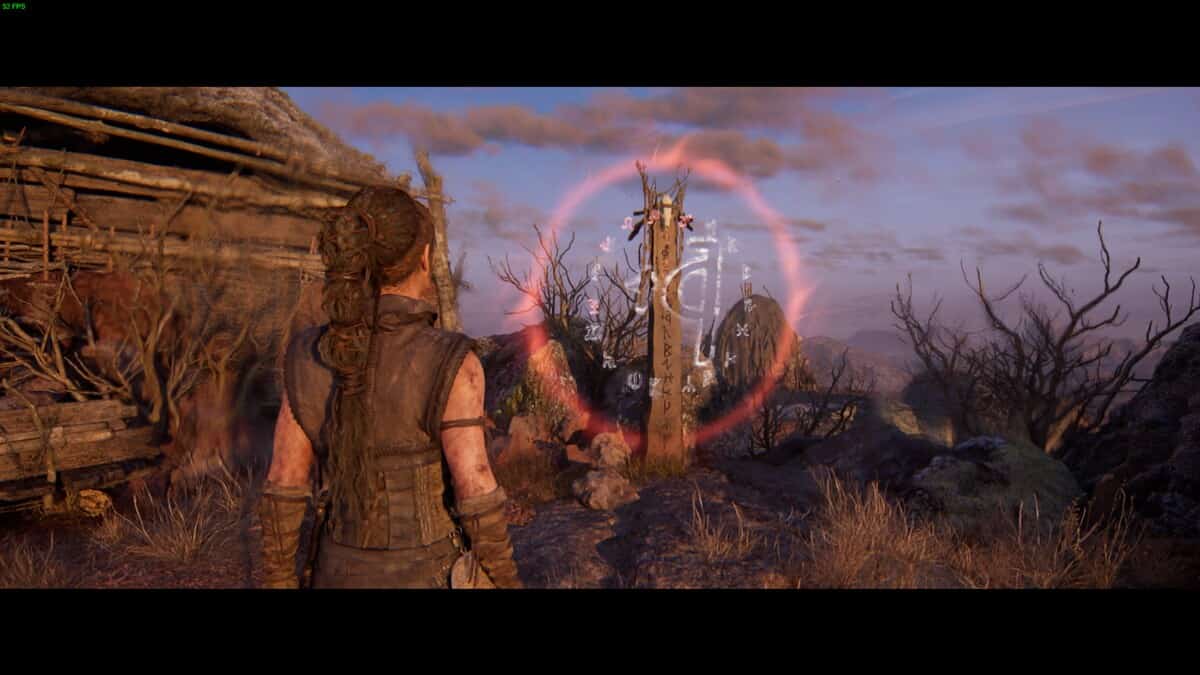
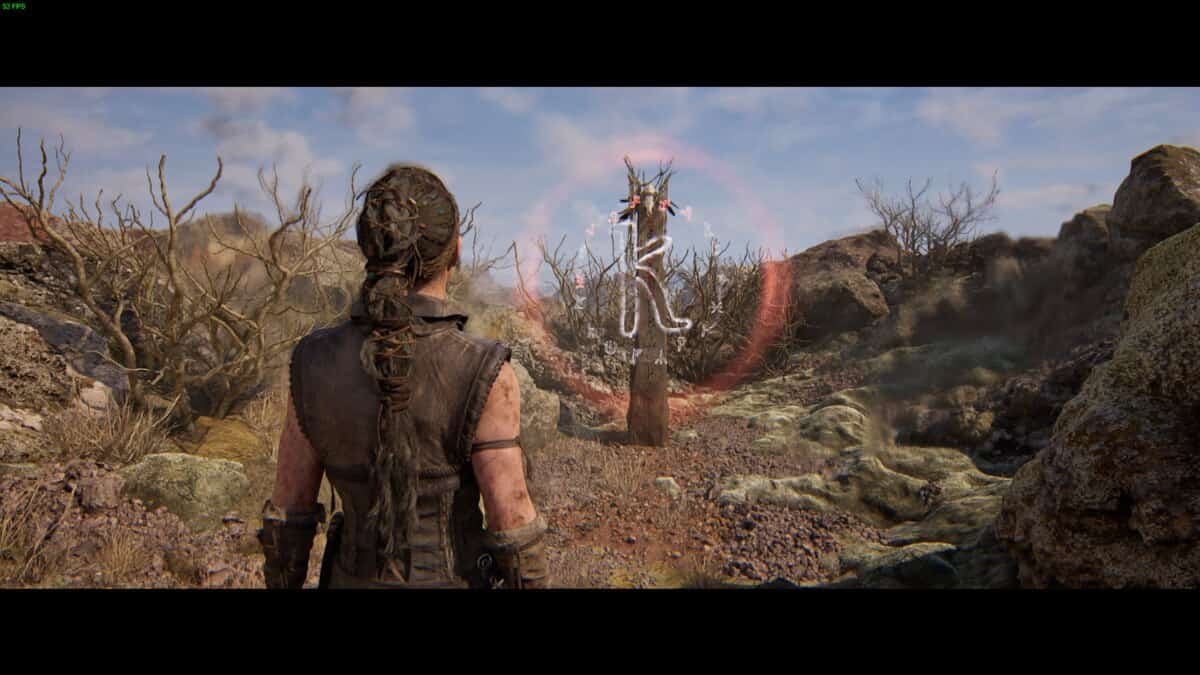
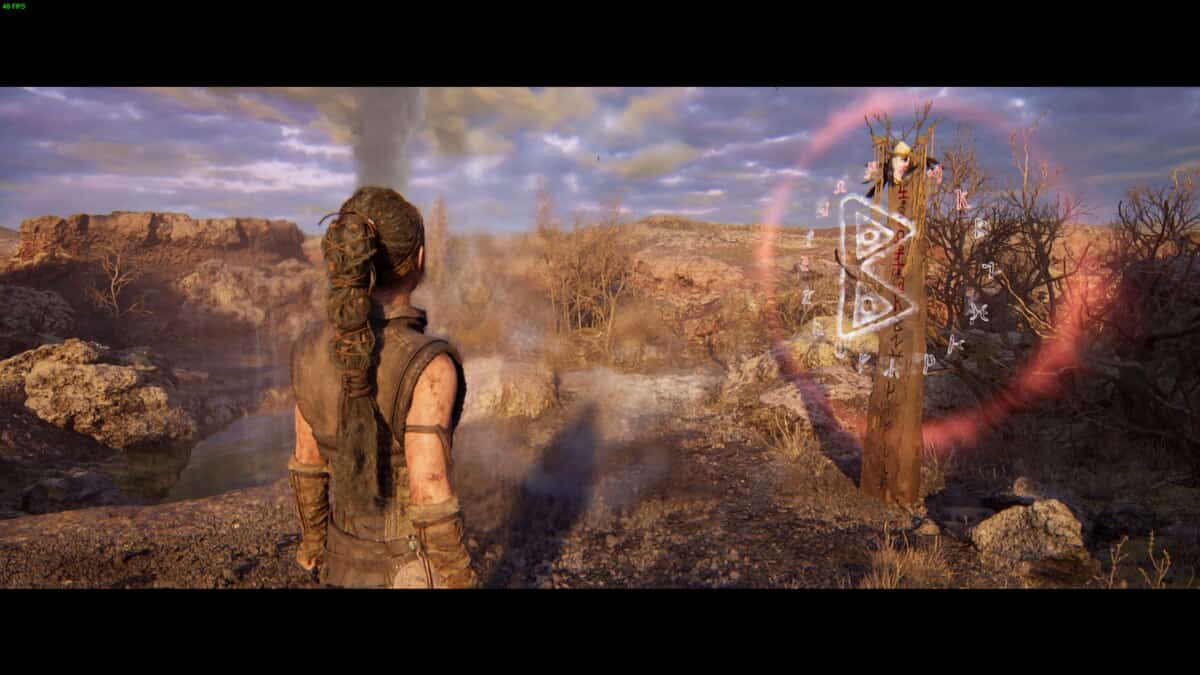
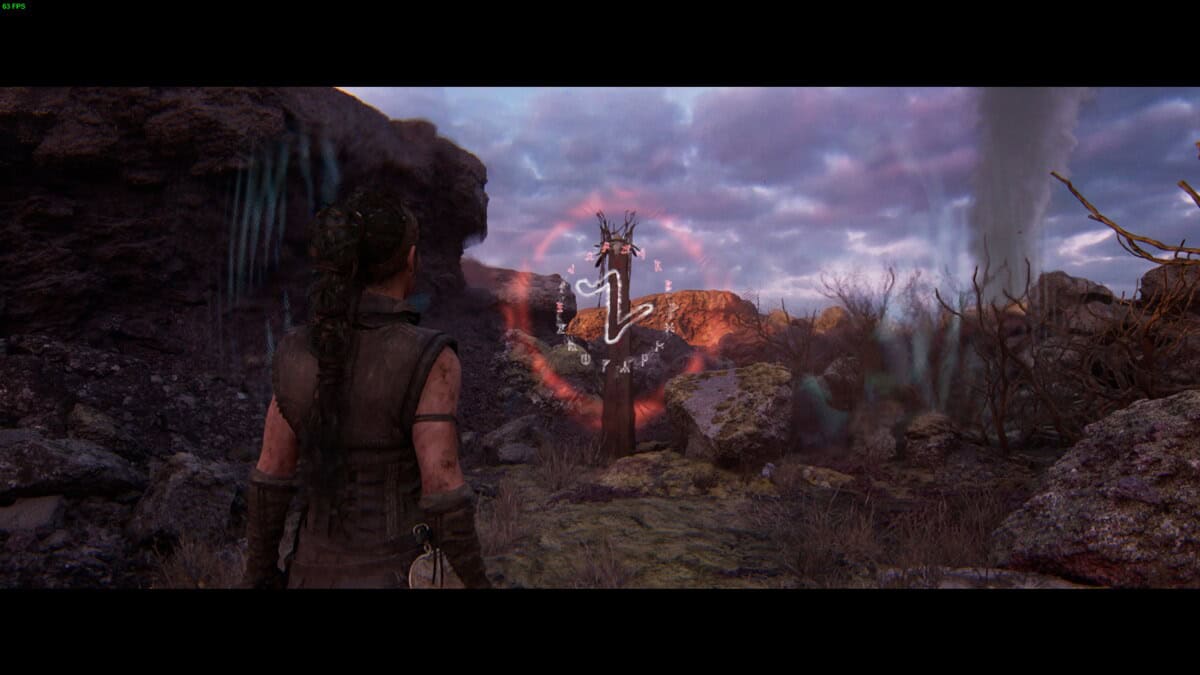
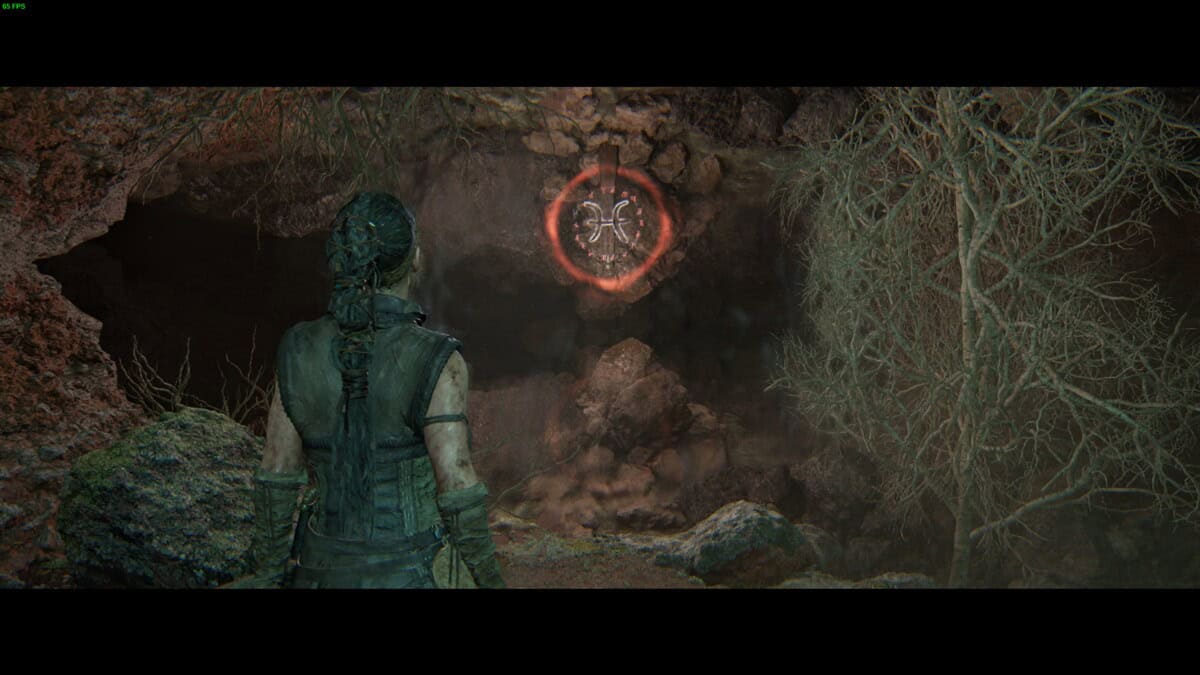
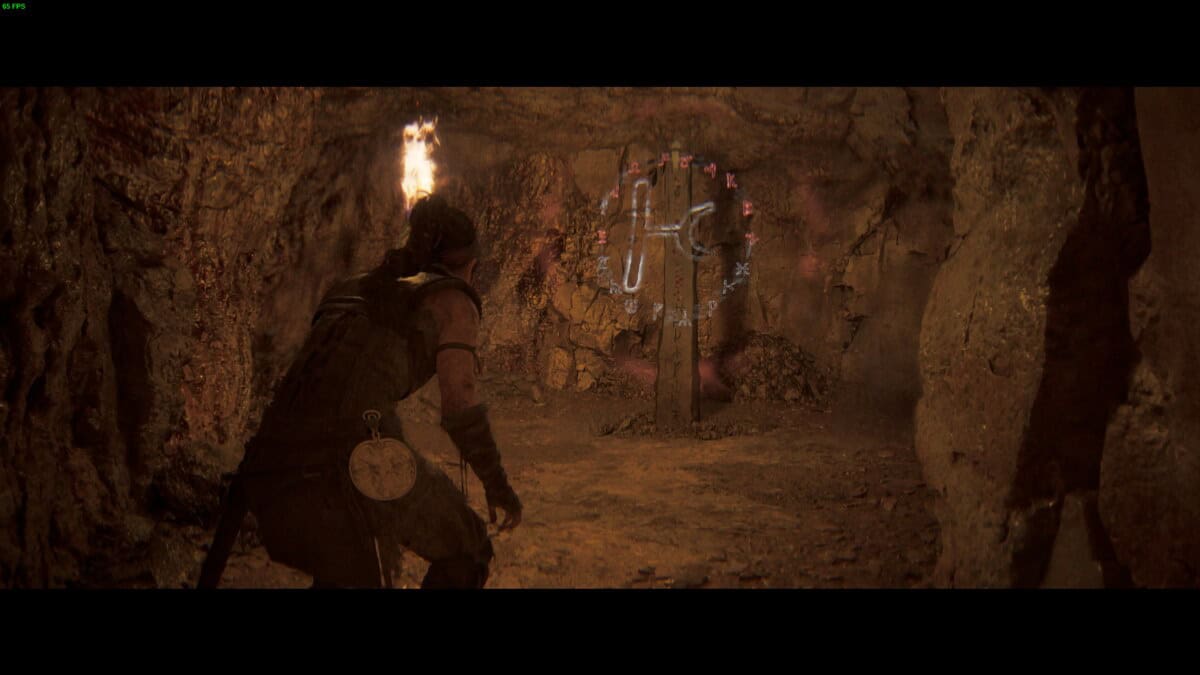
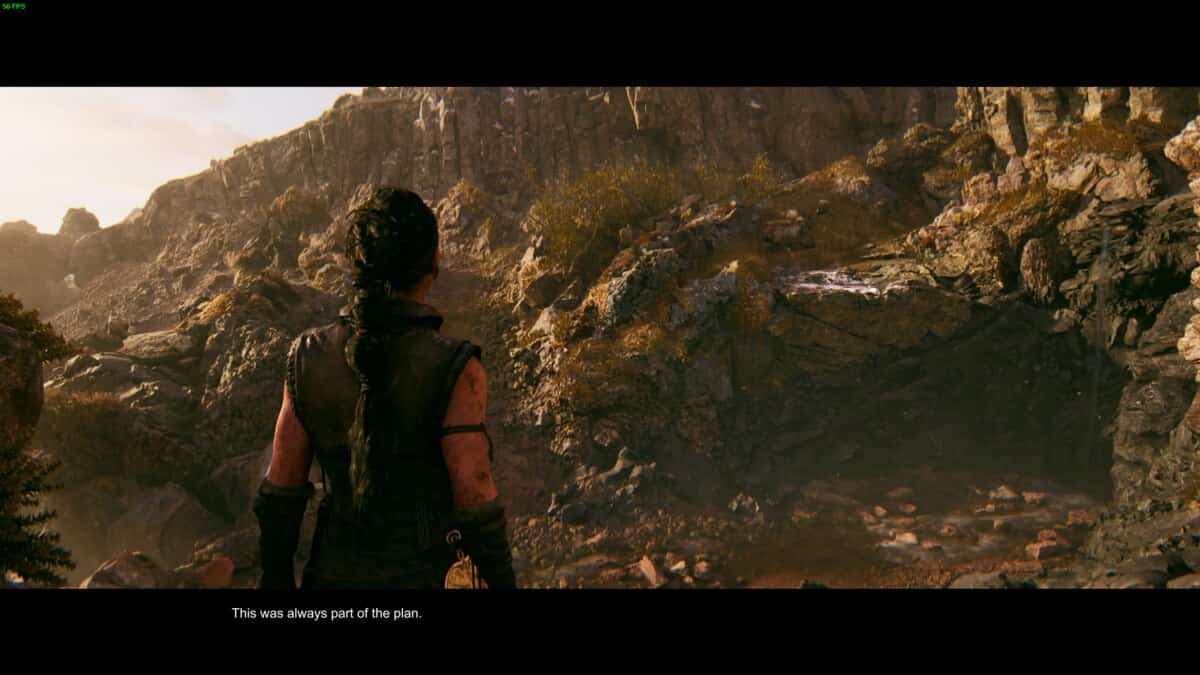
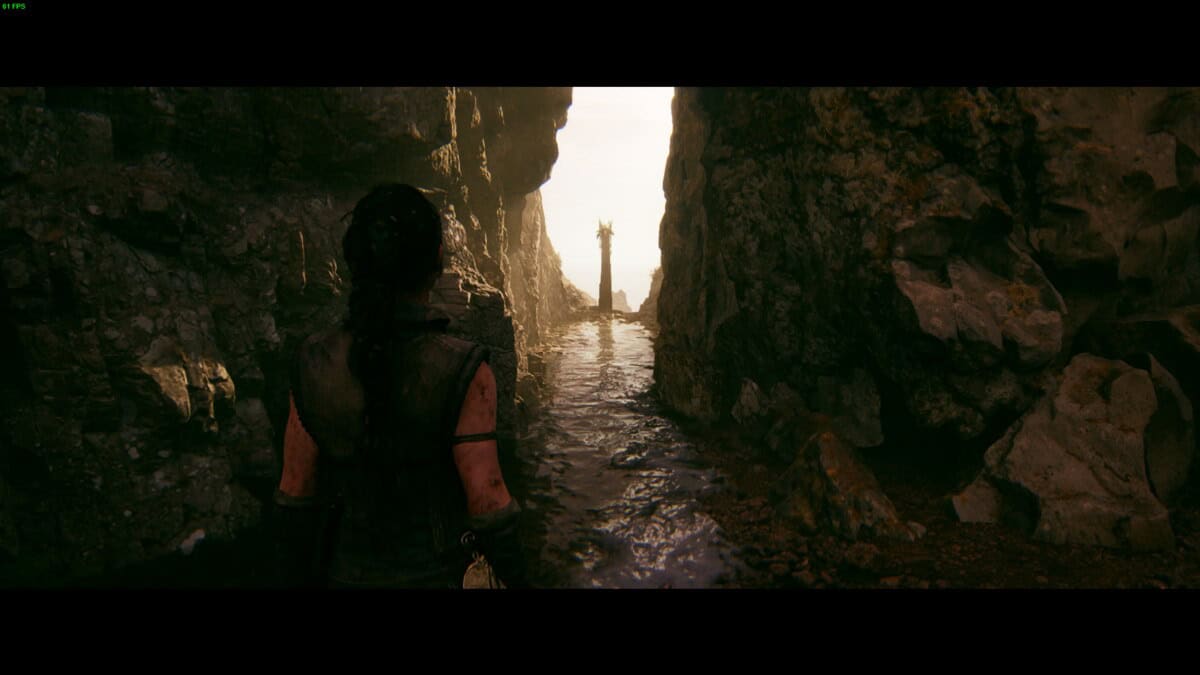
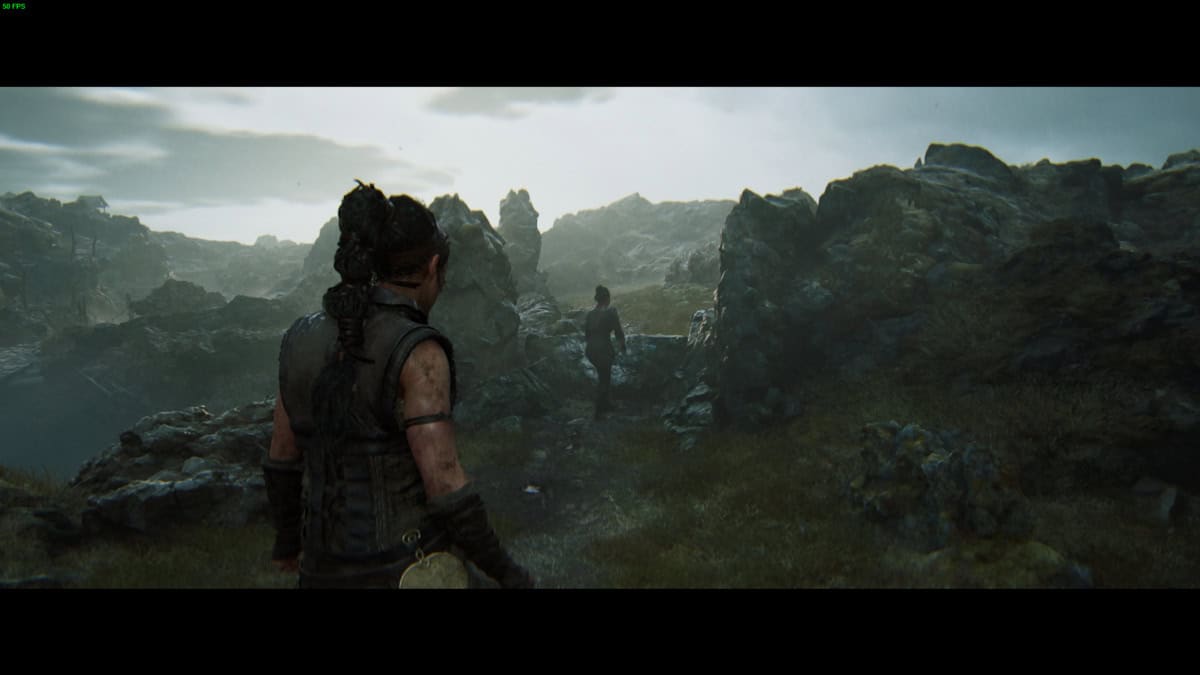
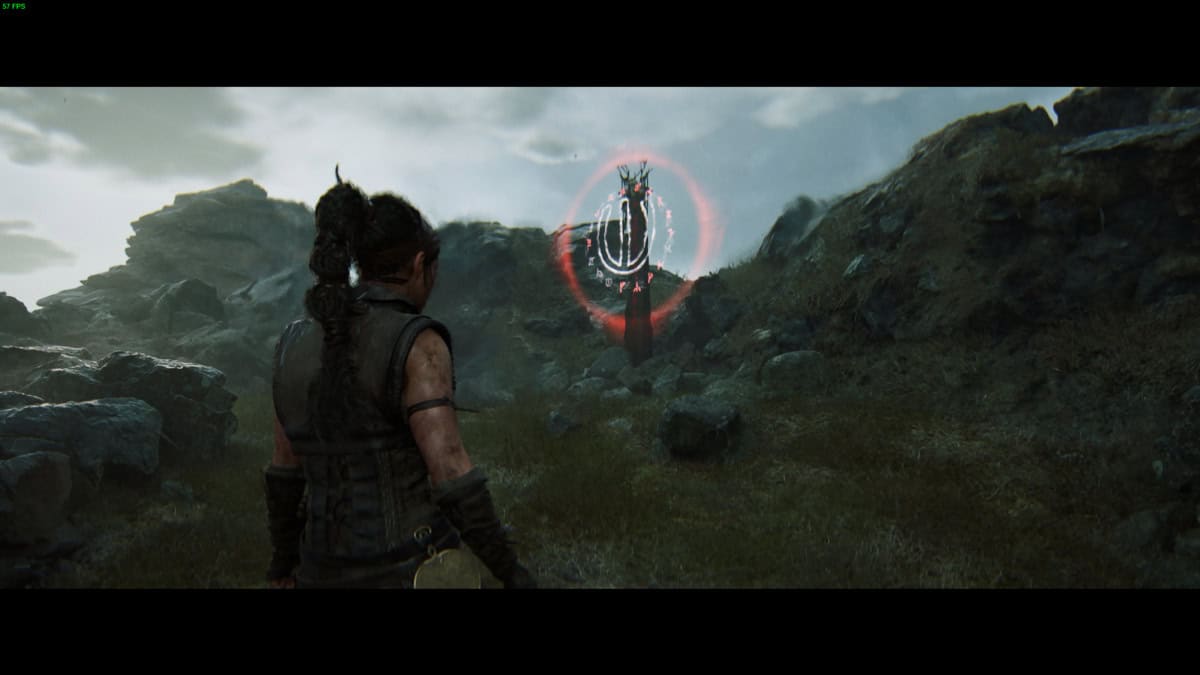
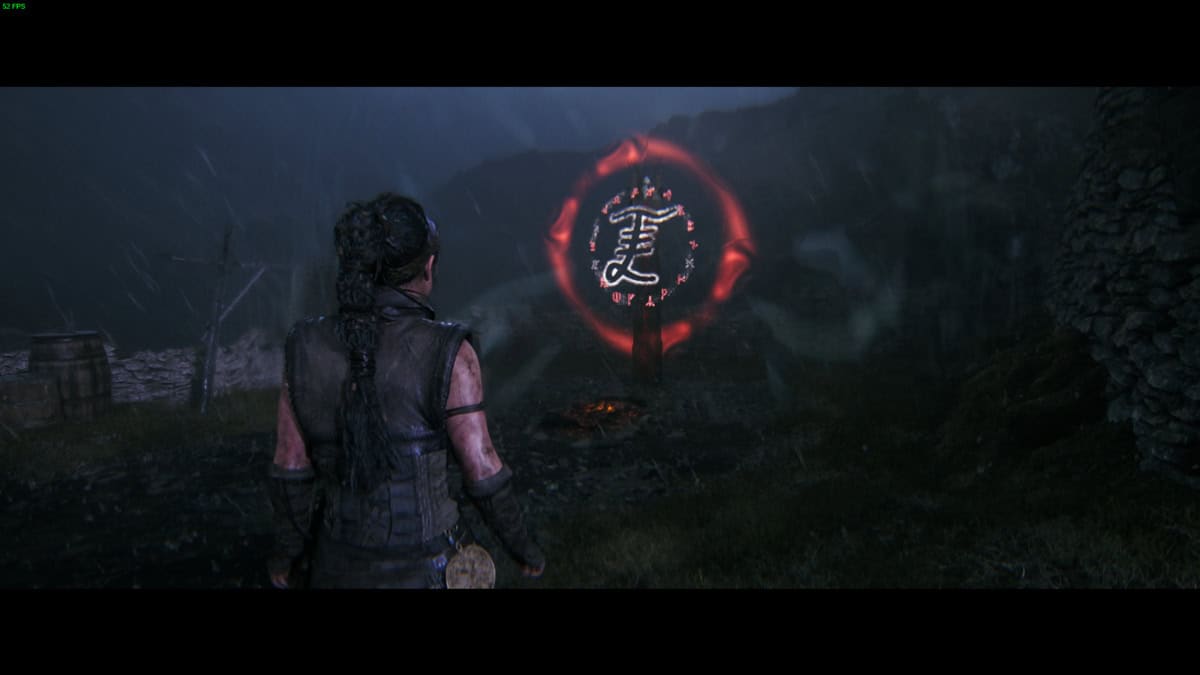
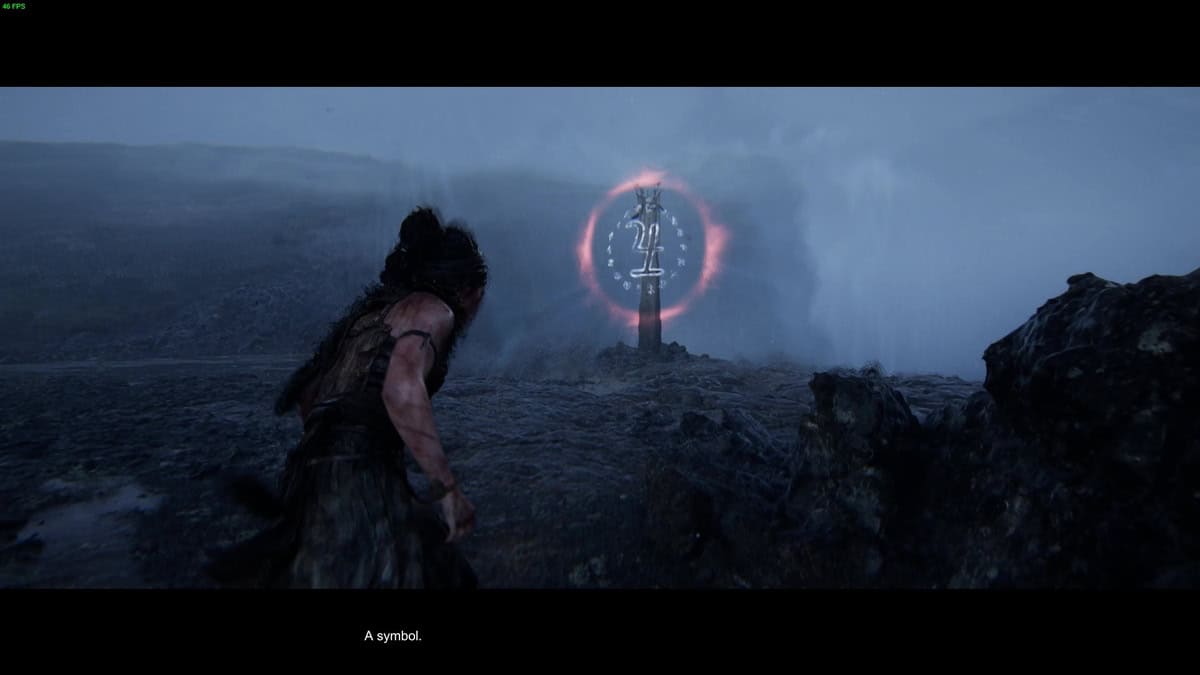
To tick off the Tales Midgard trophy in Hellblade 2, you’ll need to find 18 Lorestangir, essentially runic posts with glyphs etched onto them scattered across the first 5 chapters. These totems, which take the form of a rocky plinth with an animal skull attached to the top, are often concealed behind hidden paths and generally require some light exploration to find.
We’ll walk you through how to find all 18 Lorestangir. Conveniently, you can find them all in a single playthrough as we did for our Hellblade 2 review, but you can also use the chapter select option from the main menu to track them down as well. For convenience, we’ve listed them by chapter.
Chapter 1
| # | Sub-chapter | Location |
|---|---|---|
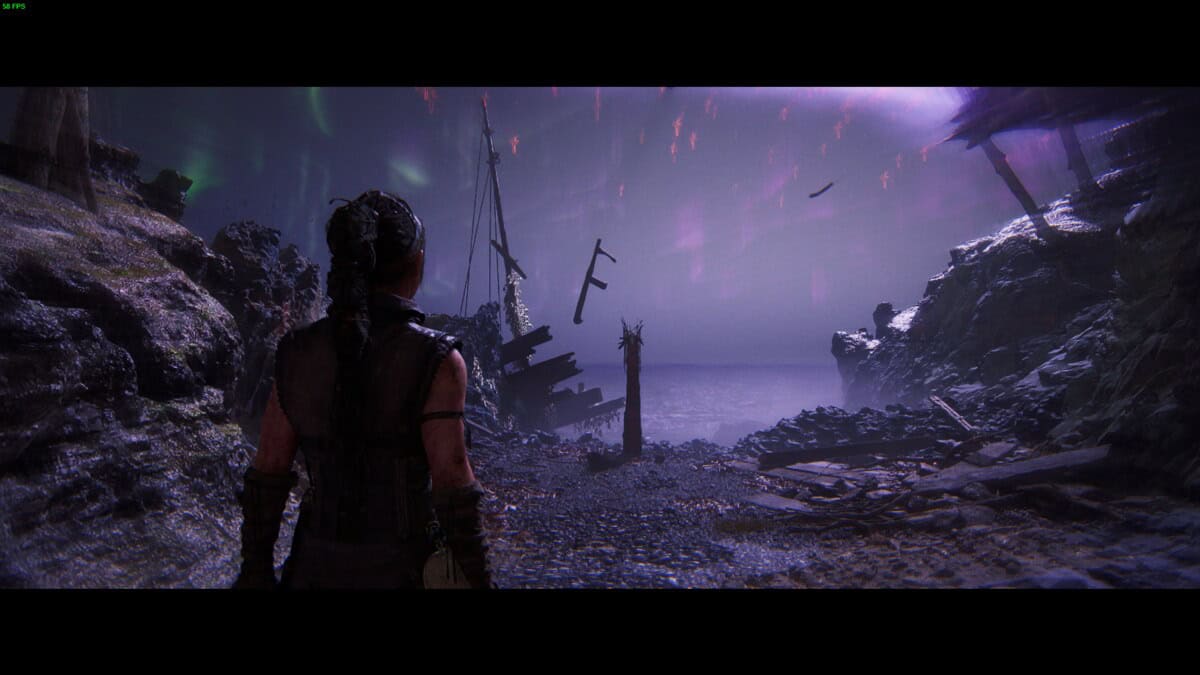
| 1 | Capsized Ship | After getting through the ship, press on until Senua first spots the slavers. The monument is overlooking the sea on the right. |
Chapter 2
| # | Sub-chapter | Location |
|---|---|---|
| 2 | Freyslaug Sighted | At the start of the chapter, walk towards the small hovels on your right, pass between them to find the Lorestangir straight ahead overlooking the sea. |
| 3 | Return Home | After completing the rune puzzle, head across the bridge to the higher part of the village. Go through the house, take a left, then go through the crawl space to find the plinth on your right. |
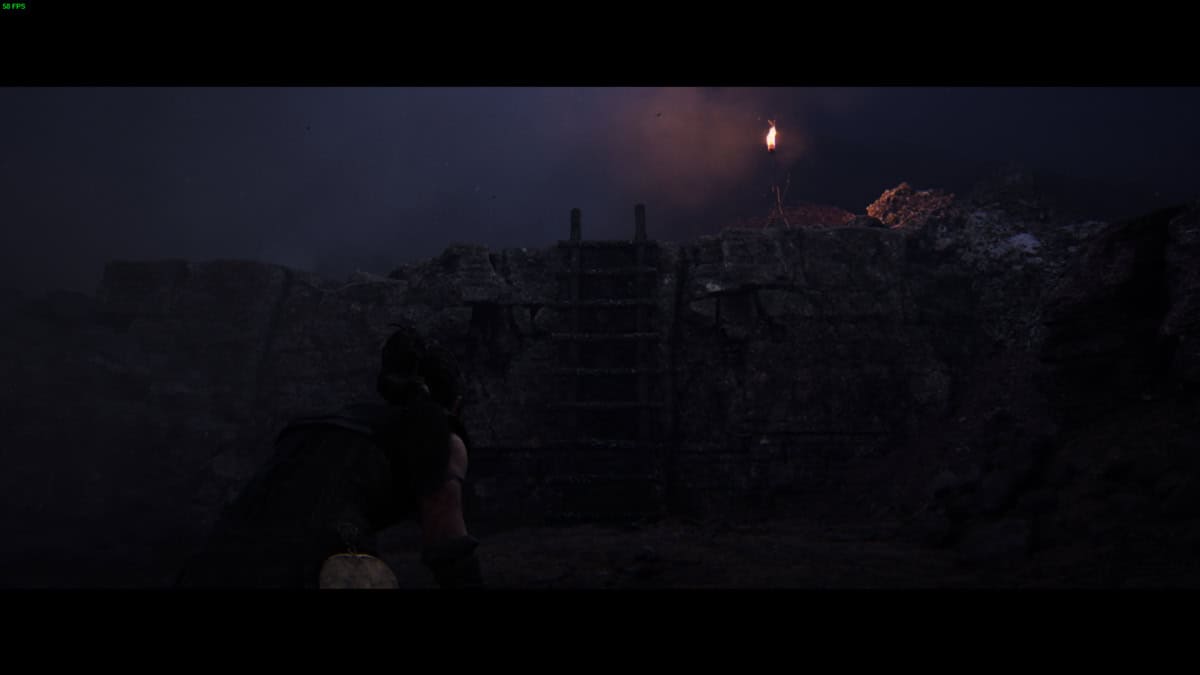
| 4 | Draugar Ceremony | As you circle around the ritual on the cliff, look for a ladder on your left. Climb up, take a right, hop over the low wall, then follow the path to find the Lorestangir. |
| 5 | Meeting the Stranger | After the ritual and Illtauga attack, follow the stranger down towards the village, look for a path going left about halfway down marked by a stick in a mound of rocks. Follow it to find the post. |
Chapter 3
| # | Sub-chapter | Location |
|---|---|---|
| 6 | Red Hills | Follow Fargrimir down into the destroyed village and take the first left and continue past the destroyed shack. The Lorestangir is in a small hidden clearing on your right. |
| 7 | On the Hill | After talking to Fargrimir about the Hidden Folk, follow the path that leads right up to the top of the village. At the top, go left towards the shack and you’ll find the totem on your right. |
| 8 | On the Hill | After completing the first Hidden Folk orb test, follow the path until you come to a clearing with a ledge on your left and a tunnel through a rock formation on your right. Jump onto the ledge and follow the path to find the monument. |
| 9 | On the Hill | Complete the second Hidden Folk orb puzzle, then follow the newly-opened path. Continue until you drop down two sets of ledges and the path opens up, cutting through a small pond. Cross the pond and go through the squeeze gap on your left. Follow the ledge and path up to find the statue. |
| 10 | On the Hill | After solving the second Hidden Folk orb puzzle, follow the path that opens up. Press on until you drop down two ledges and come to a small pond. Cross the pond and look right for a narrow tunnel in the rocks. Follow it and jump up the ledge ahead to reach it. |
| 11 | Find the Hiddenfolk | At the start of the sub-chapter, you’ll come to a puzzle involving placing three orbs on a pedestal. Get the first two balls, then fight of the Draugar. When you reach the platform where the third ball is, look at the back for the totem hanging down from the ceiling. |
Chapter 4
| # | Sub-chapter | Location |
|---|---|---|
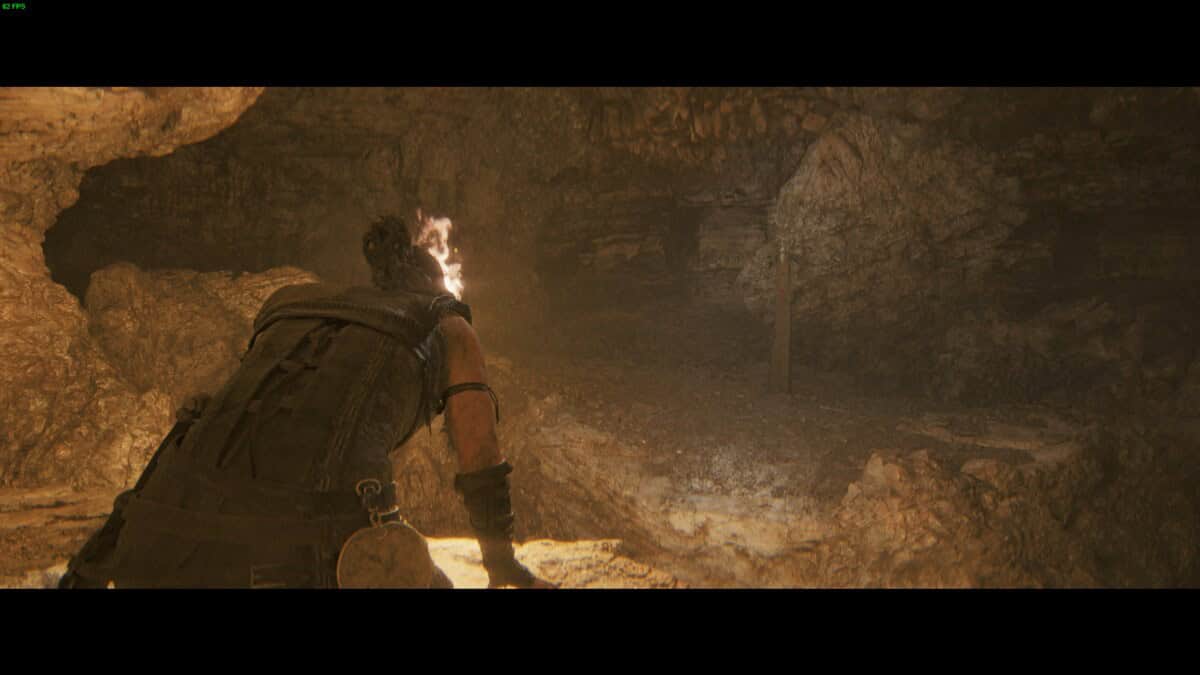
| 12 | Enter the Caves | In the realm of the Hidden Folk cave. Once you’re inside the cave, follow the one way path until you drop down a ledge into a puddle and the voices comment on keeping the torch safe. Stick right and jump up the ledge to find the statue. |
| 13 | Enter the Caves | After solving the third flame pedestal puzzle that unlocks a bridge across a body of water, press on until you come to a deep chasm on your right. Look right and you’ll see the Lorestangir. Hop down on the thin stone bridge to reach it. |
| 14 | Act of Sacrifice | After giving up your sword and following the light, you’ll come to a section with floating rocks. Press on until you hit a chamber where all the rocks fall to the ground. Stick to the right and you’ll find a path that leads to the totem. |
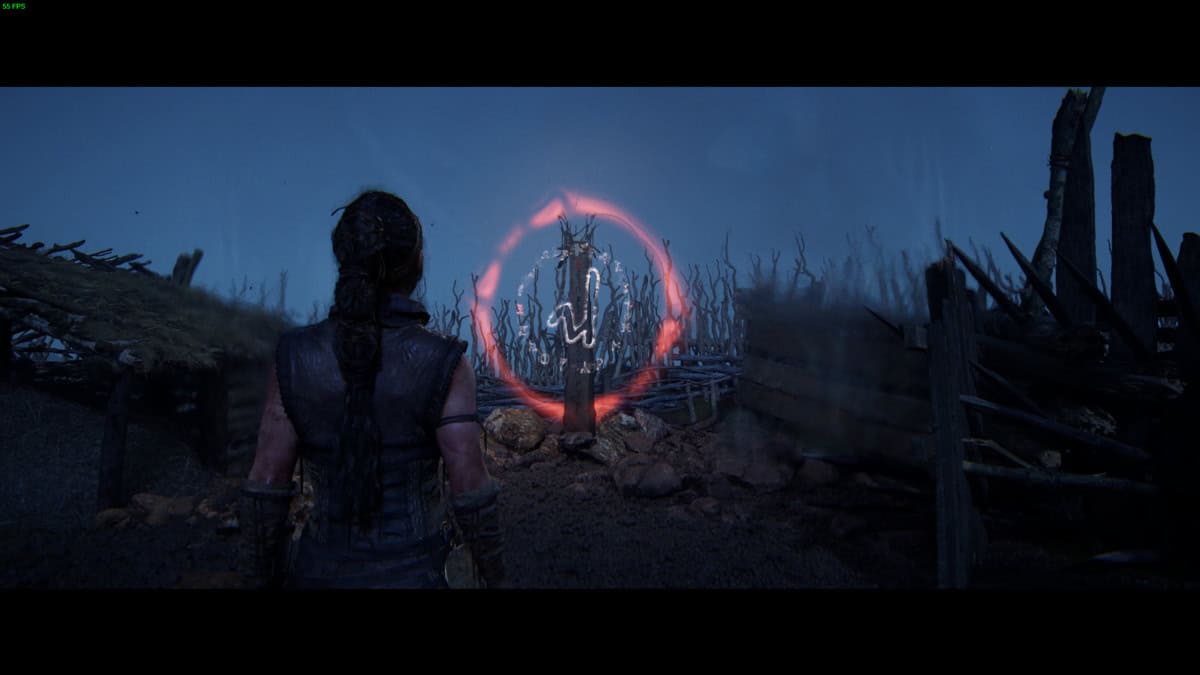
When looking at a totem, the runes highlighted in red are those you’ve found, while the dark ones are yet to be uncovered.
Chapter 5
| # | Sub-chapter | Location |
|---|---|---|
| 15 | To the Sea | From the start of the chapter, follow the path until you come to a very small waterfall on your right. Follow the path a little further and take the path on your right. Follow it, then take a right and you’ll find the post. |
| 16 | Sjávarrisi | Follow Astriðr until she starts talking about her mother and you both hop over a short wall. Take a right after the wall, then follow the path that goes right again, and follow it to find the Lorestangir. |
| 17 | Another Question | When you’re solving the sigil puzzle down on the beach near the ships, open up the section on the right when facing the beach. Interact with the orb to shift the landscape and go through the squeeze gap at the back. Follow the path and take a right on the beach to find the totem. |
| 18 | Another Question | Once you reach the village, follow the main path and take the first left up a small hill. At the top is the Lorestangir. |
Once you’ve found all 18 Lorestangir, you’ll not only unlock the trophy but also Druth as a narrator, accessible if you start a new game. Note that there are no Lorestangir to find in Chapter 6, nor any Hidden Faces for that matter.
Senua’s Saga: Hellblade II
- Platform(s): PC, Xbox Series S/X, Xbox Series X
- Genre(s): Action, Action Adventure
