You can trust VideoGamer. Our team of gaming experts spend hours testing and reviewing the latest games, to ensure you're reading the most comprehensive guide possible. Rest assured, all imagery and advice is unique and original. Check out how we test and review games here
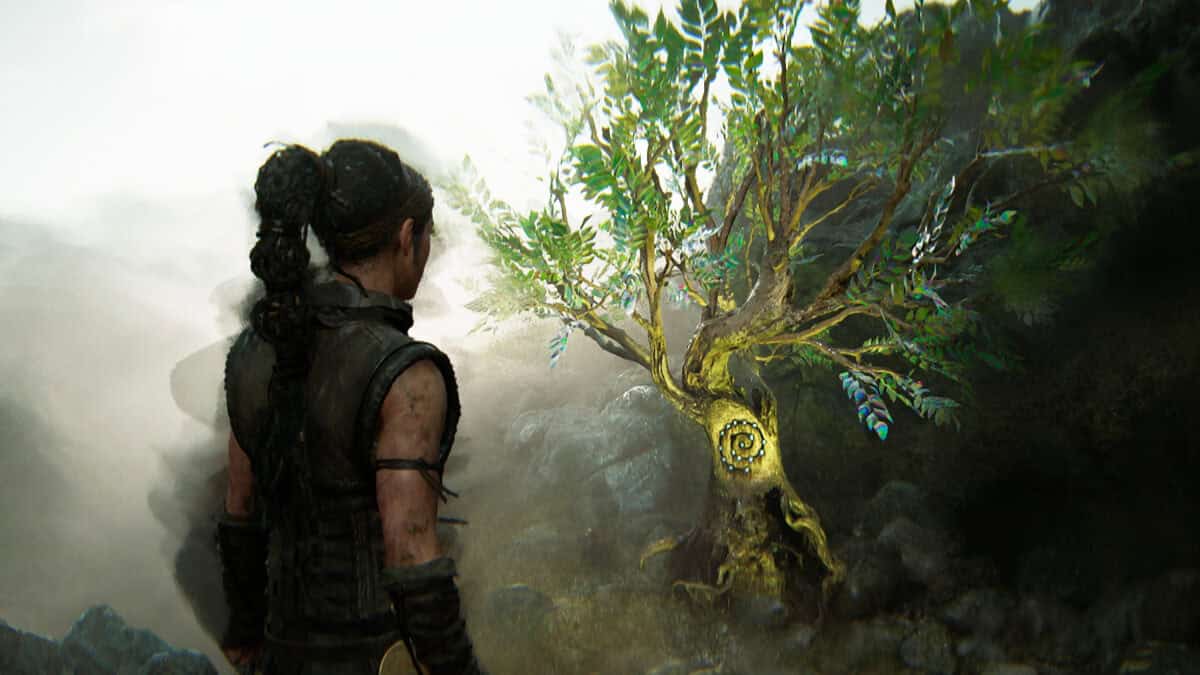
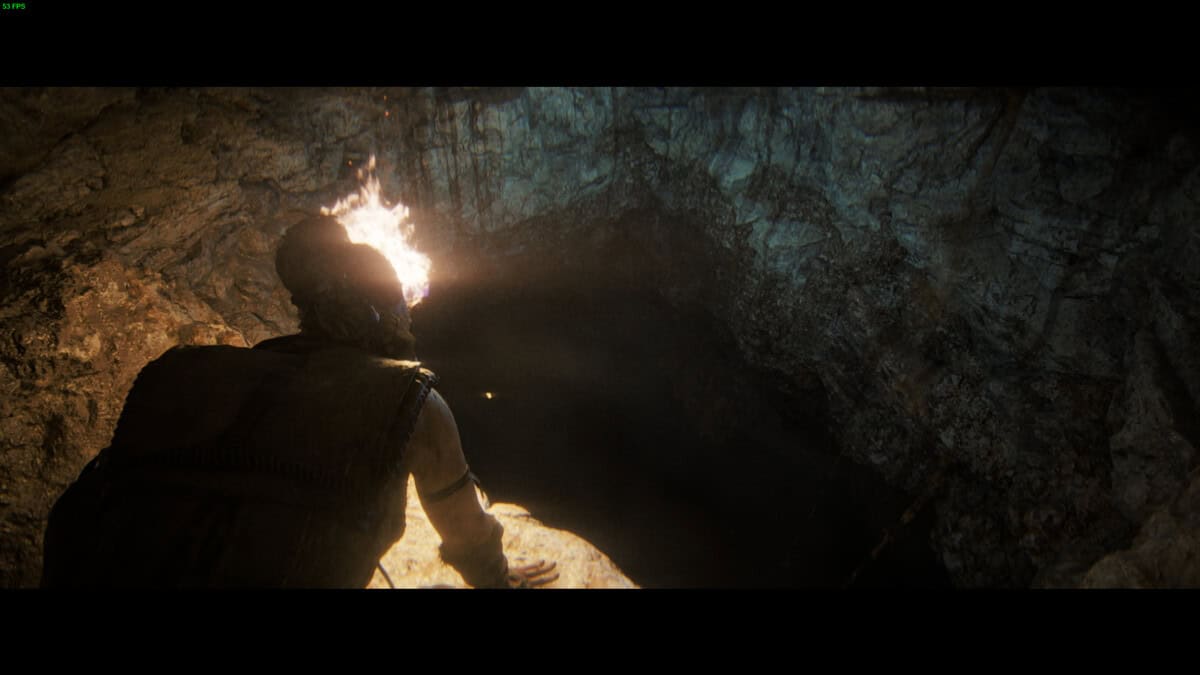
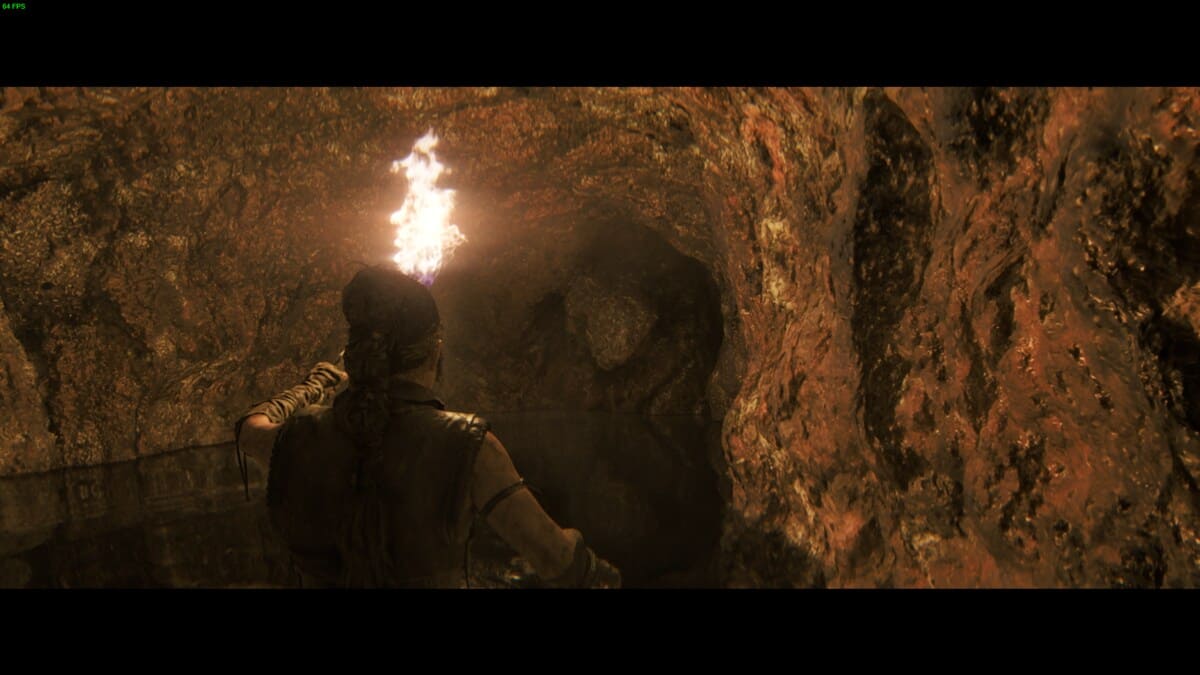
Carved into the rocks of Ninja Theory’s interpretation of 10th century Iceland are Hidden Faces, each one guarding a secret path to a miniature Yggdrasil tree and a slice of Hellblade 2 lore recounted by the narrator. As the faces are etched into the environment, and generally pretty well hidden, they can be tricky to find, especially in the game’s darker portions.
Much like the Lorestangir, finding all the Hidden Faces takes some work, but given Hellblade 2 sticks to very strict corridors, finding them shouldn’t be too taxing. Below, you’ll find the location of all 17 Hidden Faces, ordered by chapter for convenience (chapter 1 and chapter 6 have no faces to find). You can get them all in a single playthrough as we did for our Hellblade 2 review. But, there’s always the option to use chapter select from the main menu to jump to specific sub-chapters as needed.
Chapter 2

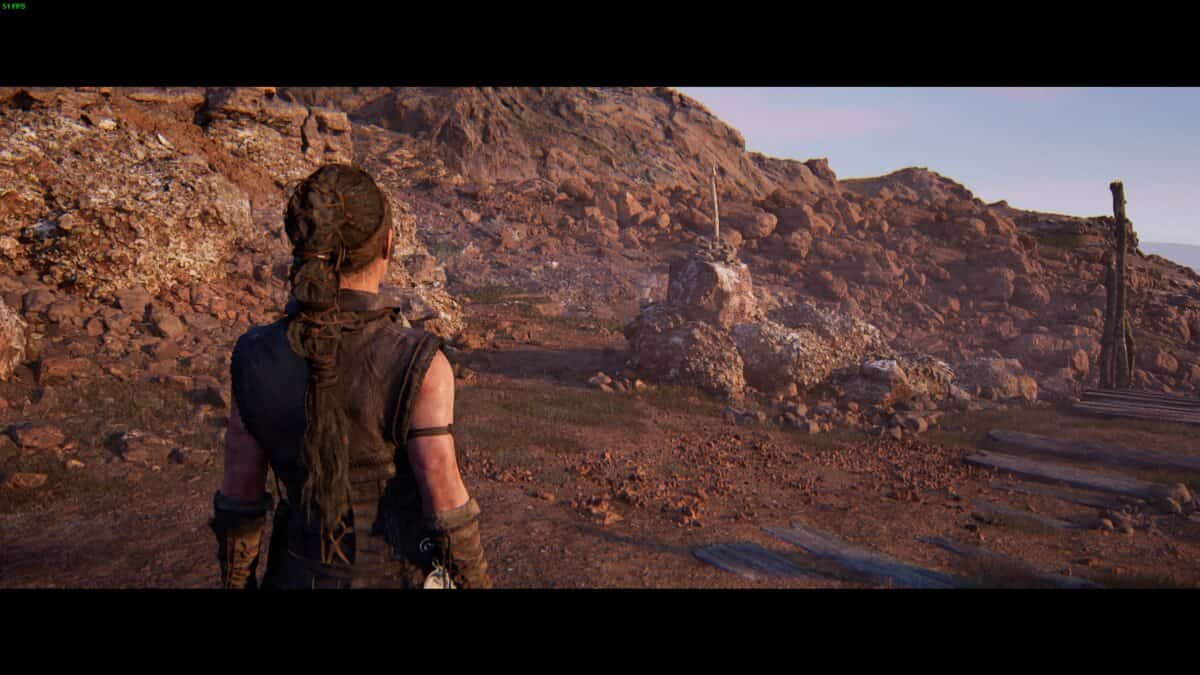
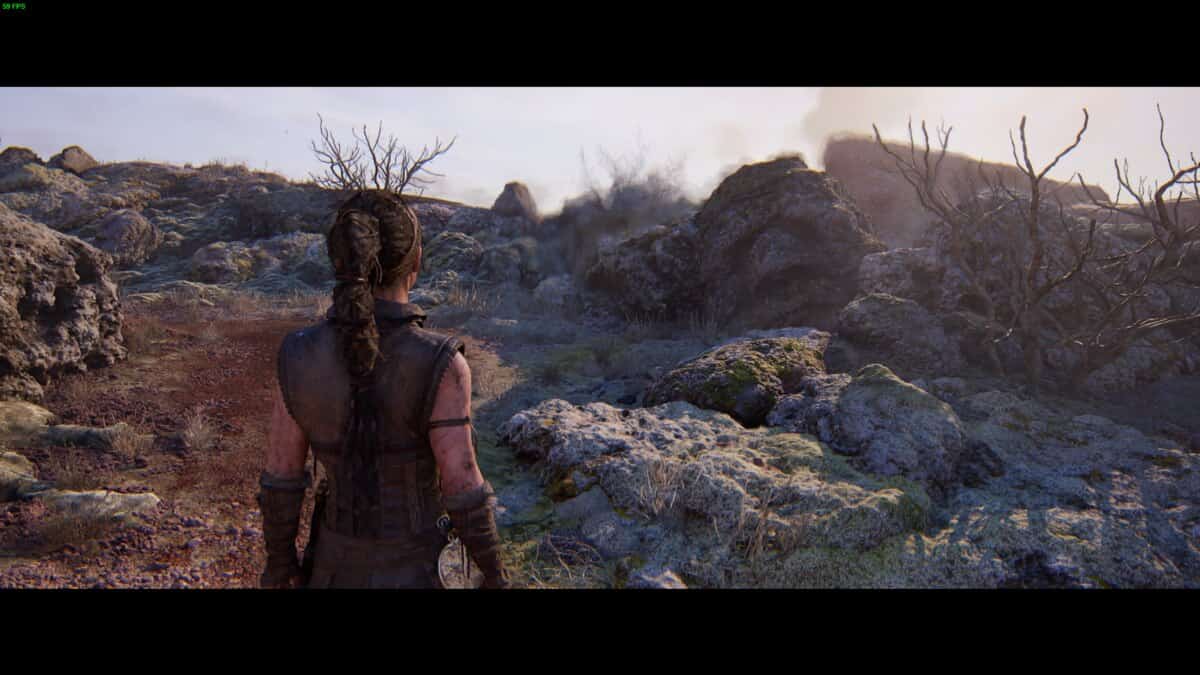
Hidden Faces #1. Captured by VideoGamer
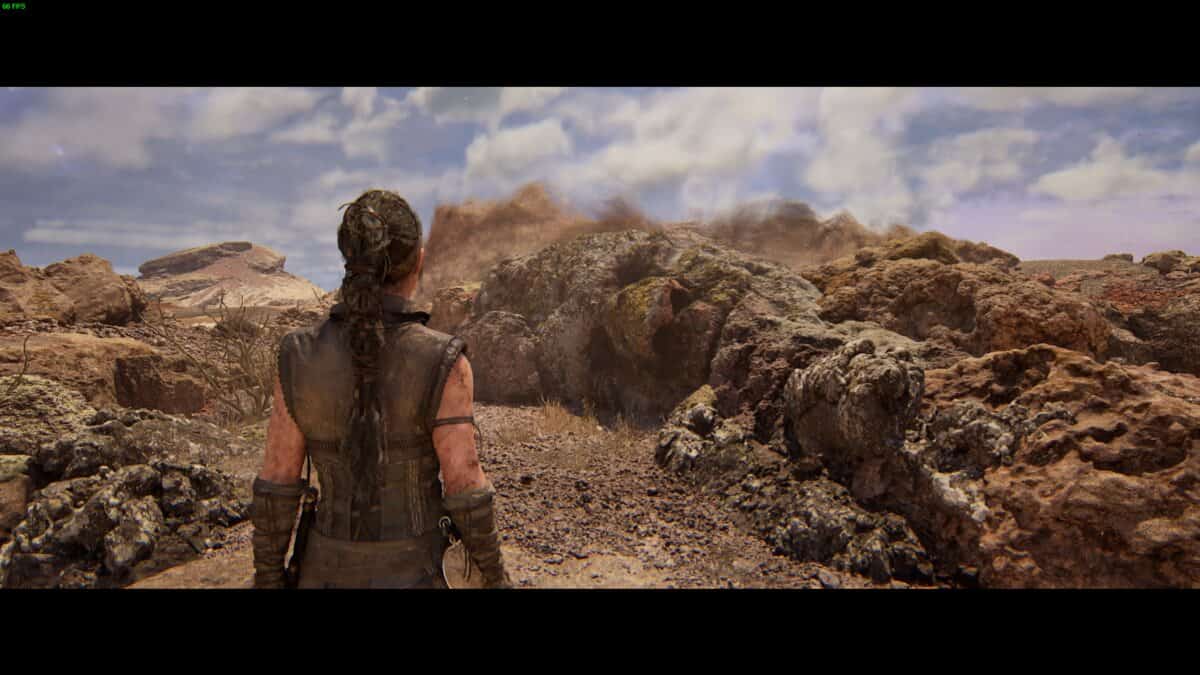
Hidden Faces #2. Captured by VideoGamer
| # | Sub-chapter | Location |
|---|---|---|
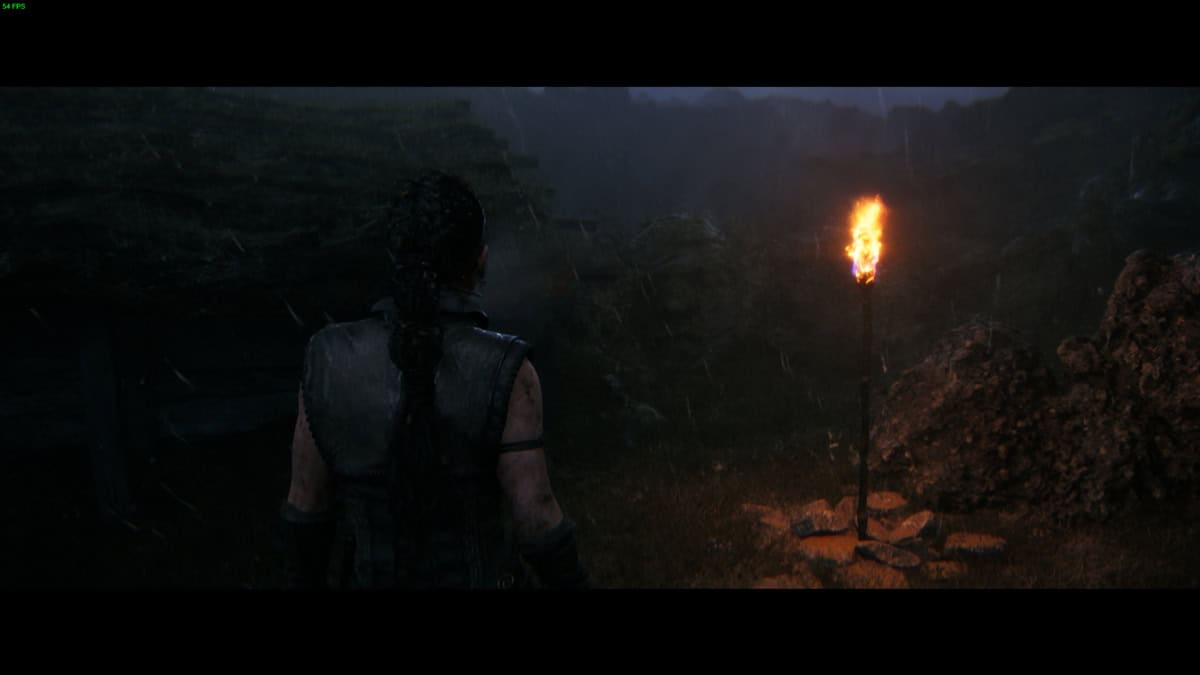
| 1 | Return Home | Just before the long bridge that leads up to the light and the Draugar ritual, walk towards the torch on the left. Focus on the face in rocks next to the building on the right to unlock the secret path. |
| 2 | Meeting the Stranger | After saving Fargrimir from the ritual and the Illtauga attack, head down the path, and take a left before the broken bridge. The face carved into the rock. |
Chapter 3
Hidden Faces #3. Captured by VideoGamer
Hidden Faces #4. Captured by VideoGamer
Hidden Faces #5. Captured by VideoGamer
Hidden Faces #6. Captured by VideoGamer
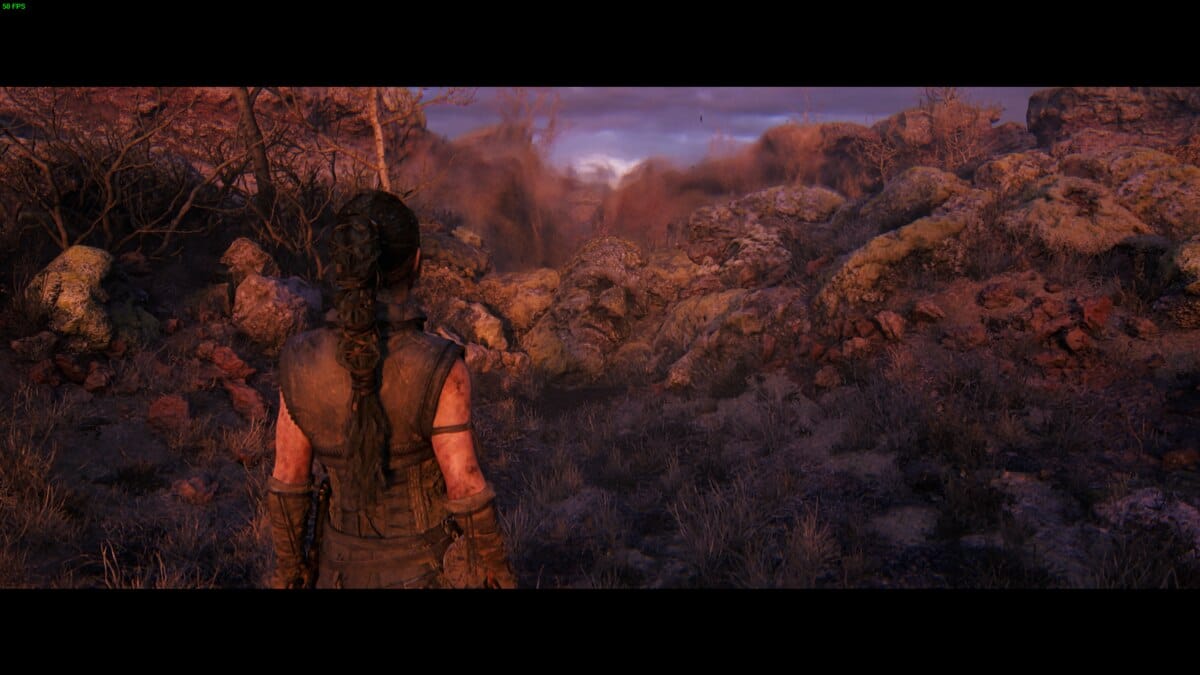
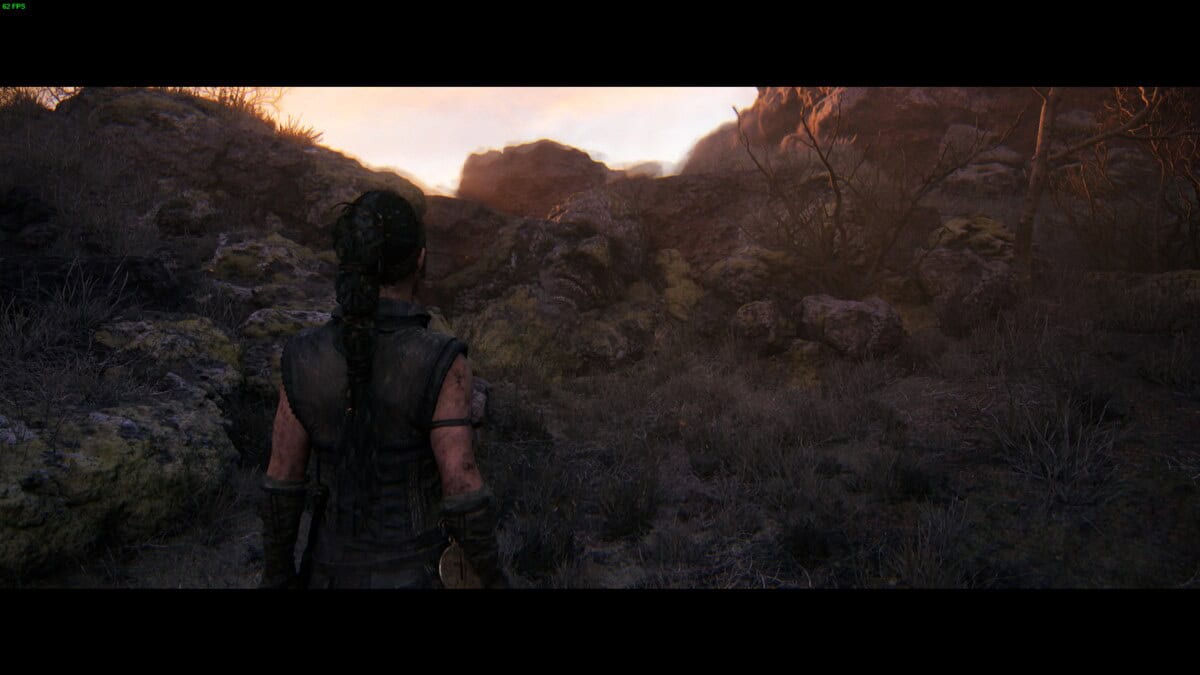
Hidden Faces #7. Captured by VideoGamer
| # | Sub-chapter | Location |
|---|---|---|
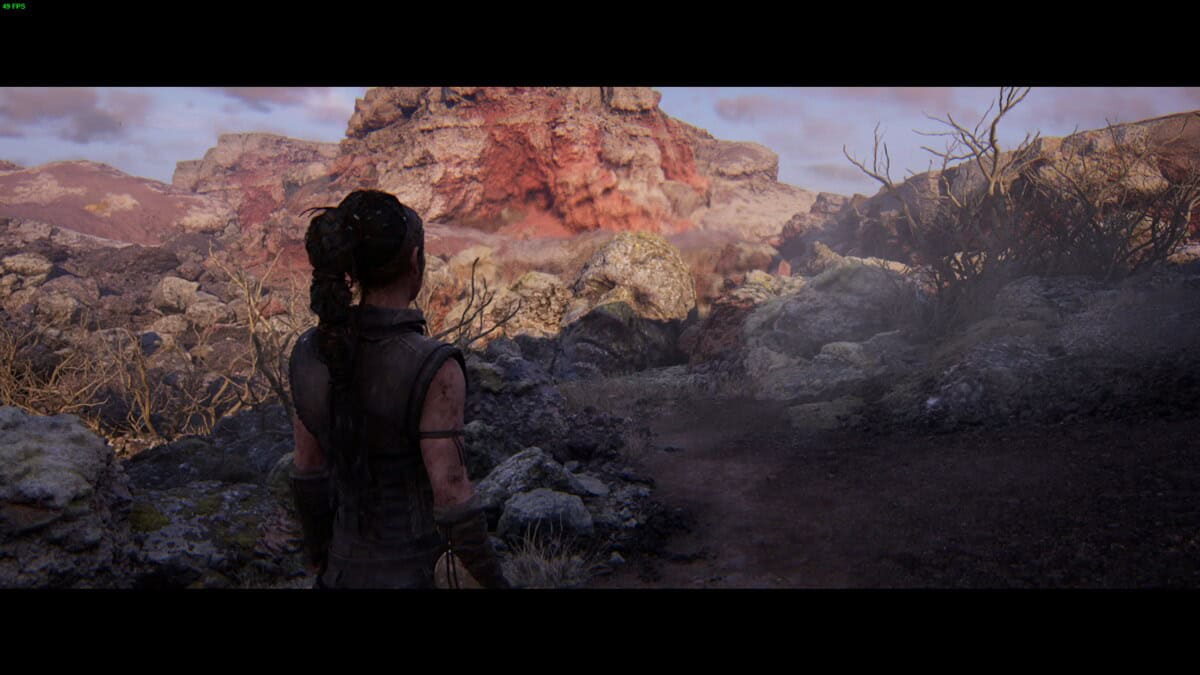
| 3 | Red Hills | Follow Fargrimir down into the village and take the first left. Go past the dilapidated shack on the right then past the small rock formation on your left. The face is in the rocks ahead past the thicket. |
| 4 | Red Hills | Follow Fargrimir down into the village and take the first right into an open clearing. At the back, the face is etched into the rock. |
| 5 | On the Hill | Talk to Fargrimir about the Hidden Folk at the top of the village then make your way down via the platforms. Follow the path until you hit a fork. Look left and you’ll spot the hidden face in the rock ahead. |
| 6 | On the Hill | After completing the first Hidden Folk orb test, follow the path that opens up until it curves to the left. Continue forward around the bend and look right to find the face in the rocks. |
| 7 | On the Hill | Complete the second Hidden Folk orb puzzle, then follow the newly-opened path. Continue until you drop down a set of two ledges and the path opens up, cutting through a small pond. Look right and you’ll see a ledge. Jump up to find the face cut into the rock. |
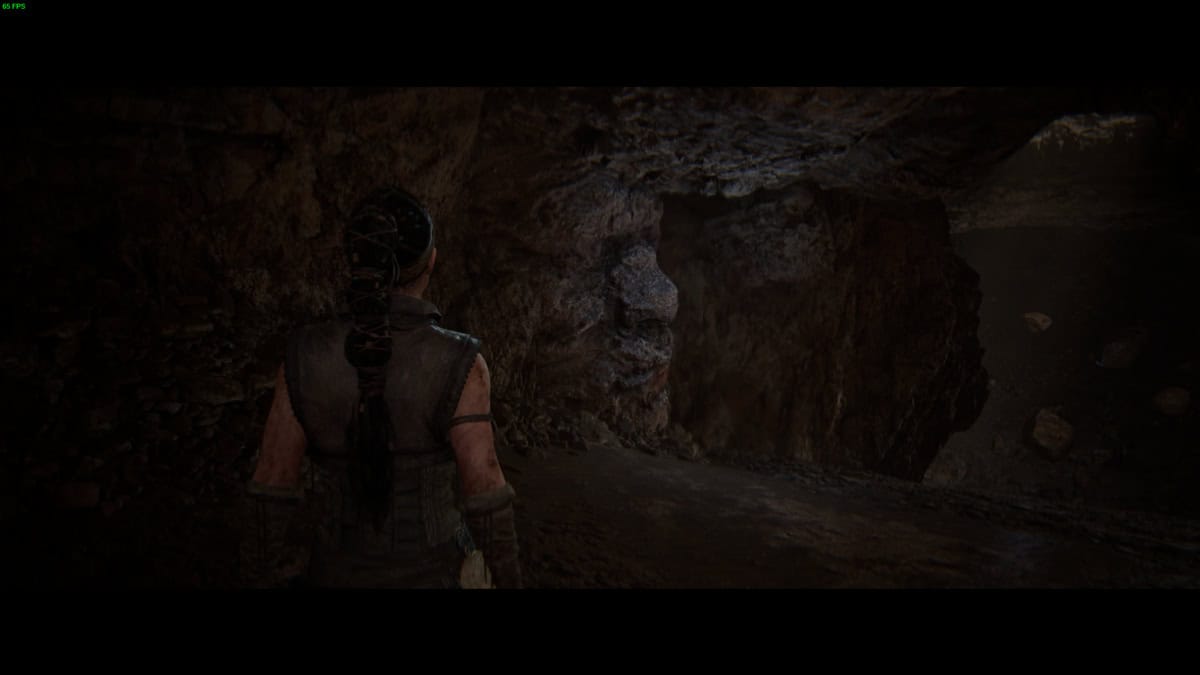
Hidden Faces pop up around blurry parts of the environment. A further tell that one is nearby is when the Furies comment that they feel something is nearby.
Chapter 4
Hidden Faces #8. Captured by VideoGamer
Hidden Faces #9. Captured by VideoGamer
Hidden Faces #10. Captured by VideoGamer
Hidden Faces #10. Captured by VideoGamer
Hidden Faces #11. Captured by VideoGamer
| # | Sub-chapter | Location |
|---|---|---|
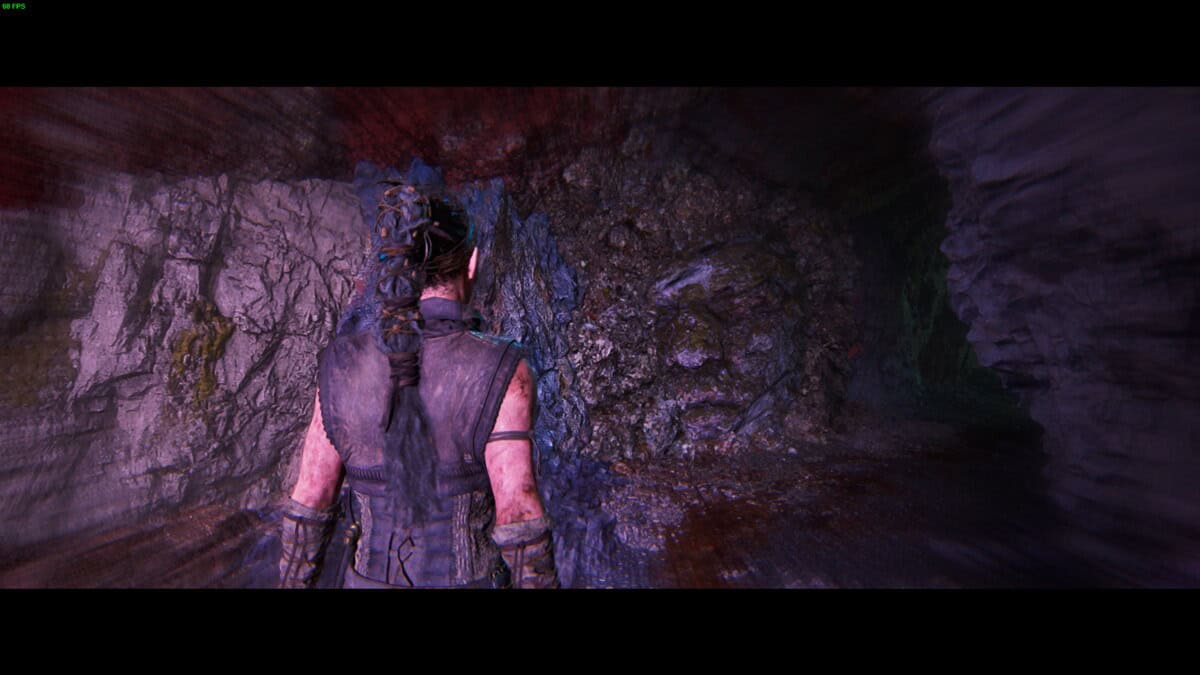
| 8 | Enter the Caves | After entering the realm of the Hidden Folk and squeezing through the long gap, continue forward and jump down the ledge. Note the bloodstains on the floor. Follow them through a short crawl space then look left for the face in the cave wall. |
| 9 | Enter the Caves | After interacting with the second light pedestal up on the ledge, turn around. A face is carved into the cave wall straight ahead. |
| 10 | Enter the Caves | After the second light pedestal, press on until you drop down a chasm into a pool of water. When you land, turn around to find the face. |
| 11 | Act of Sacrifice | After giving away the sword in the Act of Sacrifice, you’ll eventually shimmy across several ledges. The lightning returns to normal as the cave opens up and you’ll see floating rocks as well. Look left and you’ll see the face carved into the rock. |
Chapter 5

Hidden Faces #12. Captured by VideoGamer.

Hidden Faces #13. Captured by VideoGamer.
Hidden Faces #14. Captured by VideoGamer.
Hidden Faces #15. Captured by VideoGamer.
Hidden Faces #15. Captured by VideoGamer.

Hidden Faces #16. Captured by VideoGamer.
Hidden Faces #17. Captured by VideoGamer.
| # | Sub-chapter | Location |
|---|---|---|
| 12 | To the Sea | From the start of the chapter, follow the path until Fargrimir and Thorgestr disappear. Press on until the path slopes down and comes to a small waterfall. The face is in the rock behind the waterfall. |
| 13 | Sjávarrisi | Follow Astriðr until you come to a squeeze space. Don’t go through, instead look right to find the face. It’s slightly slanted so can be hard to spot. |
| 14 | Sjávarrisi | After solving the glyph puzzle near the lookout tower, head through the now open path. As you go down the hill look on your right for a small opening where you’ll find the face. |
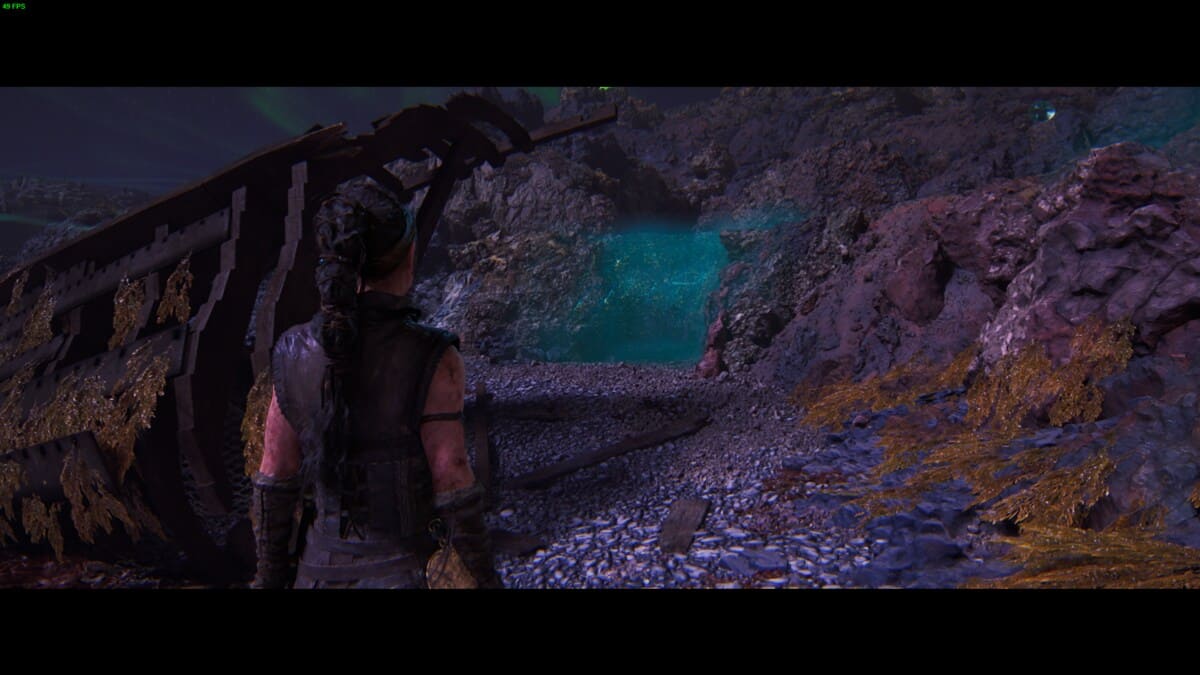
| 15 | Another Question | Reach the beach with the glyph puzzle. Unlock the first, then take the path leading to the right and the second glyph. Drop down the ledge then go through the blue particle wall straight ahead behind the shipwreck. After squeezing through the gap, continue forward a little and you’ll find the face carved into the rocks on the right. |
| 16 | Another Question | Once you reach the village, follow the main path and take the second right down a small path to find the face carved into a chunk of rock to the left of a house. |
| 17 | Another Question | Once you reach the village, follow the main path and take the first left up a small hill. Go past the Lorestangir on your left and head to the back of the area behind the house to find the face. |
Finding all the Hidden Faces and secret paths unlocks the Glimpses of the Gods trophy along with the Landdisasteinar Stories in the Extras menu, which recounts stories at the foot of Yggdrasil.
About the Author

Senua’s Saga: Hellblade II
- Platform(s): PC, Xbox Series S/X, Xbox Series X
- Genre(s): Action, Action Adventure