
Video Gamer is reader-supported. When you buy through links on our site, we may earn an affiliate commission. Prices subject to change. Learn more
Splatoon 3 puts many obstacles in your path as you attempt to save Cuttlefish on the islands of Alterna. One of the most crucial missions on Alterna’s second island is Soak It To Me! We’ll help you make your way through this level and its introduction to soaker blocks with our Splatoon 3 guide.
READ MORE: Splatoon 3 Abilities Tier List
Splatoon 3 – Soak It To Me!

When given your choice of gear for Soak It To Me! It’s best to use the Bloblobber or Hero Gear loadouts. While the Octobrush can be a useful weapon in the right circumstances, it puts you at a disadvantage against the ranged Octarians in this course. It’s especially beneficial to upgrade your hero gear by choosing Better Hero Shot prior to starting this mission. The upgraded rate of fire for your Hero Shot allows you to generate Soaker Blocks at a much faster rate, as well as make short work of the enemy Octarians.
When the level begins, shatter the two orange crates in front of you to gather Power Eggs, then shoot the Soaker Block in front of you twice to generate ink platforms. Turn into squid form to swim up the platforms.
Drop down from the platform ahead of you to break more orange crates, then turn around and cover the grey wall with ink to climb back up. At the top of the platform, shoot the next soaker block to create a bridge to cross the gap.
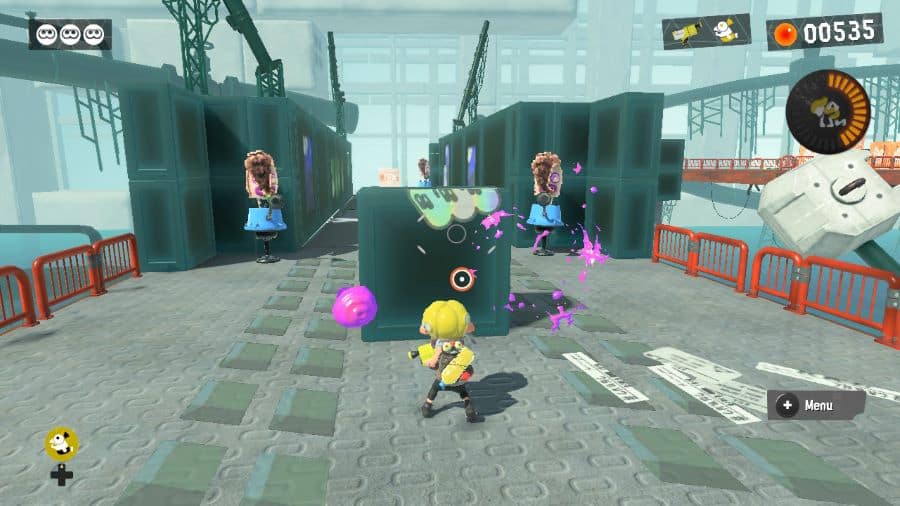
Use the soaker blocks to climb the towers on the next platform and grab more Power Eggs, then destroy the Sprinkler that’s filling this platform’s final soaker block with opposing ink. With the sprinkler gone, ink the block yourself to climb up and proceed.
Splatoon 3 Soak It To Me! – Cannons And Chasms
Pass the checkpoint to enter a corridor area guarded by turret Octarians. Shoot the soaker blocks embedded in the ground to create cover for yourself as you go.

Round the corner and keep using the soaker blocks for cover to gain ground on an Octosnoper. Once close enough, splat them and then double back to the corridor corner. Fling your Subweapon across the gap to hit a soaker block, generating a bridge. Cross the bridge to break a reinforced crate and gain an abundance of Power Eggs.
Return to the Octosniper’s perch, ink up the soaker blocks, and move forward to a checkpoint.
Here, you’ll reach a chasm with three suspended soaker blocks hovering. You’ll need to shoot the middle block many times to generate a giant platform that will slowly retract over time. A rapid-fire weapon is useful for quickly restoring the platform to its full size.

Once close enough, shoot the other blocks to connect to two smaller platforms, containing a key and Power Eggs, respectively. Return to the center soaker block platform and climb to the top, before jumping to the next platform beyond and using your newly acquired key to open the vault. Keep moving and you’ll soon be done with Splatoon 3’s Soak It To Me! level.
Finishing Up
With the vault open, climb to the next checkpoint, and take out the cluster of Octarians using the central soaker block for cover. Proceed on to another Octosniper, generating a wall of soaker block cover to get close enough to splat them.

Destroy the sprinkler to bring down the opposing soaker block wall, then cross to the other side and shoot the block to create a wall of your own. Climb the wall and pass through the grate to grab a big clutch of Power Eggs.
Shoot the final soaker block to create a long bridge, which you can speed over in squid form. Cross the bridge to reach the goal and complete Splatoon 3’s Soak It To Me!